Archive for September, 2010

Porch Painting

Monday, September 20th, 2010

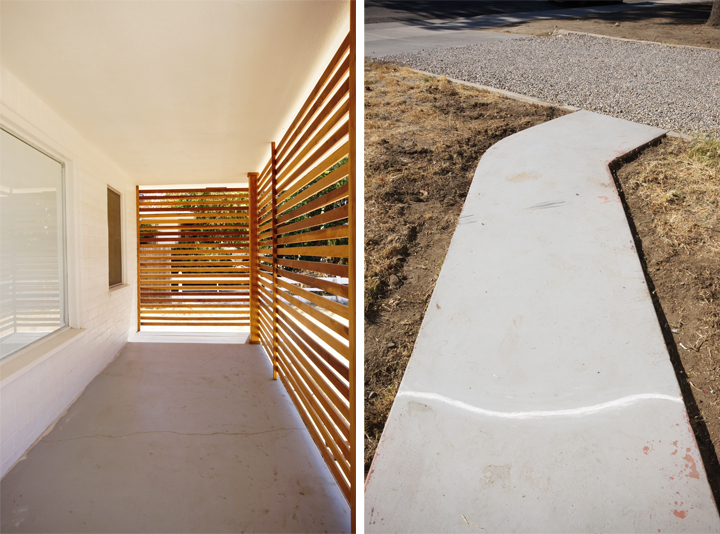
After running around all weekend, entertaining guests and working on some killer new design projects (like this one!) by Sunday afternoon I was pretty pumped to prep and paint the porch in wickedly hot 95° plus temperatures. Pysch! Seriously, I wasn’t pumped at all.

Sometimes we have to do things even though we don’t want to (is that what the psychiatrist lady said to bratty little Sally on Mad Men? Which was AWESOME, BTW). Or maybe it came down to the recently purchased paint sitting on the porch for a week mocking me with our inefficiency.

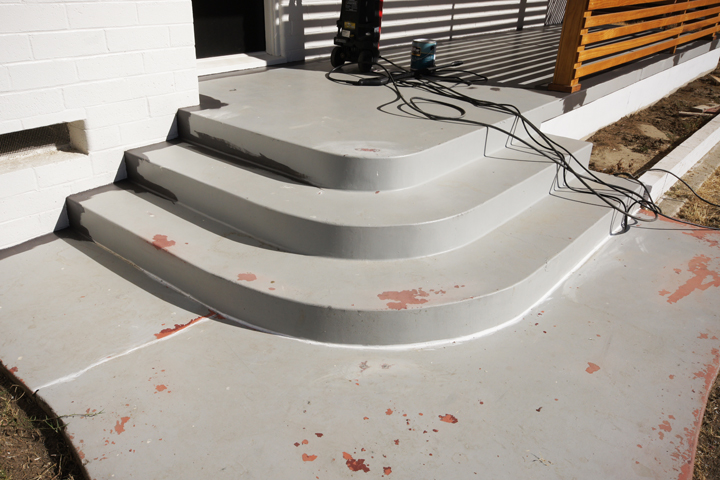
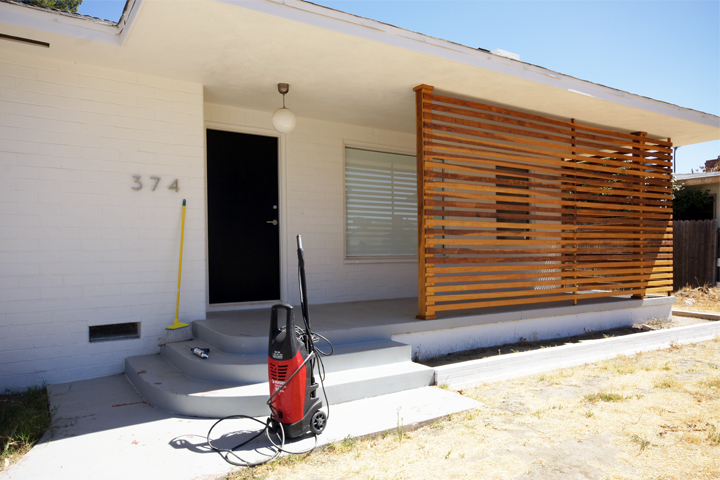
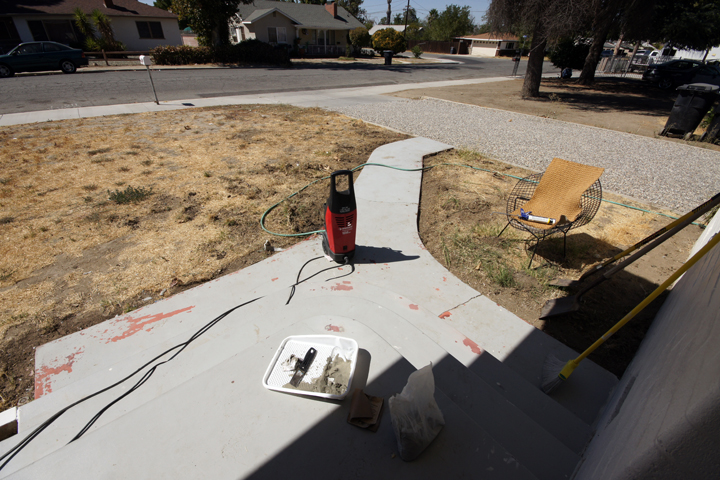
The cool looking red robot? That’s a power washer. Best thing ever.

The ugly maroon paint? That’s about thirty years of ugly paint layers on the cement. Why couldn’t the P.O.’s just leave the cement alone? Jerks.

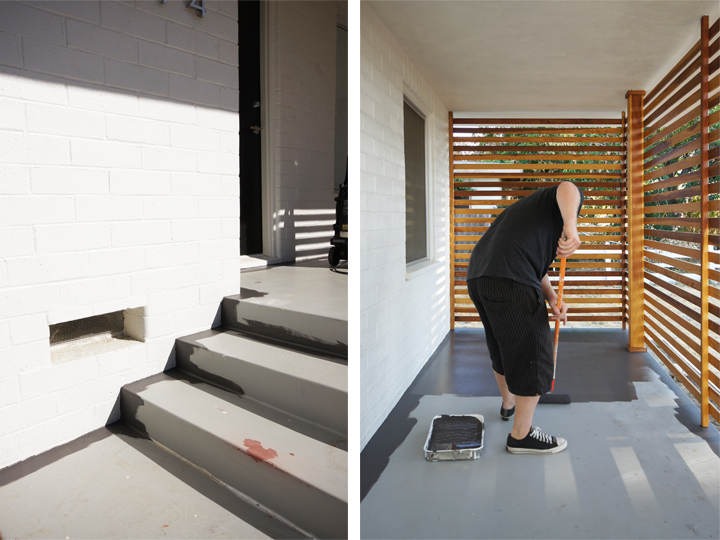
Check out my caulk. We caulked a bunch of cracks and holes and all the edging around the house. The boy swears by caulk and loves to prep everything with it because it totally works miracles. Caulk makes painted areas look a ton cleaner since it fills the gap between two unlike surfaces – which are usually riddled with cracks and weirdness.

Check out all that caulk!

We also scraped and sanded all the areas where the paint was flaking or scratched up. That was awesome fun.

So…

I gave up one important decision to The Boy. Of course, if you haven’t inferred this yet, I’m a bit of a design nazi when it comes to the homestead. That was always sort of my gig in the partnership. But The Boy has been going on and on and on about what color he wanted for the front porch. He wanted something dark, something to break things up, some color. My immediate reaction was CRAP, those are the three things I’m trying to avoid. I want light, lots of cohesion and a neutral backdrop for landscaping.

While we were painting his choice of color, he was like “You are going to put this on your blog and blame me if it goes bad.” Yeah, totally. Duh.

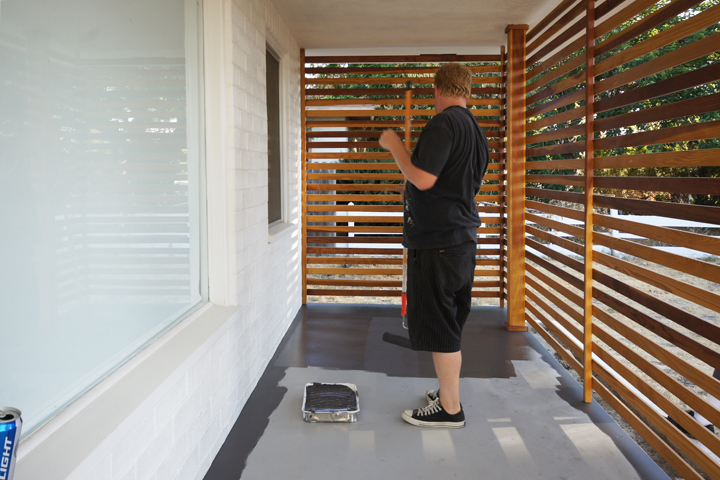
I mean really, he drinks tall boys of Bud Light (check out the photo evidence). This dudes choices are a bit suspect. I mean come on, he’s been with me for over eight years now and I’m a nightmare. So, like I said – suspect.

He picked Behr’s “Intellectual”. I kind of want to make clear why we always use Behr. It’s not because I love it, in fact I think it’s super crappy, but there is no Benjamin Moore or good paint within a fifty mile radius of the house and Home Depot is pretty much our main source for everything. Not a lot of demand in Hemet for the classier things, so we make due with the options available and the price is always right.

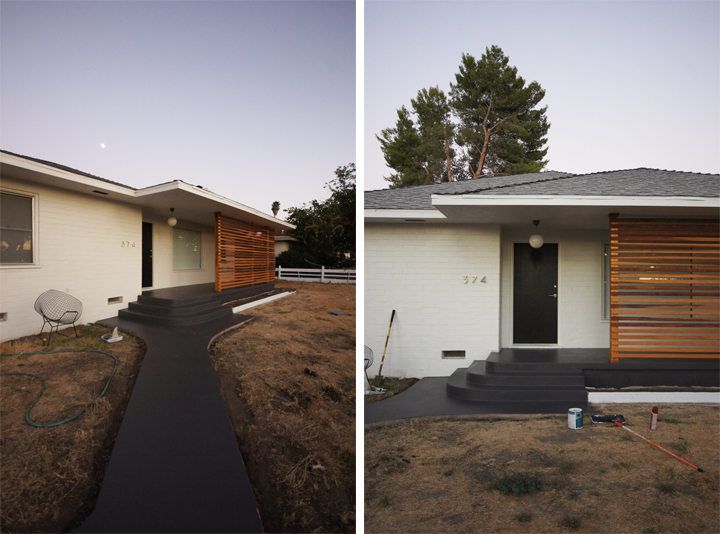
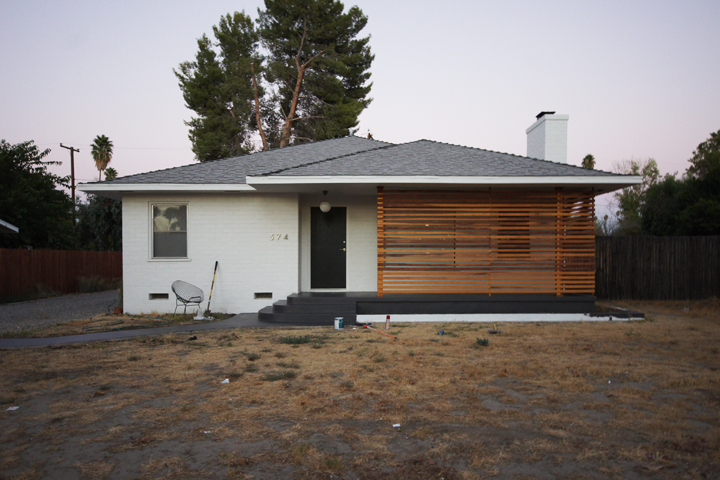
Anyhow, it was super hot and the paint was drying too quickly, so we had to wait till the sun went down to try and finish the first coat at dusk. We didn’t finish painting everything, but from what I’m seeing so far my big main concerns might have come to fruition.

I know it reads a bit darker because the sun was down, but that is DARK gray. Really dark. Like, looks like a battleship or a shark, dark.

We aren’t done obviously, that whole white bit of the planter will be painted out dark as well. I’m trying to imagine it with tons of Mexican Feathergrass billowing out of the planter and the landscape softening things up a bit…try imagining that too. I think I like it, but still feel a bit worried.

My question for you is this: Did The Boy do good? Or do I need to do the second coat in a shade similar to the roof?
Refreshing Vintage Wood

Thursday, September 16th, 2010

Jennifer from A Merry Mishap emailed recently asking for a little advice to spruce up her newly found vintage dining room table. Like a lot vintage pieces I find while out and about in thrift stores, there always seems to be something wrong that makes the piece a little less than perfect and therefore more affordable. The Boy likes to call it “character”, especially when he gauges, scuffs or scrapes some item in the house. He isn’t destroying it,  just adding to the “character”.

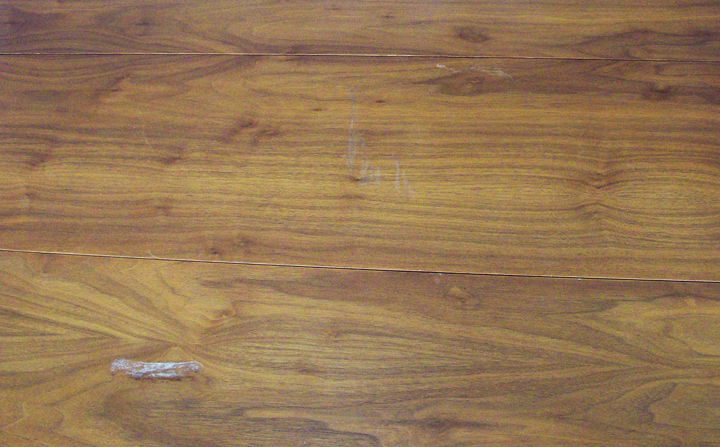
Jennifer’s table has a couple of scuffs, a scratch and a mysterious white mark. I’m guessing it’s paint. It also seems that the table top is a veneer instead of solid wood, which can be refreshed a bit but some issues like deep scratches are never going to truly go away.

Since there were a few other questions about how I was going to oil up the chest in the master bedroom I thought I could show you guys (and therefore Jennifer as well) how I handle dealing with lackluster vintage wood furniture.

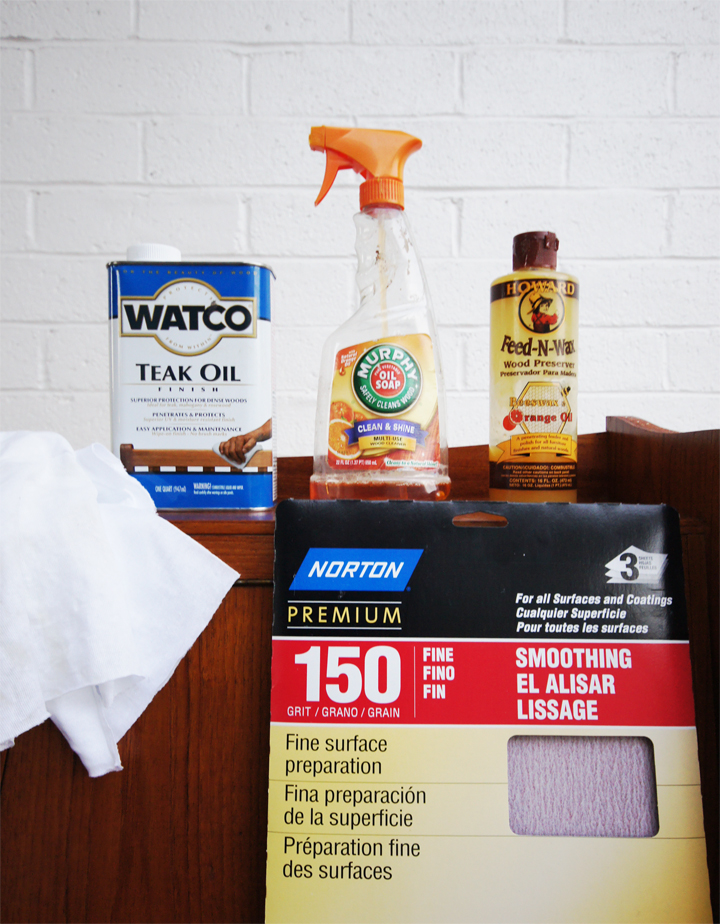
This is my typical arsenal:

Murphy Oil Soap
Watco Teak Oil (or Danish Oil in a Natural Finish)
Howard Feed-N-Wax
Rags (Lint free)
Fine Sand Paper (or Super Fine)

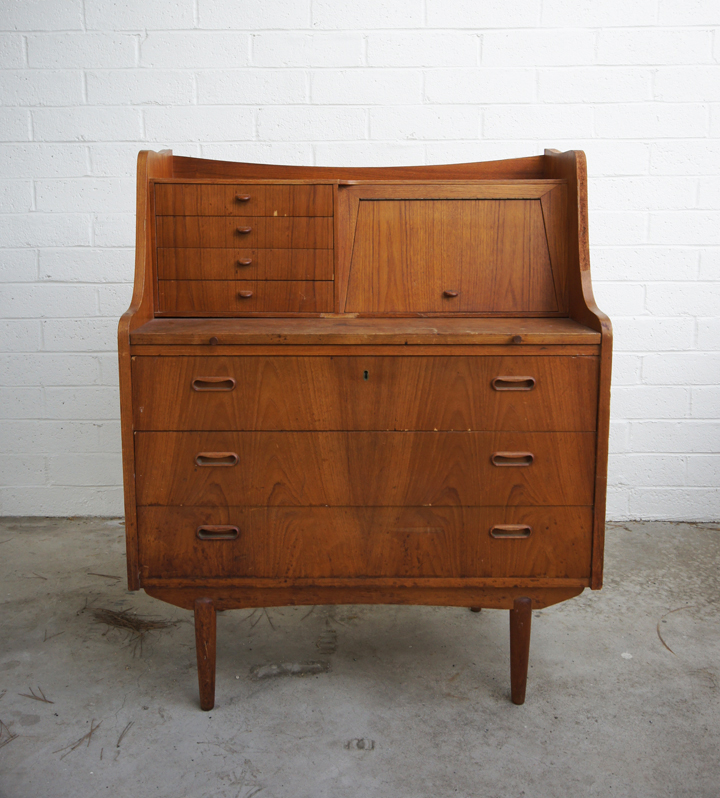
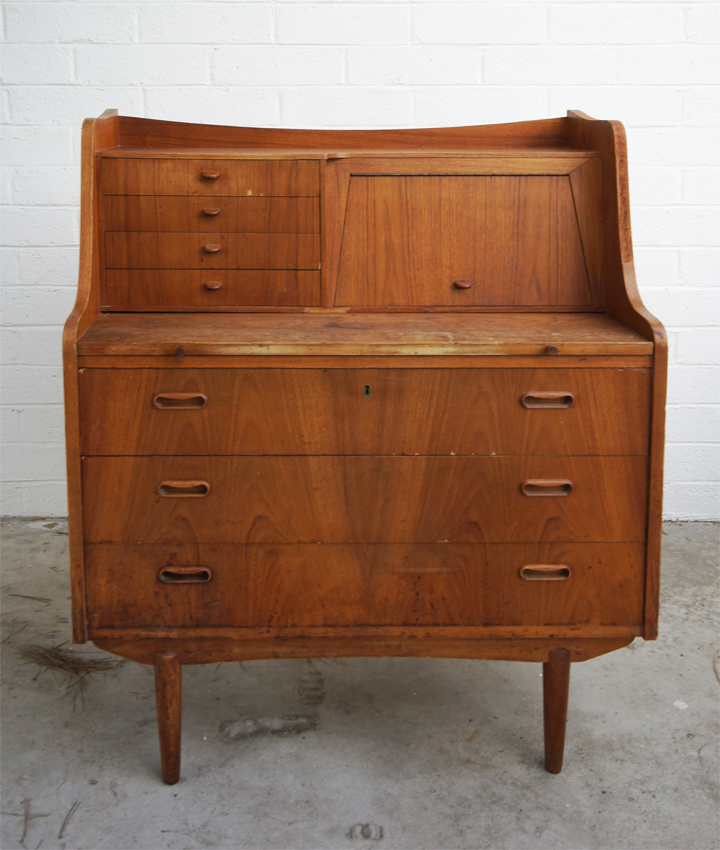
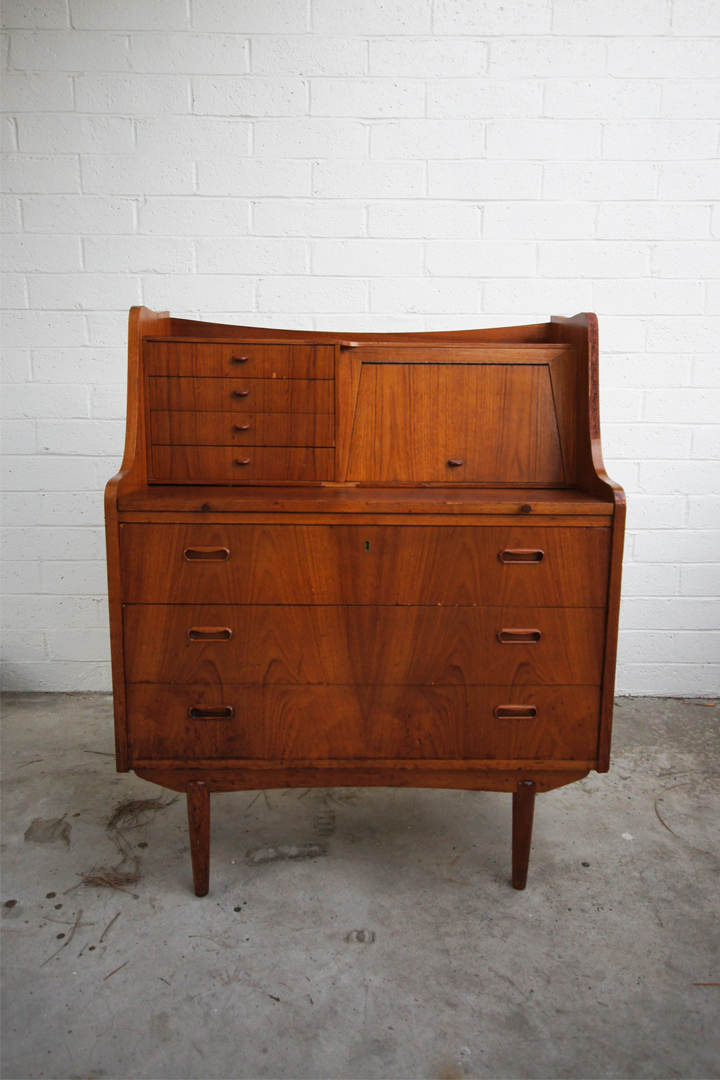
This vintage Danish chest/secretary has some major problems. Water damage, chipped and missing veneer, paint scuffs, sun damage, overall filth and dryness. Looks like the previous owners used and abused this thing, like a sixty year old hooker from Reno.

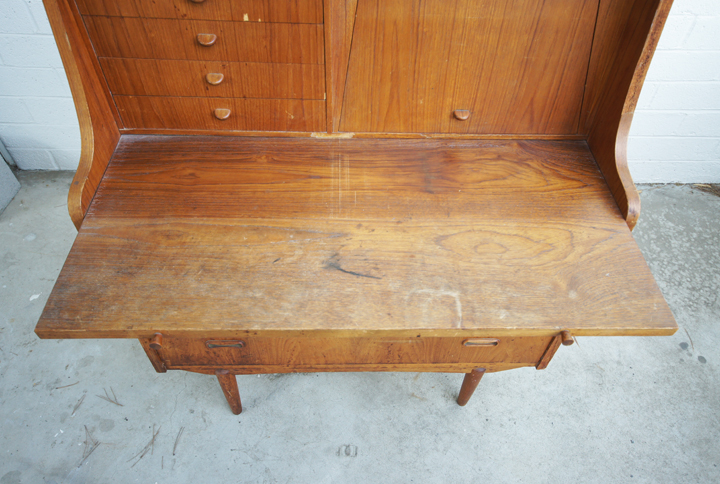
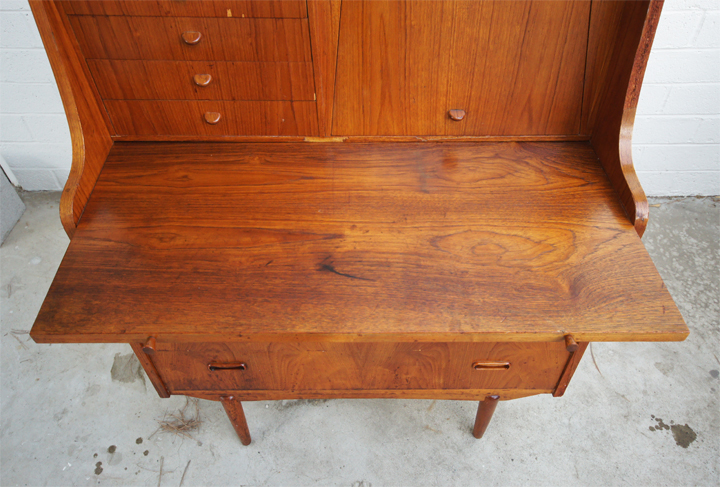
The desk area pulls out and is obviously pretty destroyed. The wood is scratched, has tons of water and sun damage and some odd stains. You know…like a hooker from Reno. Ugh. I can’t stand myself either.

The first step is to sand the trouble areas with a fine sand paper. Since there is no finish coating on the piece and I don’t plan on staining it a different color, I focused my sanding to the “trouble” areas, i.e. areas with stains, paint marks or minor scuffs.

Always sand with the grain of the wood. Never veer off-course, ALWAYS GO WITH THE DIRECTION OF THE GRAIN – for everything. That is the number one rule I live by. Another rule, don’t eat at Applebee’s.

After sanding, I pull out my Murphy Oil Soap and spray everything down to clean off the dust, grim and old wax in preparation of the next step.

Now is the time for the oil rub down. Using either the Watco Teak Oil or Danish Oil, soak a rag and rub the entire piece down. Wait ten minutes and with a clean rag wipe off the excess oil. Depending on how thirsty the wood is you can do two or three coats of the oil.

I love using a natural oil finish and not a stain. The oil sucks into the wood brings back the finish, color and the grain and helps seal it from the inside out. There is a great velvety finish when done and no fear of urethane peeling or yellowing over time.

After the oil is totally sucked into the wood and things are dry to the touch, the final step is to rub down everything with the Howard Feed-N-Wax. Again, you want to spread the wax on liberally with a cloth, wait twenty minutes and wipe off the excess. Let it harden up and then stick it back in the house while congratulating yourself for being awesome.

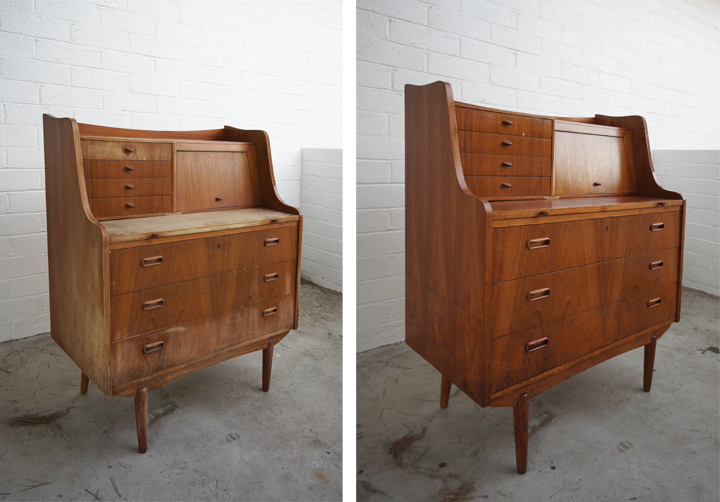
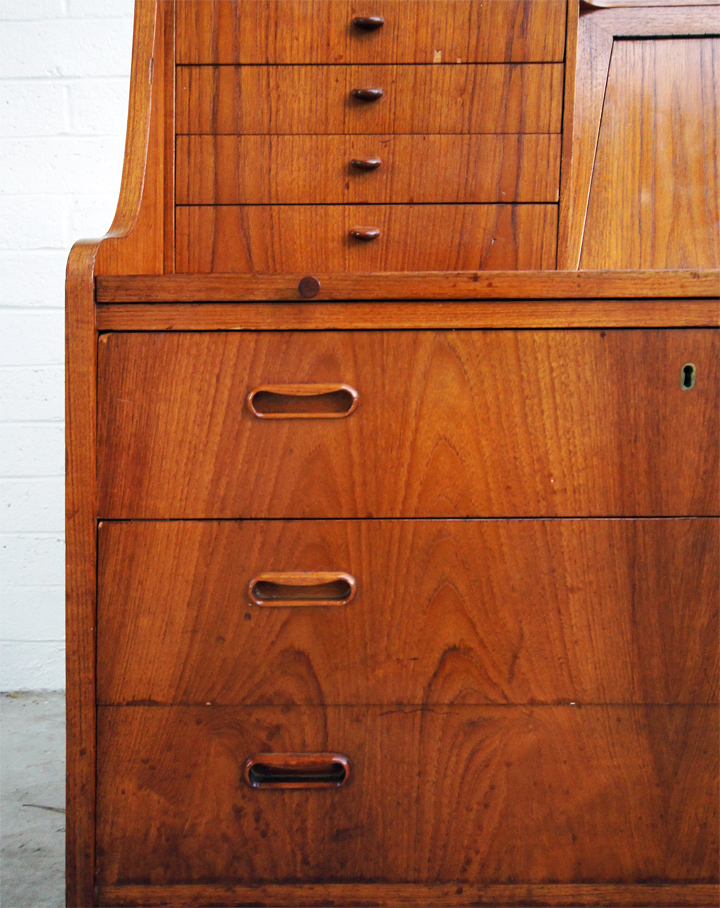
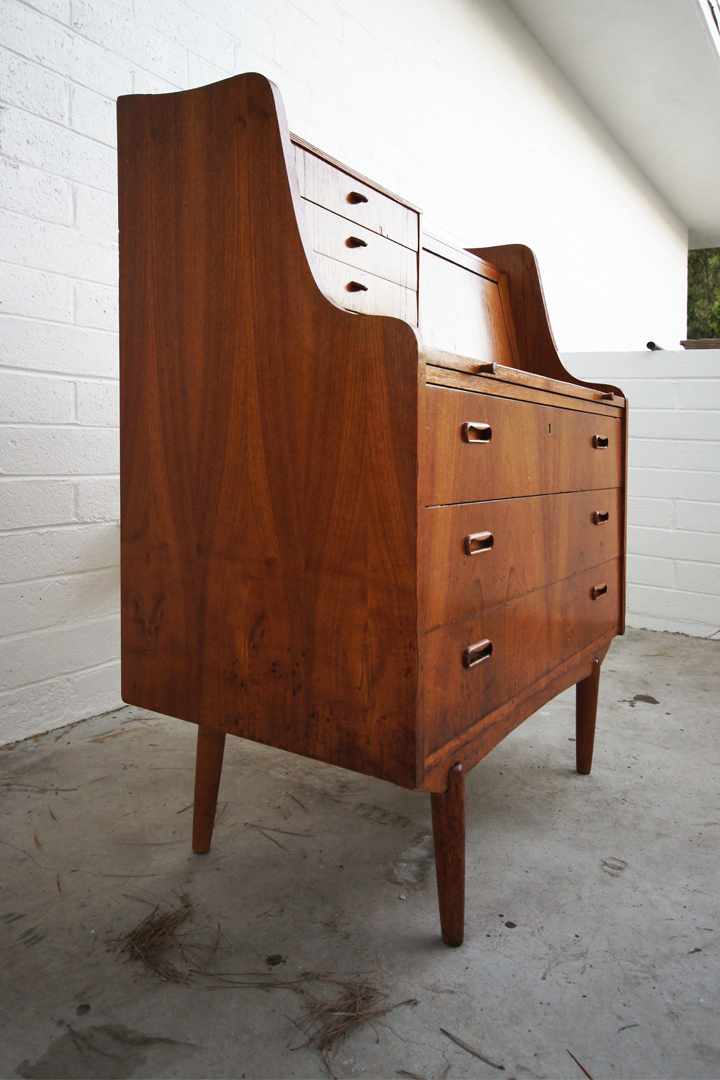
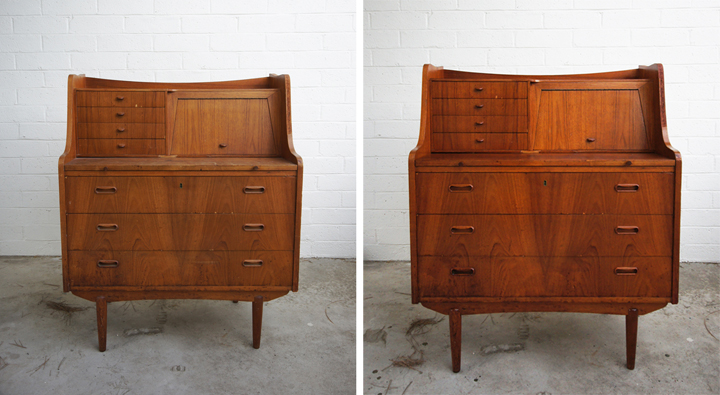
The wood should appear darker, more even and have a nice luster after the treatment. Scratches and scuffs should blend in with the wood since the oil makes them stand out less visually. Even though they aren’t gone, you’d be surprised how they almost disappear. Deep water stains are almost impossible to get rid of on veneer. You can’t sand veneer too much without the risk of sanding all the way through. Bleaching is always a tricky proposition, and could go wrong fast. Using the oil tends to even out the color difference and making the dark spots fade back a bit.

This chest needs the veneer replaced in a number of areas, but I’m not that interested in making it super perfect. I sort of like things to show some of their age, be a bit beat up and therefore less precious when you live with them. Then I don’t feel so bad when I inevitably screw it up even more.

Before and After.

Oiled up and ready to go. Now we just need to finish the rest of the master bedroom.

Tour

Wednesday, September 15th, 2010

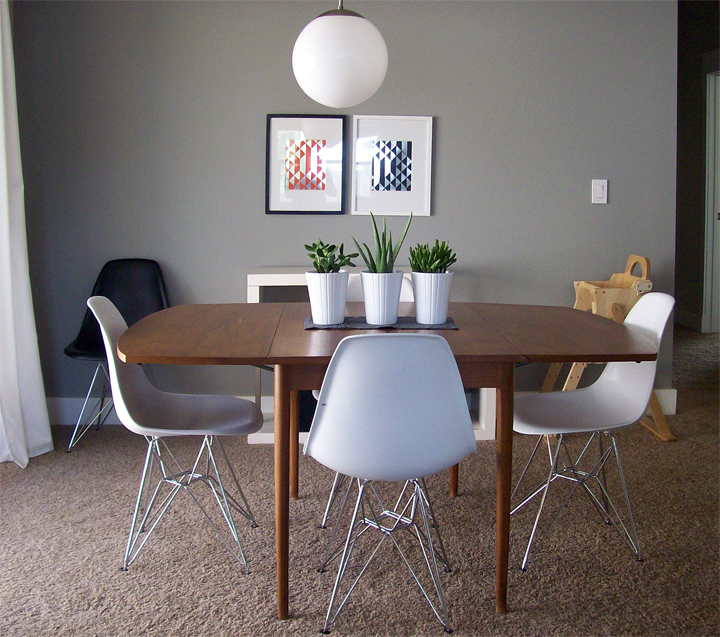
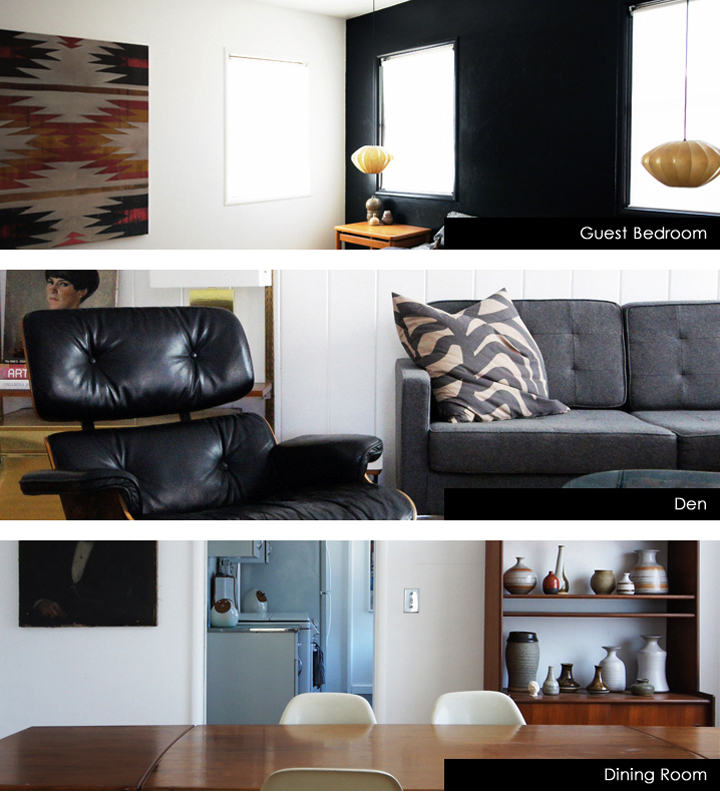
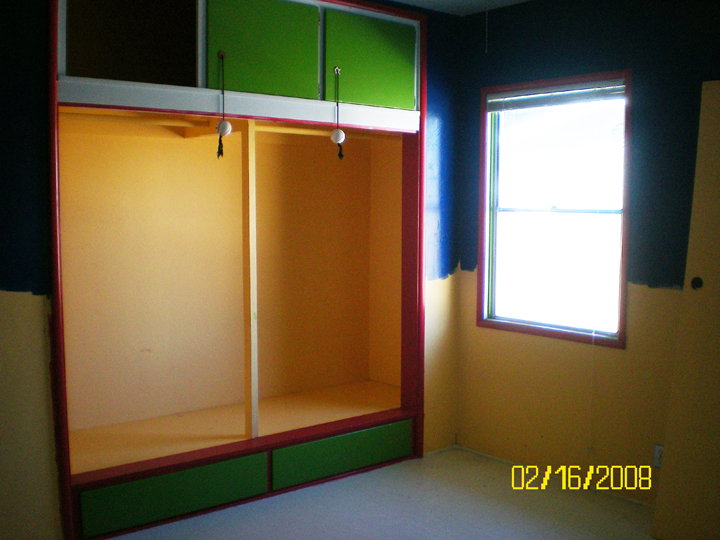
I finally updated the house tour. Recently, I went through the tour pictures and realized that I hadn’t updated them in far too long. A bunch of stuff has been sold or moved around and it felt like time to show what we are working with now. I also added some “before” images at the bottom of each set to show what the room looked like through the lens of my sisters point-and-shoot camera all those years ago during the inspection.

My favorite before:

Yeah, I know. HORRORSHOW.

Can you guess that that was the master bedroom? Which, BTW, is still in progress but a zillion times better than that enameled clown paint kaleidoscope of bad decision making.

Speaking of the in progress master bedroom, check out the still in progress but brand spanking new exterior section of the tour. Once both are finished they will get updated with some sweet “after” pics. Probably by that time I’ll need to re-update the rest of the tour as well. It’s a circle of never ending updating!

Also, big thanks to DwellStudio and Apartment Therapy for giving props to the new Brick House Design venture and thanks to you guys for all your well wishes and support! BHD is just starting but exciting things are going on. I’ve got some projects in the works that I can’t wait to show you guys and if you have a design dilemma that needs some magic fairy dust, feel free to email me for a quote.