Archive for the ‘after’ Category

MAKEOVER

Tuesday, January 3rd, 2012

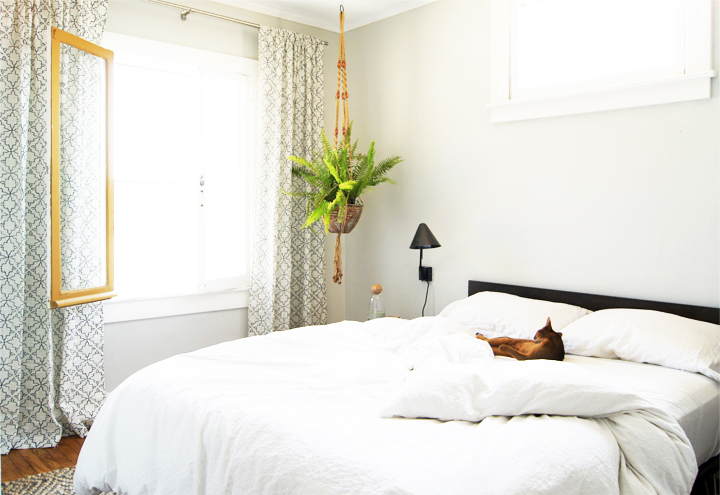
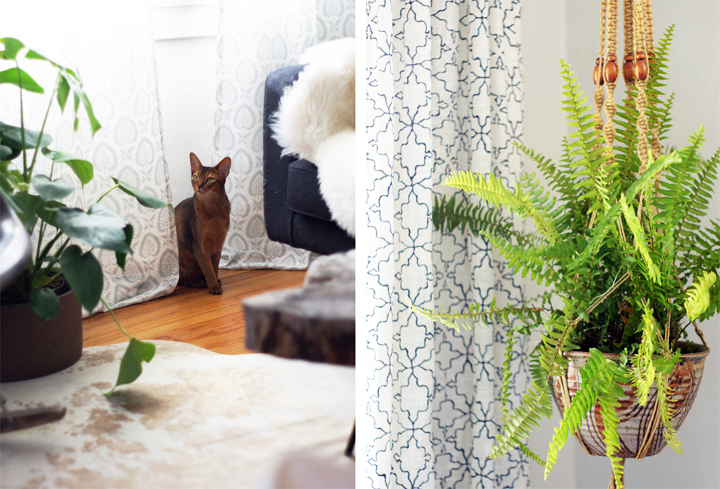
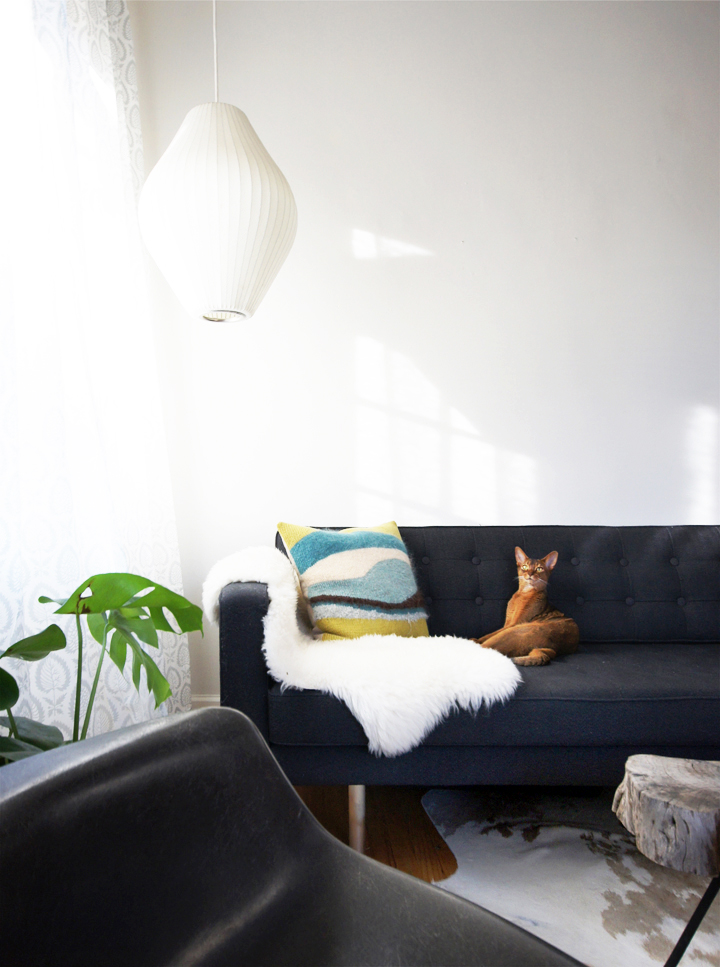
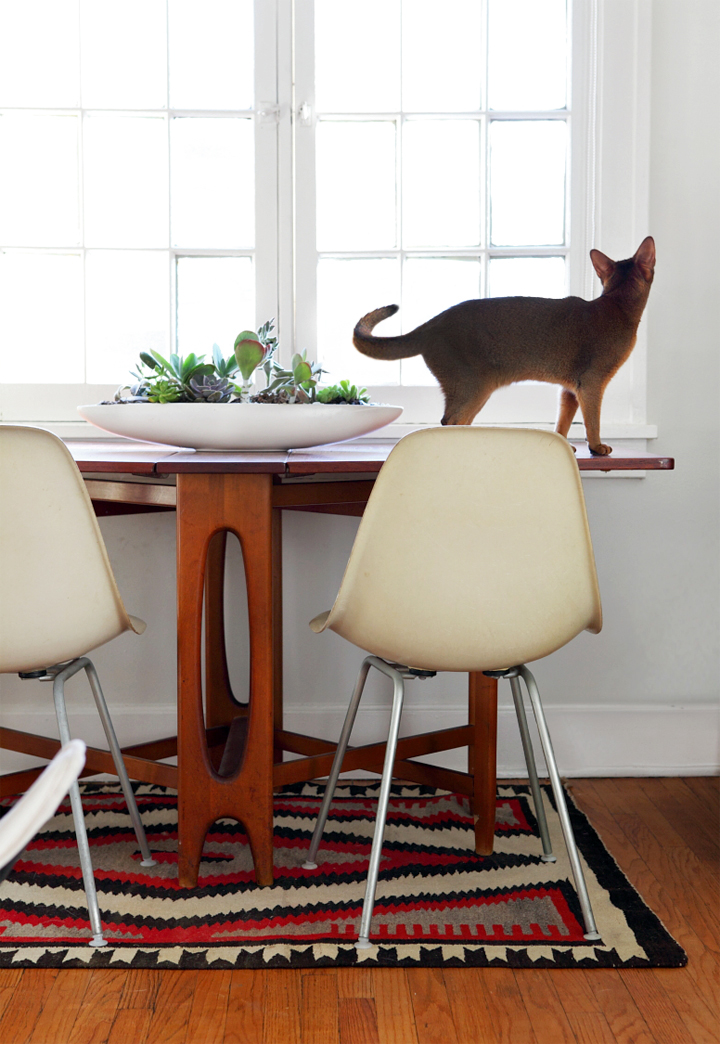
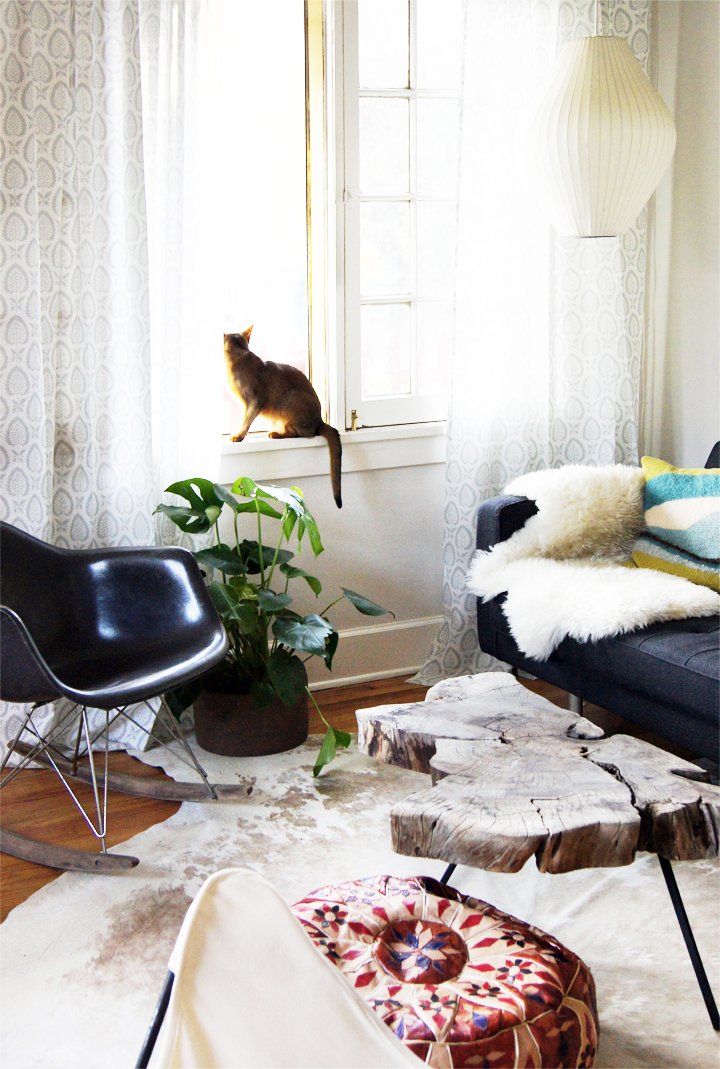
Apparently this is Hazel’s house? Or maybe Hazel is a bit of a camera hog? Is it possible that this kitty likes to work it for the camera? Hmmm.

I have no excuse and will not apologize. I cannot resist photographing pets.

Anyway.

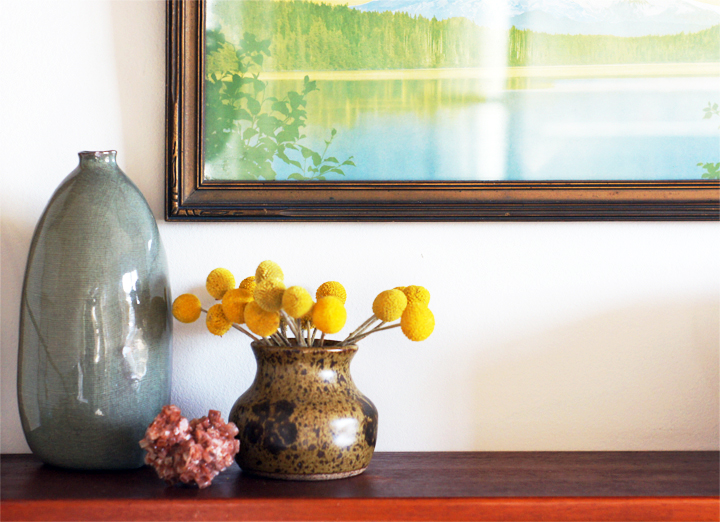
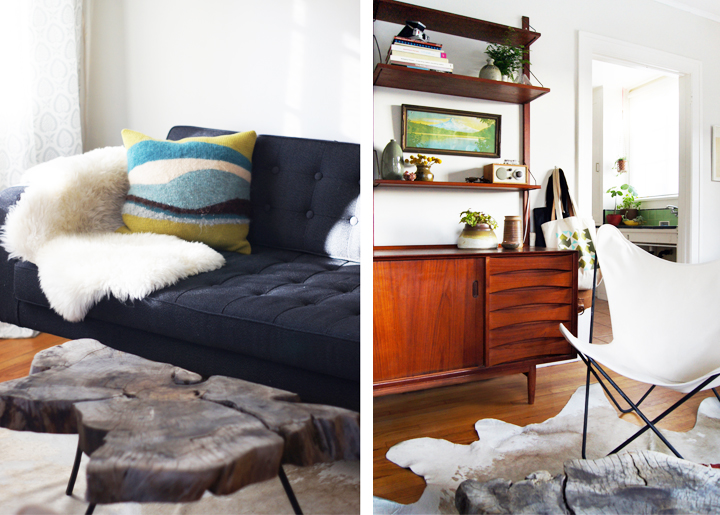
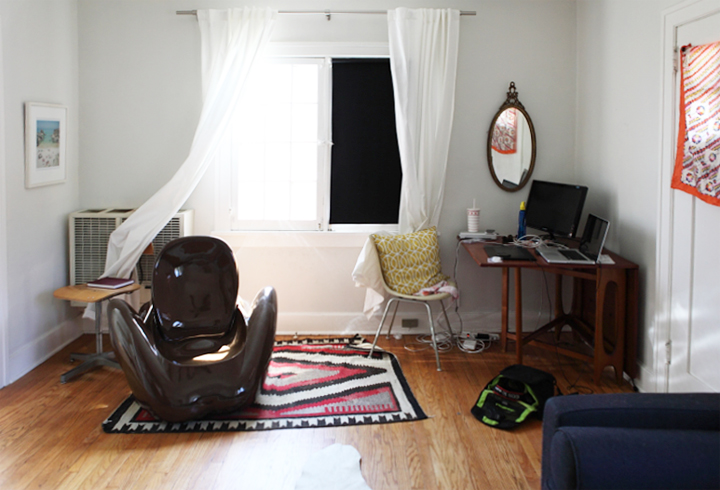
I had been crashing on Laure’s couch while we worked on the home makeover portions of Extreme Clutter this past summer. Production hours can be nuts and after a full day of creating pure magic and transforming cluttered homesteads into places that were both organized and stylish, we would stumble into Laure’s pad and pretty much pass out. So, when the second season wrapped up, it definitely felt like time to tackle Laure’s 450 sq.ft apartment – which might have suffered it’s own touch of the neglect style clutter. You know, seeing as Laure was working all day, every day for months on end and I was making myself at home in her living room.

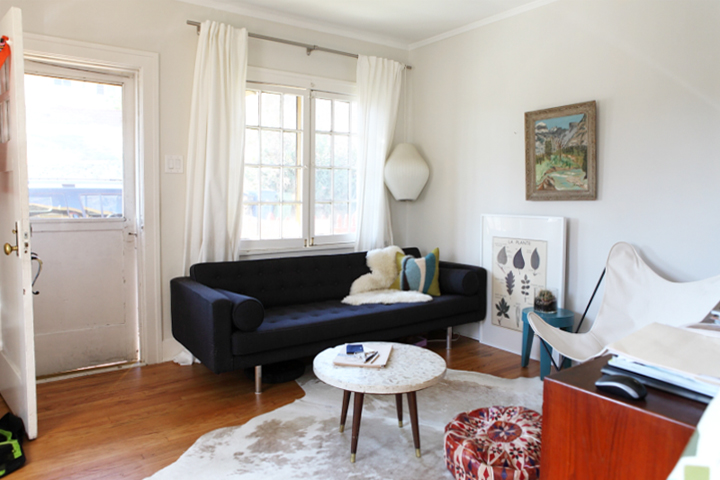
Check out some of this BEFORE action for reference.

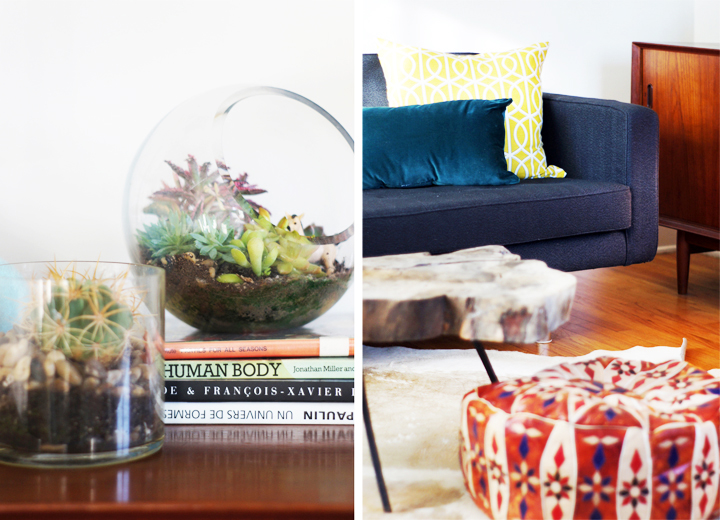
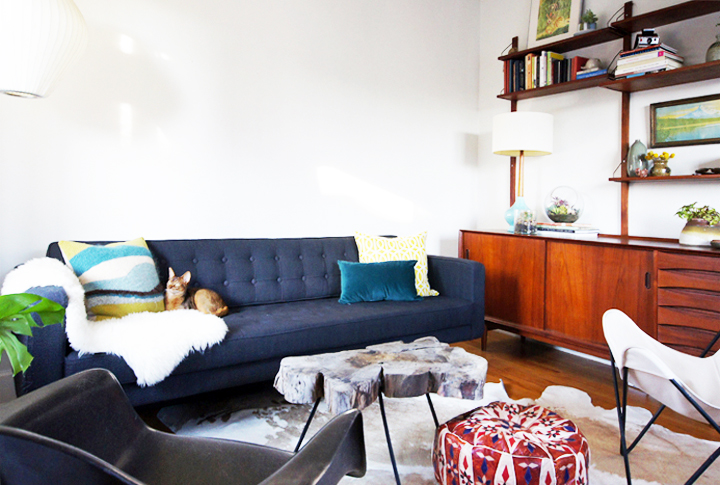
Now scroll back up to those afters. I’ll wait.

See? That was amazingly fun.

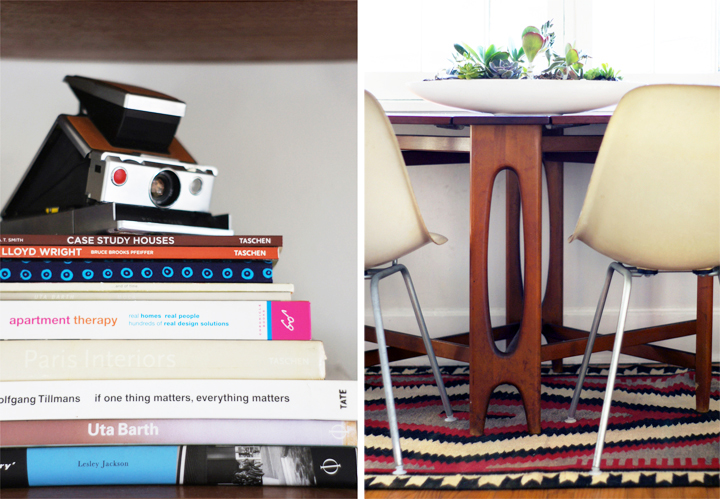
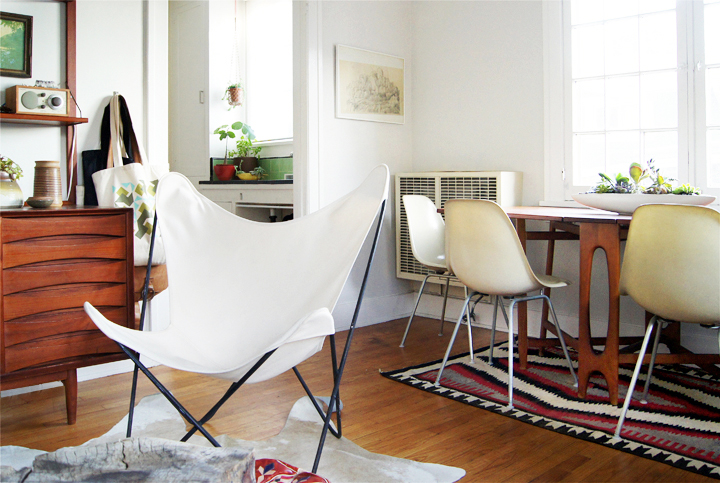
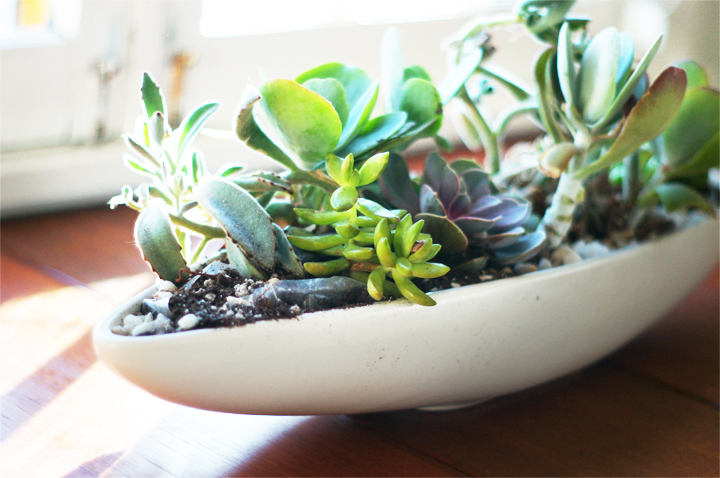
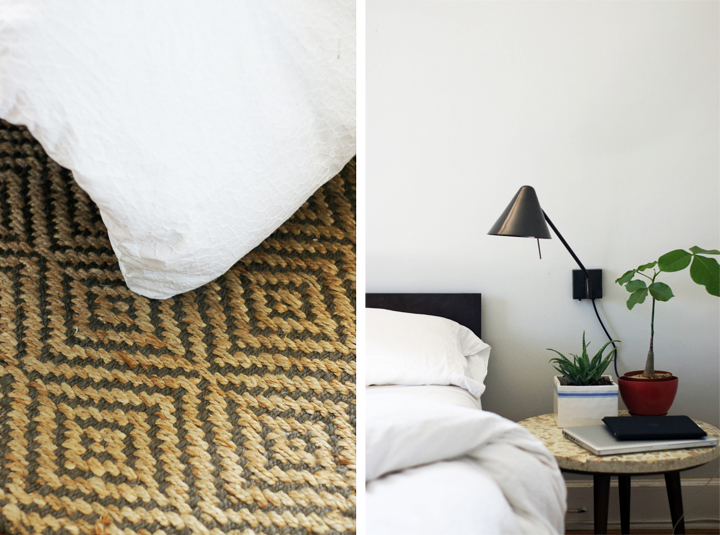
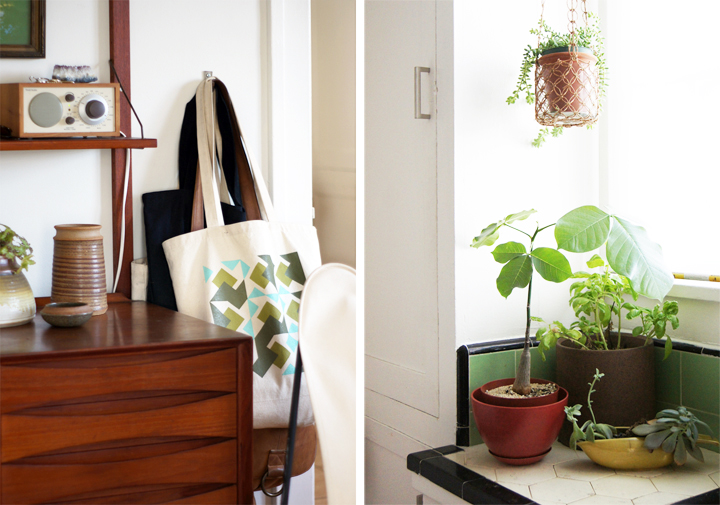
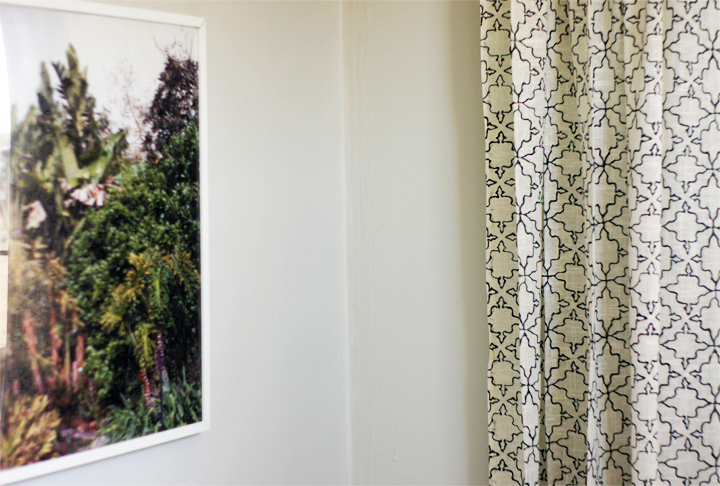
Over the course of a day or so I helped tackle (what my terrible with names brain is calling) a No-Cost Makeover of Laure’s living room and bedroom. We reused the furniture and things she already had in the apartment, pulled a couple things out of her storage and then fairly quickly the whole apartment functioned better and felt way more cohesive with just that basic rethinking of the floor-plan and restyling of her accessories. So, in total, we spent about $40 at Home Depot for a smattering of plants and a couple light bulbs. Cheap, quick and good-looking to boot. In the end everything came together so well that I’ve been testing out this makeover idea and love how quickly a space can transform with a couple layout tweaks and careful editing. Sometimes it takes someone with a fresh pair of eyes, ruthless ability to edit down all your crap (with fantastic taste, obviously) and style it all up to pull that space together.

The No-Cost Makeover : One room. One day. Solving those big design problems with the things you already own.

Sound like fun? Maybe something you might need at your house? I think this could be kind of amazing, but need to figure out the having time issues. I’ve been super slammed and now my house is suffering the neglect clutter. To the EXTREME.

Maybe if I can get past the shame of it all, I might share my dirty secret. The clutter. All that clutter!

THRIFTY!

Tuesday, September 6th, 2011

I still thrift. All the time. I swear.

It’s been about three months since any thrifty action has seen this blog.

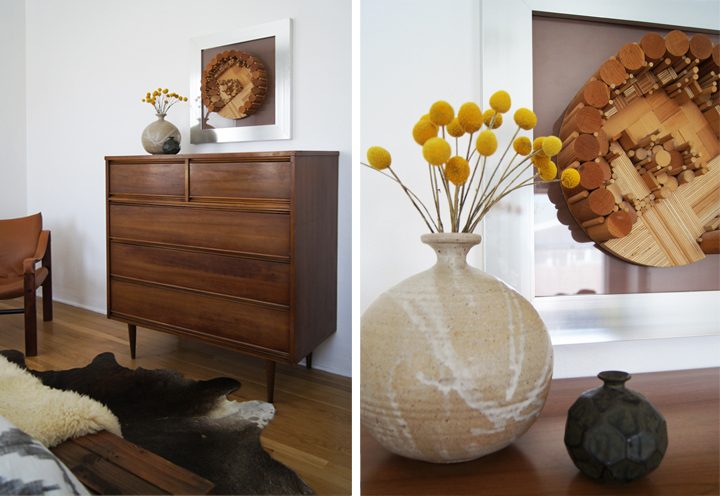
BUT, the master bedroom has been begging me for a tall dresser for months now. Finding the right piece has been wickedly difficult considering it had to be both the right scale and cost. Guideline-wise, it had to be vintage (DUH) with a basic no-fuss design that slanted Danish. The curse of thrift shopping  is: if you’re needing something specific, you’re never going to find it.

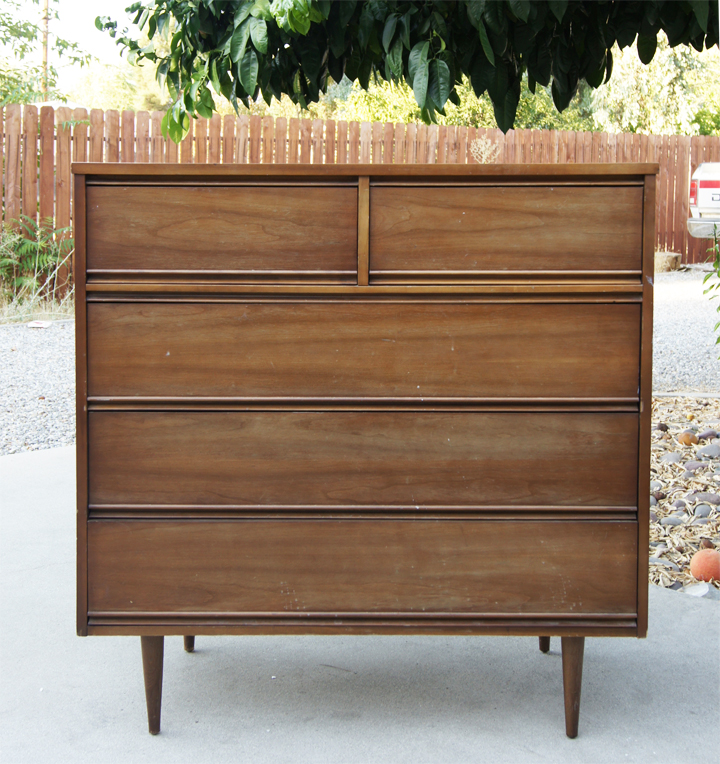
I gave up hope, getting by with the wrong credenza in the meantime. Recently, during some local thrifting rounds, I spotted a complete bedroom set that included this simple but incredibly dry looking highboy. In it’s entirety, the set appeared abused and neglected for the last sixty year and cried out for the old vintage wood regimen. Luckily, the set was being sold piecemeal, making it easy to grab the highboy and nightstands and jet off.

Not to digress, but when I’m thrifting with folks or get emails from folks with thrifting dilemmas, their biggest challenge is usually just looking past the ugly florescent lights, piles of garbage and disorderliness of the place to spot potential. This dresser looked so depressing, so cheap and soooo gross in the store, but wood – good wood? Wood loves to be prettied up and treated right.

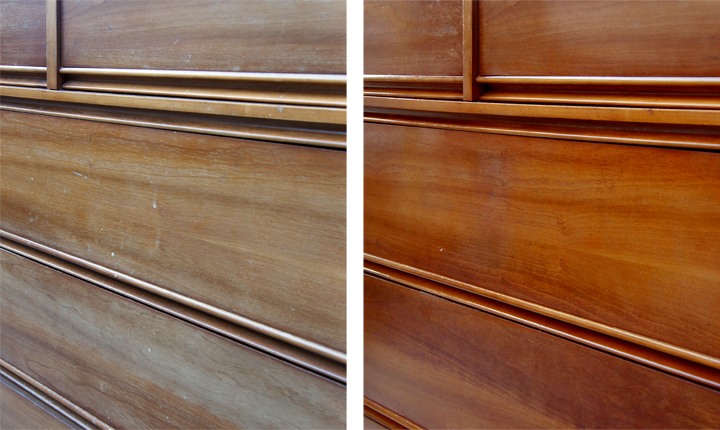
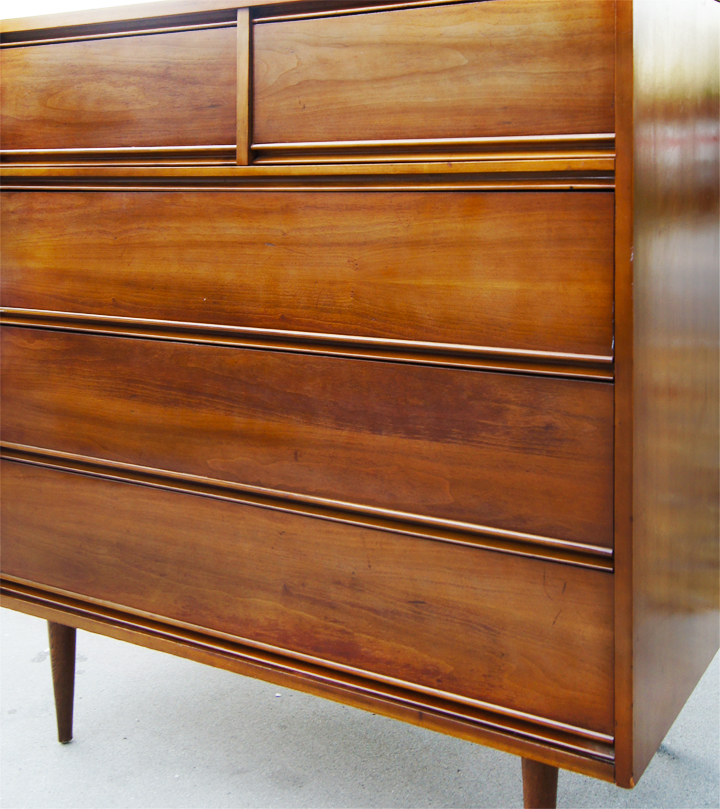
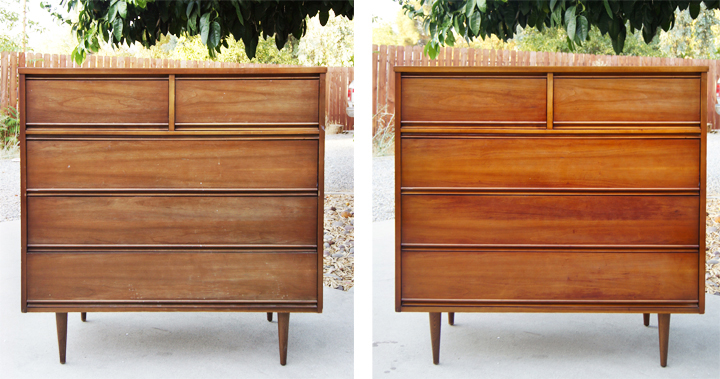
Spending the time and putting in the effort of sanding everything with fine steel wool, slopping on a couple coats of Danish oil and hand rubbing a final finish of Howards Feed N’ Wax, returns the luster and richness to wood that appeared derelict and shabby at best.

Of course this dresser is still vintage.

Over the last sixty years it’s been used and misused. Vintage wear and tear goes with the thrifty territory, but I prefer to live with furniture that’s been well used and developed an understandable patina. This way, instead of fearfully living with a perfect museum piece, you can knock stuff around and use pieces day in and day out without getting heartbroken if something gets dinged or nicked.

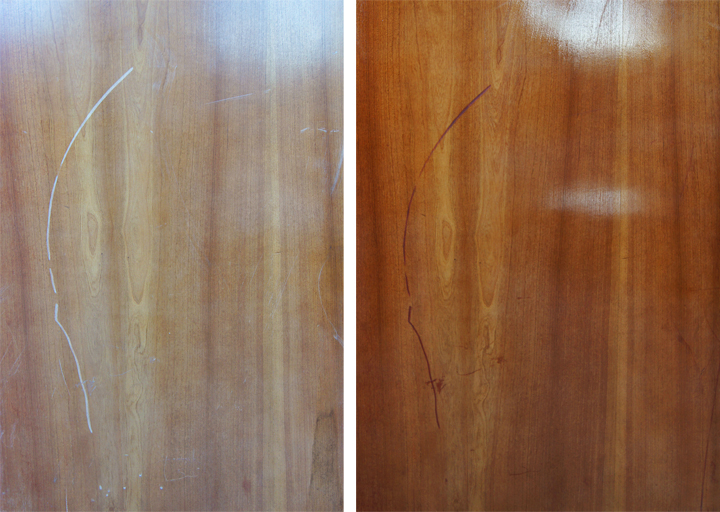
Case in point, the left side of the dresser has a large gouge from a careless handler dragging against something pointy. Sometimes, you can’t sand down very far when attempting to remove a big gouge. Most vintage furniture is finished with veneer, and that veneer is usually too thin to handle aggressive sanding.

In this situation, instead of freaking out and throwing every fill and repair trick at the damage (to just have the scratch continue to show up), a basic oiling helps minimize most of the damage. Vintage actually looking vintage is fine by me.

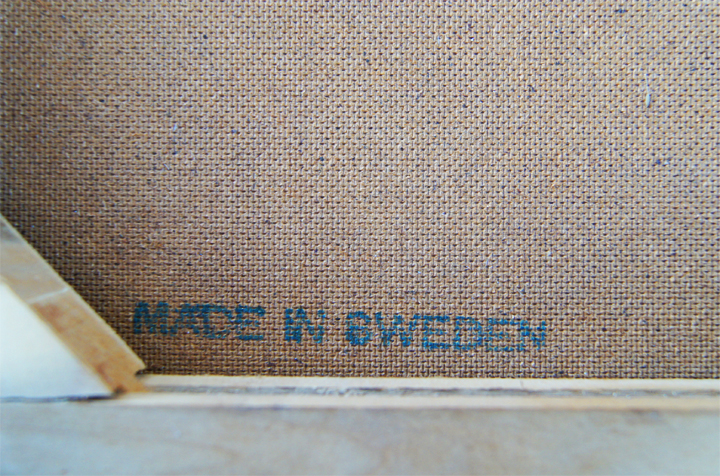
For most of the restoration, I didn’t spot markings that could help determine the dresser’s provenance. Not till after futzing with the base did this little blue MADE IN SWEDEN stamp pop up. At this point, I had pretty much assumed the set must have been American made and designed by some company in the states.

Those sneaky Swedes. Being all coy about marking stuff.

BEFORE & AFTER

Hey now.

Sexy time.

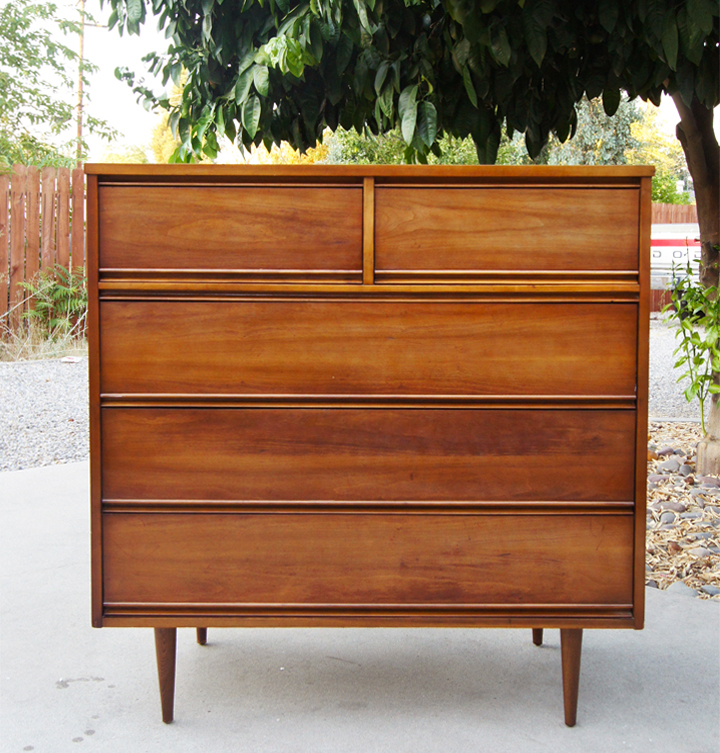
Of course this looks stunning framed by the weed infested backyard.

BUT…

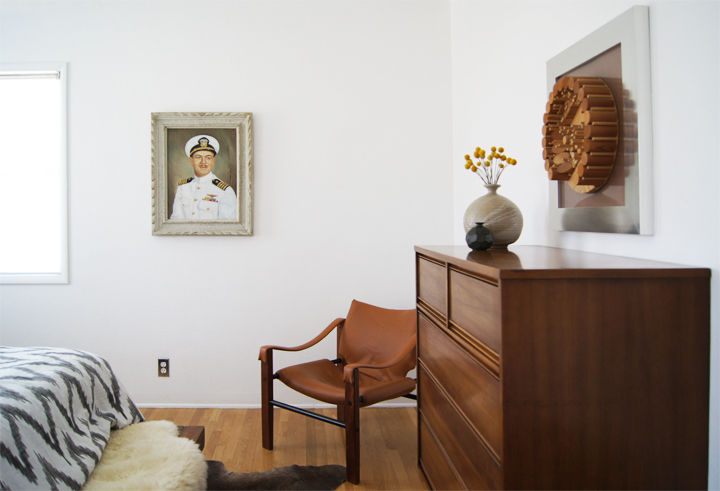
Perfect-o for the bedroom.

FAUXDENZA

Friday, August 19th, 2011

BOOM.

It’s mother-effing fauxdenza* time.

We could flashback to the rough beginning of this particular fauxdenza via the power of HYPERLINKS or maybe just scroll down for a refresher.

OK. Let’s get our DIY on.

* Trademark via Anna at D16 & blatantly used here ad nauseum.
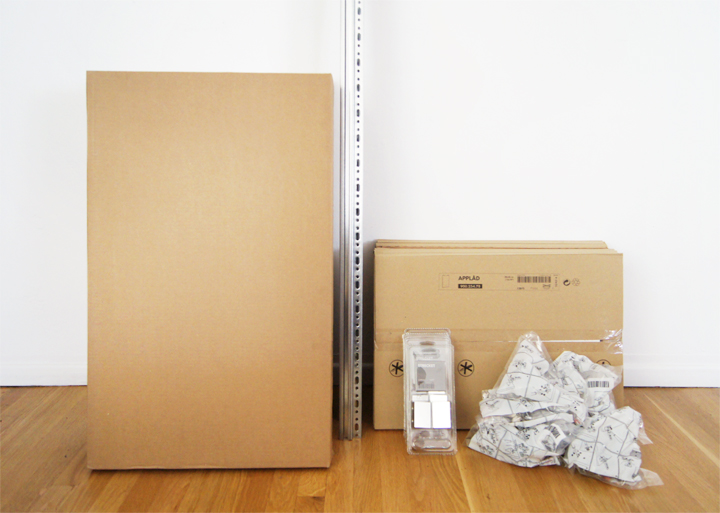
 

FAUXDENZA

Dimensions: 10′ long x 13-1/2″ deep x 33″ tall

Materials:

Ikea

8  –  Applad Doors (15 x 18″)
4  –  Akurum Wall Cabinets (30 x 18″)
8  –  Integral Hinge (2 pack)
2  –  Akurum Suspension Rail

Lumber

1  –  Wood  (14′ L x 15″W x 1″T) *I used Afrormosia

Tools:

Drill
Circular saw
Level
Tape Measure
Ratchet
Screws + appropriate anchors
Shims
Steel Wool
Fine Sandpaper
Danish Oil
Feed n’ Wax
Clean Rags
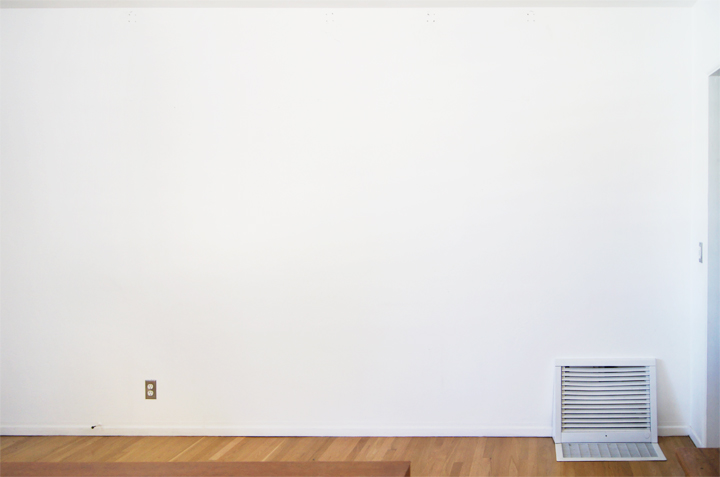
This poor, strange living room wall…

There was once a pipe shelf. Then I got bored with that. Then nothing for a bit. Then a floating storage credenza sounded good. Yup. Fauxdenza.

The whole fauxdenza thing boils down to just installing Ikea kitchen cabinets way, way too low. Since the tops of the wall cabinets aren’t meant to ever be seen and are all uglified, making some sort of aesthetically pleasing top becomes necessary. But first, installation.
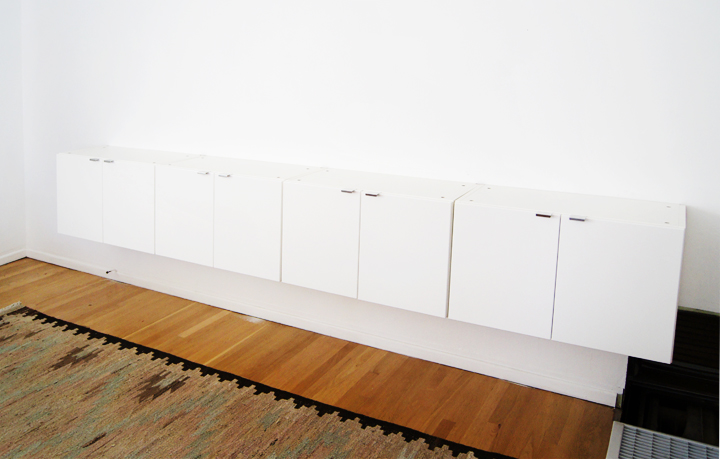
The Akurum suspension rail system is designed to levely hang Akurum wall cabinets very simply. Of course, to install the rail you have to choose appropriate wall fasteners for your walls. For our plaster walls, screws into studs plus heavy duty anchors worked perfectly.

I test mounted the cabinets to see what the plumb/level situation was going to be when confronted with our old plaster walls.

Obvious shocker. Old plaster walls are really uneven.
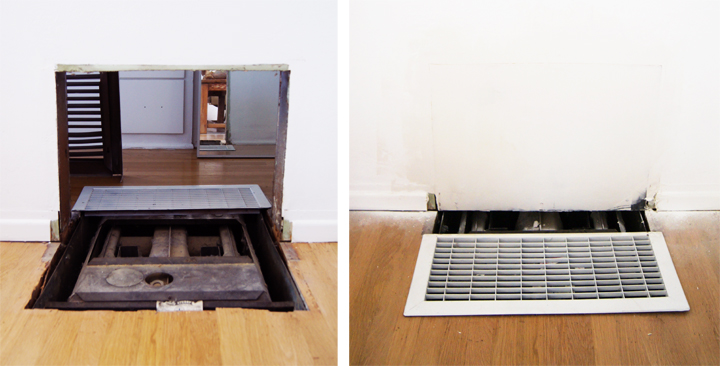
The walls are wonky, but the other installation hurdle was that creepy giant non-functioning heater thing. Not only did it ugly up  the place, it’s location blocked the centered installation of the loooonnng fauxdenza.

So we removed the internal bits, framed out the wall, patched and painted it up (although, finding matching molding and large floor grates are still an issue).
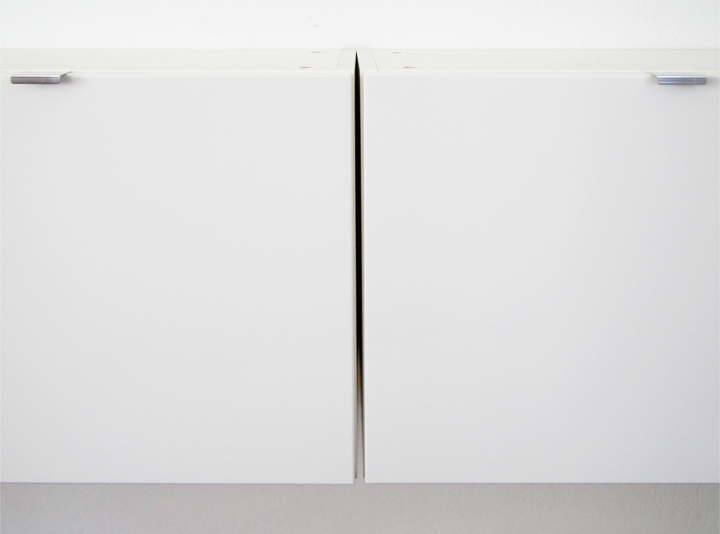
Old house + plaster walls = Gappity gap gap

The last cabinet had a pretty large gap since the plaster wall took a sudden curve.
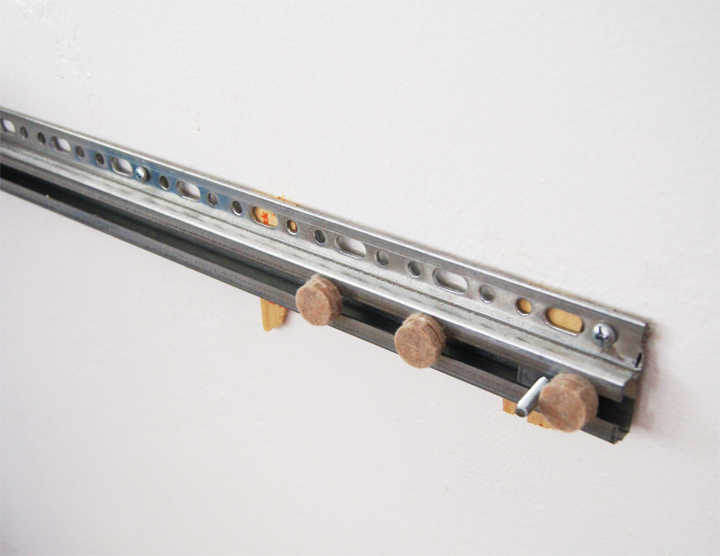
To correct the gap, first we shimmed the rail with some broken paint sticks from Home Depot, because that’s how we roll (unprofessionally). It was clear that the initial shim was nowhere near deep enough. We tested out how deep it had to be by sticking those little furniture foot pads onto the rail (unprofessionally).

Turns out, the last cabinet needed over an inch of the wackiest shimming you’ll never, ever see.
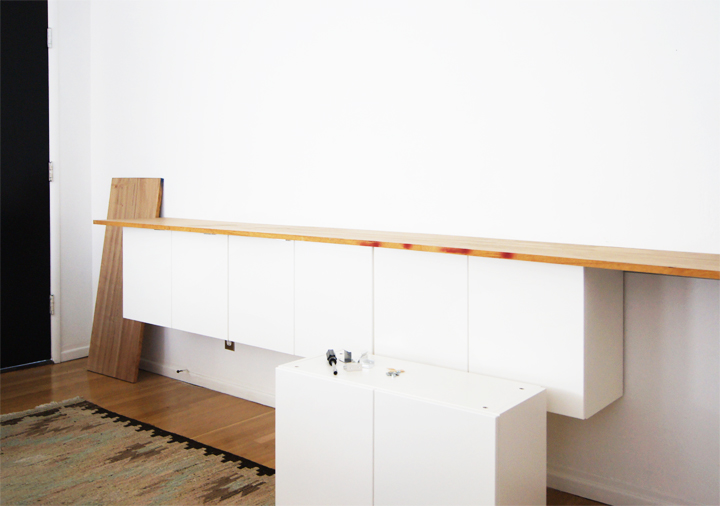
With the extreme shimming resolved and stuff hanging level, hiding the enormous new shim gap was the next quandary. The simple wood top I had planned on installing had to continue and wrap around the sides of the cabinets to disguise the monstrous shim gap.

For the newly expanded wood wrap, it felt best to find a better grade hardwood than I could grab at Home Depot.
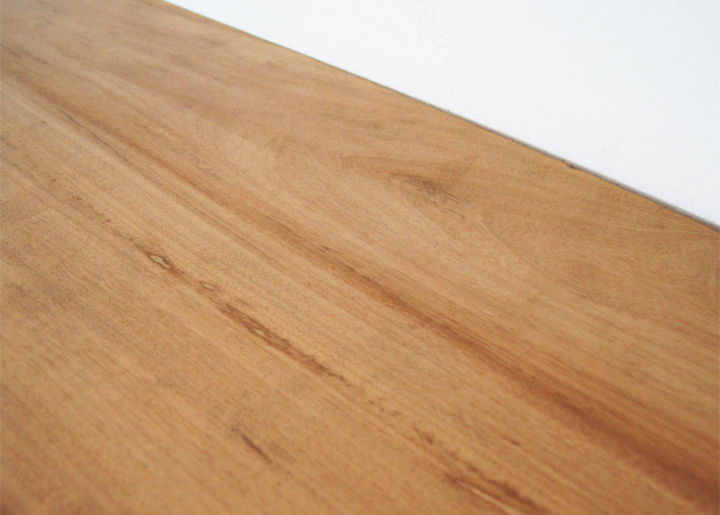
With some brief googles I found Peterman Lumber, a local mill/lumber yard that specializes in domestic and exotic woods. They have wood wood, you know, wood you take seriously. Wood that won’t take crap from no one, no how.

Tight budget in mind, I settled on a 14 foot long piece of Afrormosia, which is an excellent and – cough* cough* – cheaper teak substitute. Fauxteak.

At about 15 inches wide by an inch thick, the piece I picked ran about $100 and looked purtty.
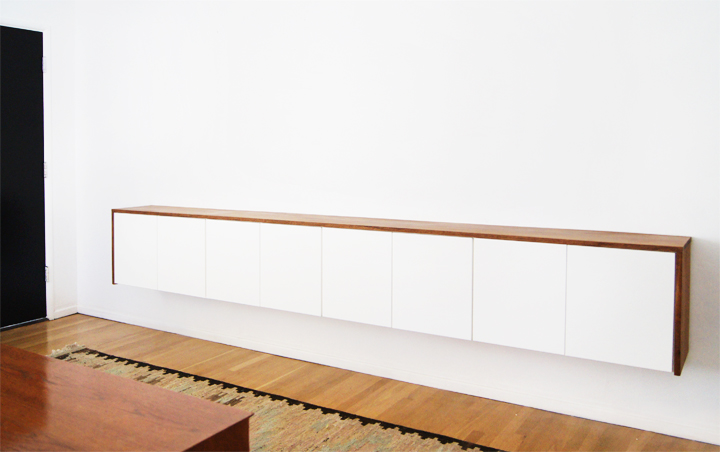
We used a handheld circular saw to cut the wood down to size. No fancy woodworking, no miters. Just simple straight lines.

I traced along the front edge of the cabinet door onto the wood sitting on top of the cabinets and pressed flush against the wall. No brainer, no craziness. Cut on the traced line for a superb custom fit.
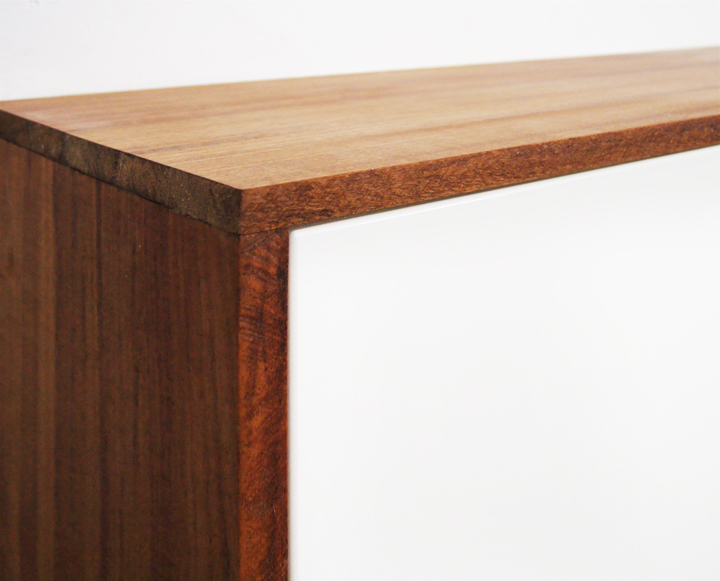
Each joint, as well as the edges, got a quick sanding to knock down any unevenness and smooth things out.

The rest of the wood got prepped with a once over sanding using super fine steel wool. Pretty much, I went with the same process that I use to restore vintage furniture to treat this new wood. Slap on a few coats of Danish oil and a few coats of Feed n’ Wax and…

Bam.

That untreated wood darkens up and looks incredible.
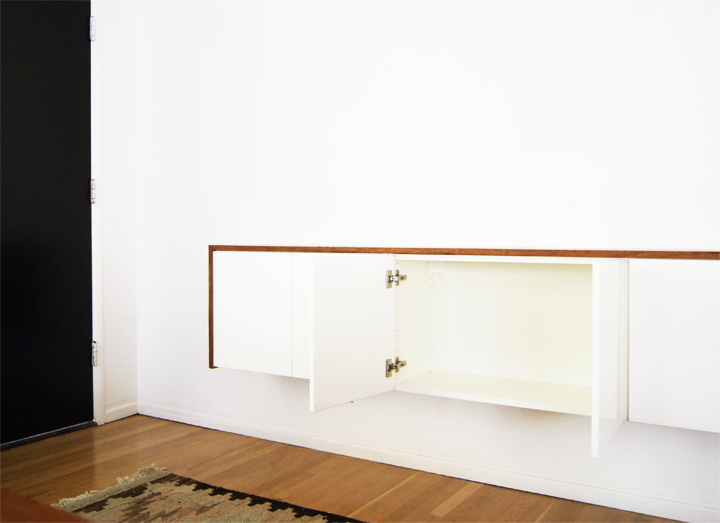
To attach the wood, I predrilled a few holes through the inside of the cabinet frames and screwed into the bottom of the wood to secure it; of course, do not go through it completely. It only takes a few strategic screws to set the wood solidly in place, all fancy looking.
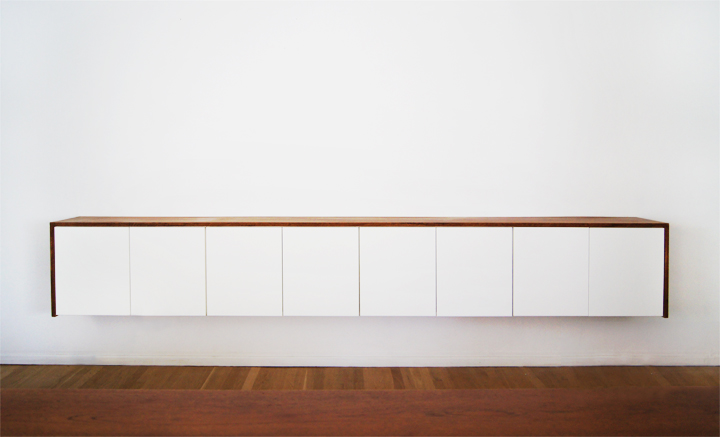
Initially, I had planned on using the Ikea Strecket handles and tested them out a bunch during the cabinet installation. Once the wood went on though, the handles suddenly looked way too fussy and got nixed.

Having no handles on the doors has been fine. The cabinets are high enough that I can comfortably grab the bottom door edge to open things up without any awkwardness.
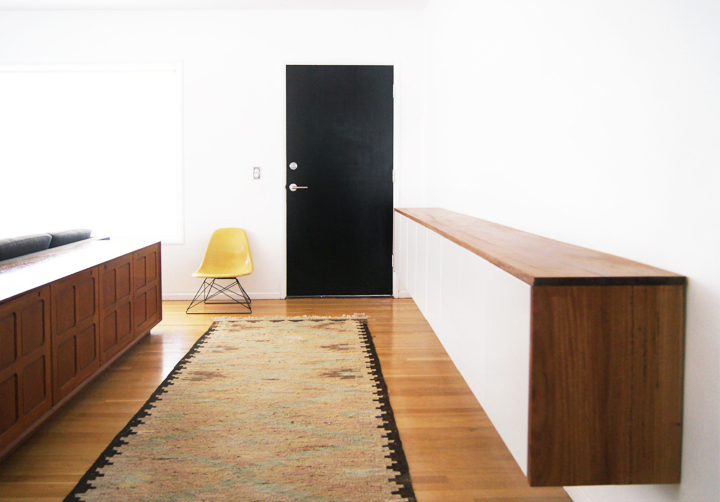
Done and done.

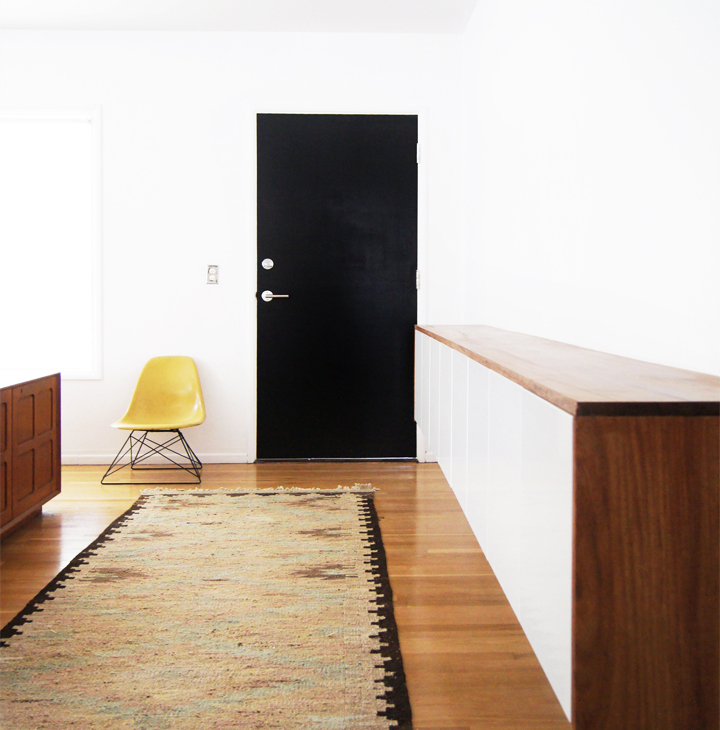
For about $300, some labor and some problem solving, we custom-built a ten foot long floating credenza that adds tons of storage while being perfectly scaled and custom fit on an awkwardly long and barren entryway wall.

Being both super customizable and easily constructed, the fauxdenza seems a clever DIY solution for a wide spectrum of storage conundrums. Plus it looks sexy doing it, which never hurts.