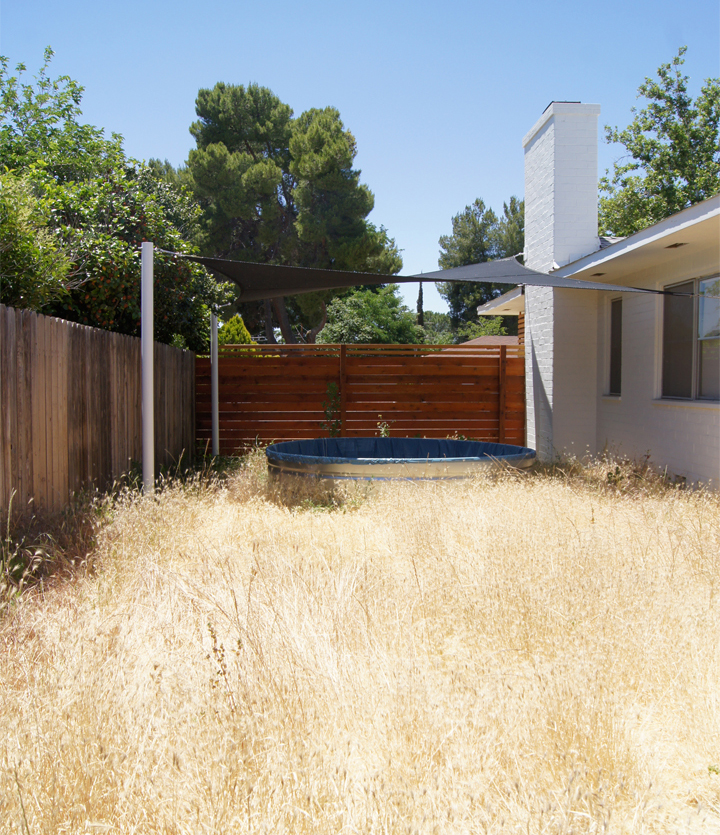
Somehow between new jobs, new endeavors, busy schedules, rain, blazing heat, more rain, hotter blazing heat, low funds and neighbors breaking the lawnmower…we neglected the side yard. Now it is a beautiful field of knee high sun-bleached weeds.
So embarrassing.
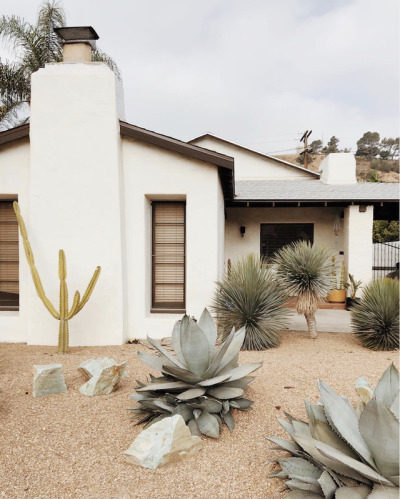
With summer here and outdoor activities gearing up, I wanted to whip the side yard into shape for entertaining + swimming. Besides the weeds, a major obstacle of having folks over for outdoor shenanigans is the lack of a decently sized dining table. Guests tend to sort of wander around with their plates and sadly huddle around the beat down Ikea Docksta table. I’ve casually looked around for a big ‘ol rectangular dining table, but hadn’t found anything that was quite right or quite cheap enough. Of course, I then imagined it’d be a fantastic idea to build a DIY outdoor dining table that looked something like THIS ONE used for planning out the design of the side yard.
As with many of my other “imagined” projects, I put it off and suddenly realized it was already ‘effing June. Of all the months, this is the month for outdoor parties. After June it gets waaaayyy too hot to even live here, let alone make company hang out outside.
So. Quick table solution? Craigslist? Yes?
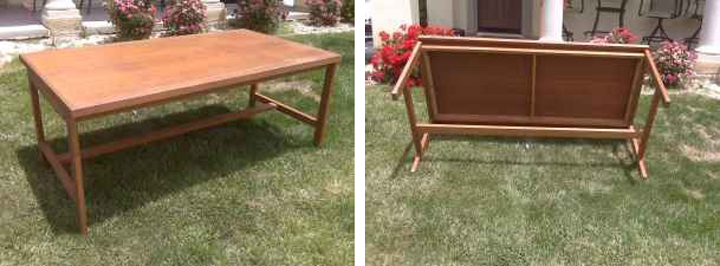
Sorry for the bad images, but these were the CL ad pictures that piqued my interest. I saw this “dining table” listed at an insanely low price and thought it looked uncannily similar to my reference table. Located only four miles from the house, it was kind of a given to go see it.
Well, we went Friday night and tried to see the table (in the dark) while it was sitting on a virtually inaccessible trailer and blocked by a big ugly credenza. Ultimately we couldn’t get a good look, but for $25 it seemed like no big deal to just buy it and throw it in the truck. It was for outside, I mean, why really worry all hard?
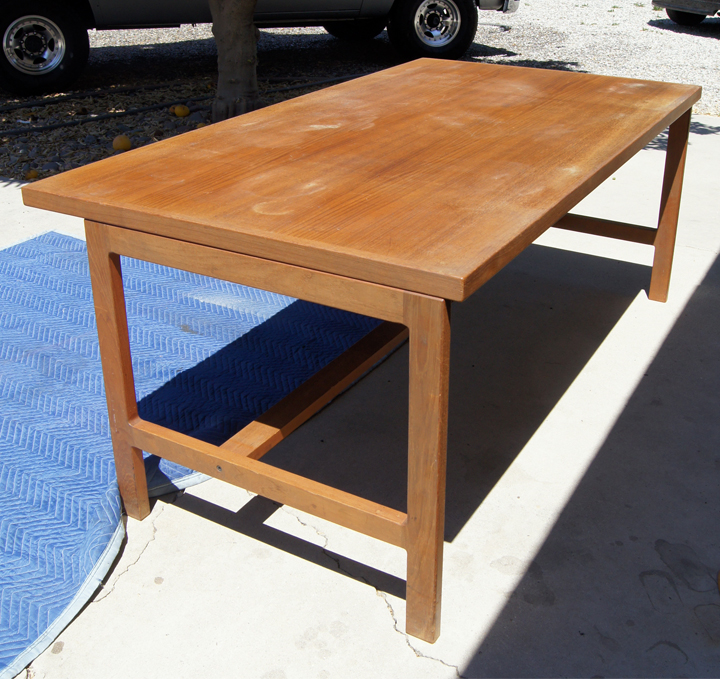
The next day (in the daylight) I got my first real look at the thing.
While in rough shape, it was MUCH more awesome than I had initially thought. It had a great simple design and the construction was so very nice…although, there was some kookiness…
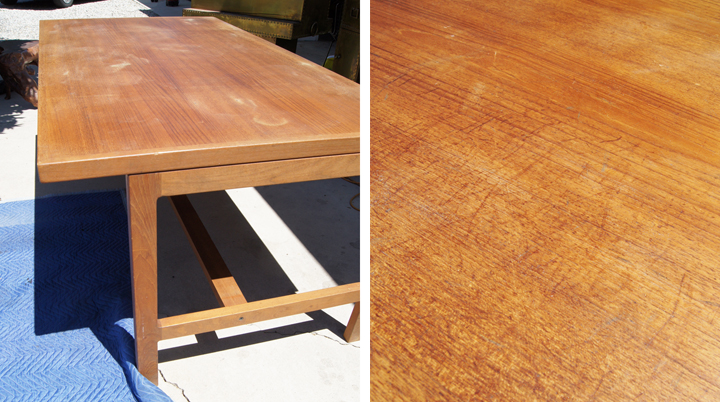
For instance, the entire table top was shifted to one side. So, one side had an overhang of six inches while the other was almost flush with the base. Which was so WEIRD. Even the trestle support was centered with the top and not the base. Which was so much WEIRDER. I suppose it might originally have been a desk? Or work area type thing? It definitely wasn’t a dining table.
Unfortunately, the top and legs had a considerable amount of damage. Lots of deep scratches, water damage, weird stains. Pretty much the trifecta of crappy damages you don’t want to see.
But it was teak!
And fantastic!
It seemed a simple fix to take the top off and center it on the base to create a more dining style table. As for the off-center trestle support? I hoped it wouldn’t be a big deal once there were chairs, plus who really notices trestles anyways?
No one who wants to eat dinner. That’s for sure.
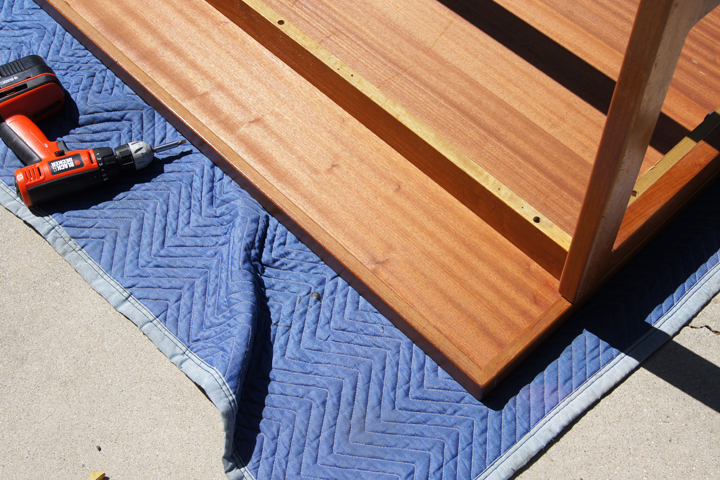
I flipped the table over to remove and remount the base and…
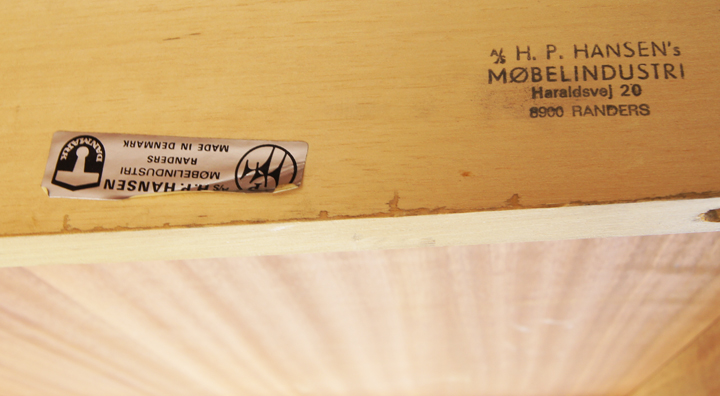
BOOM.
Hidden on an interior support was a stamp and a tag. This thing was Danish and made by H.P. Hansen and vintage and uh oh.
CRAPFINGERS.
Suddenly I wasn’t so confident about screwing around with the design and using this as an outside table. This table had survived for decades before I considered finagling around with it. It’s solid teak and has provenance and is an unusual design – but it is also so very awkward as well.
Is it a desk? A table? It’s not a classic or rare or highly desirable piece.
Ultimately, this thing was just so very fucked up.
The damage was such that I knew I couldn’t fix it completely; I could make things better, but the rough spots would never truly disappear. Choice-wise, I could either sell this surprise but damaged discovery (since I couldn’t use it for anything besides an outdoor table) or I could keep it, fix it up as much as possible and then own a really nice outdoor teak table that gets it’s own special weather resistant cover.
Frankly, in the end, I didn’t feel comfortable selling something that was in such bad shape. It didn’t seem worth the shipping and time and possibility of a buyer getting really upset over condition issues.
So. Nice outdoor teak table? Yes?
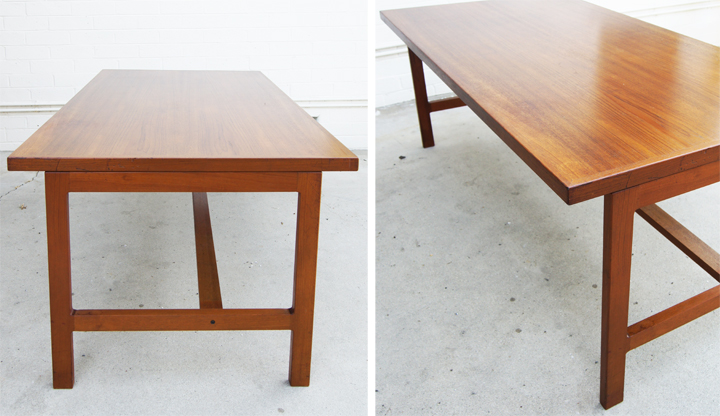
Once decided, I removed the top and centered the base. The trestle support is still off-center, but it didn’t seem worth removing to only have weird patched holes and will mostly be blocked by chairs AND SHALL BE IGNORED.
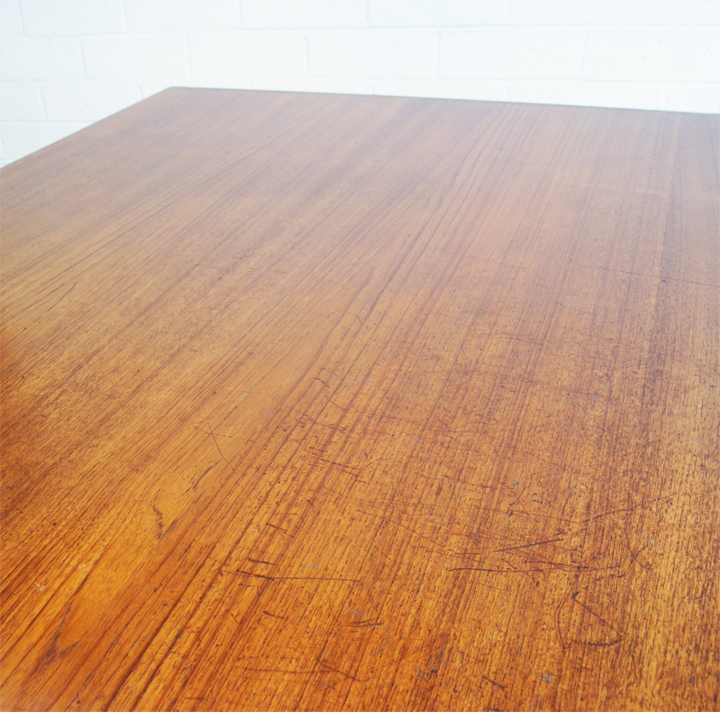
After adjusting the base and tightening up all the bolts, the table got my full restorative treatment. There are still scratches, deep gouges, major color inconsistencies and stains from what I imagine were markers – like a kid used to sit and draw here and the ink leaked through.
BEFORE
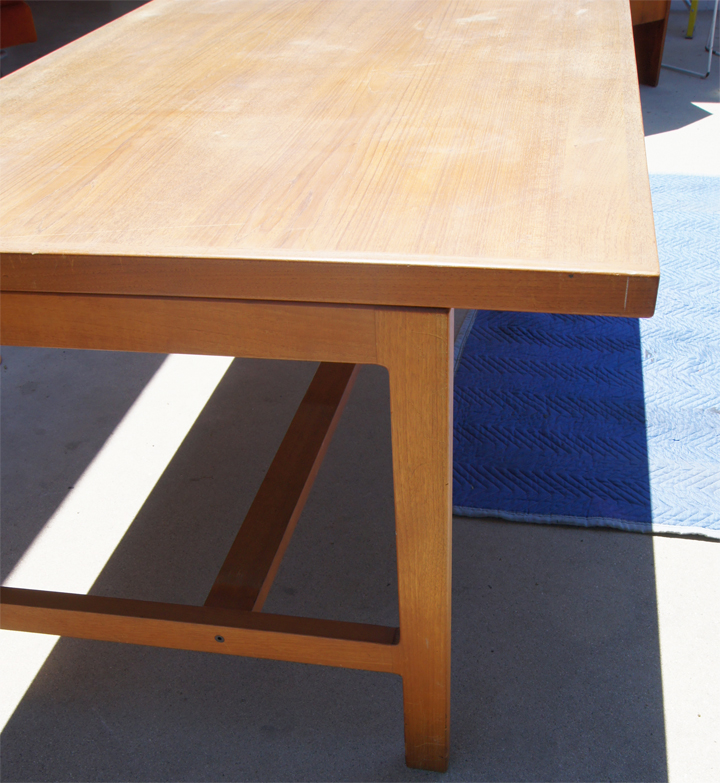
AFTER
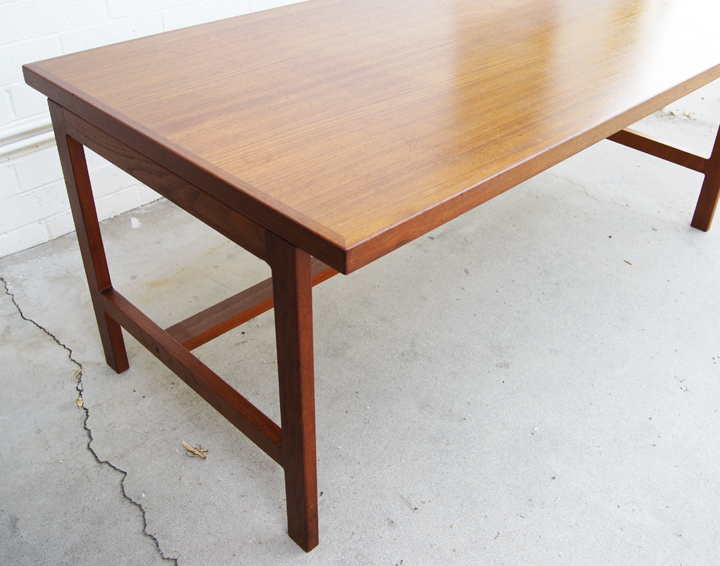
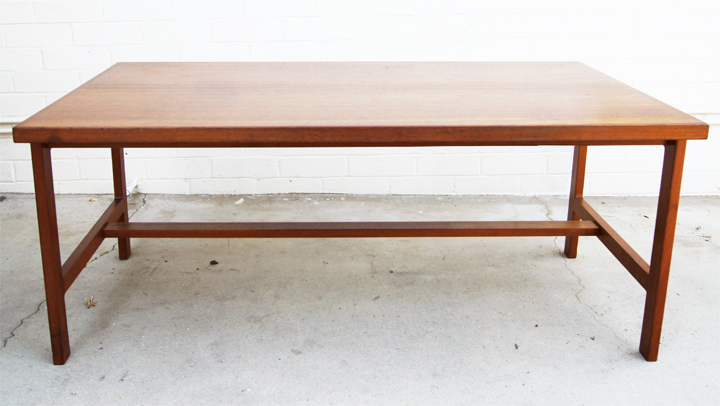
Not so bad. Not bad at all.
For $25, some hours of labor and a slight flesh wound, it looks like a much nicer table than I should have sitting outside.
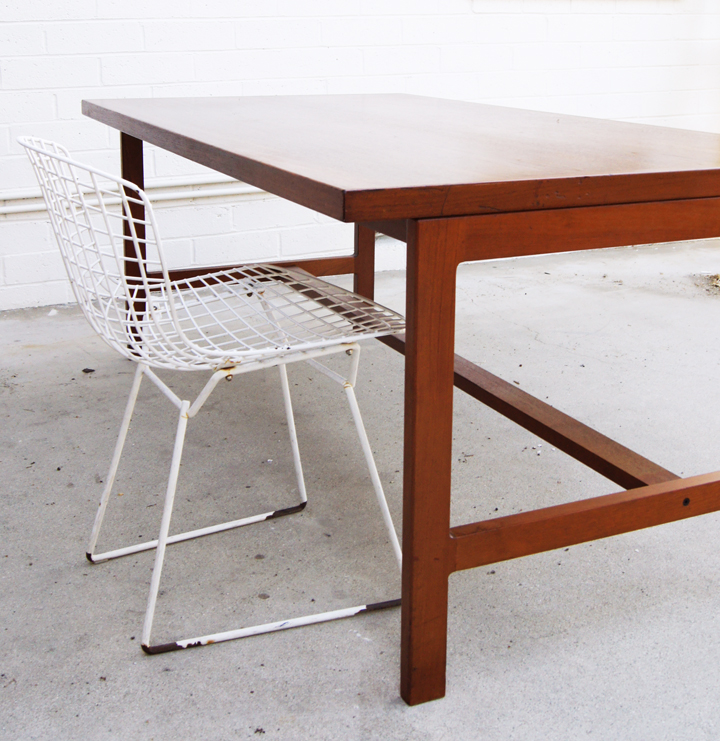
I have always planned on pairing the exterior table with my set of Bertoia chairs. Now these roughed up wire suckers are looking super janky next to the shiny restored table.
The set of Bertoias need full on restoration (the white coating around the wire has chipped and come off in big hunks). Powder coating is the more expensive and better option, but maybe a good exterior spray paint will get them through awhile longer and protect the metal until we can afford to fully restore.
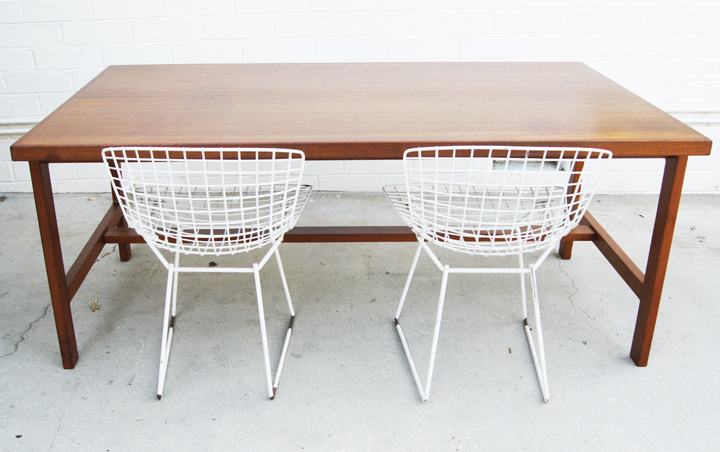
Now to just get the side yard to be a little more inhabitable. That’s going to be some filthy, hot, backbreaking work. Better get the pool plumbing installed for sweet watery relief…but that will also be filthy, hot, backbreaking work. Clearly this is why the side yard was so casually ignored and fell into ruin.
Must not be a lazy jerkhole. Must get side yard fixed up.
