Archive for the ‘before’ Category

Bedroom

Thursday, August 19th, 2010

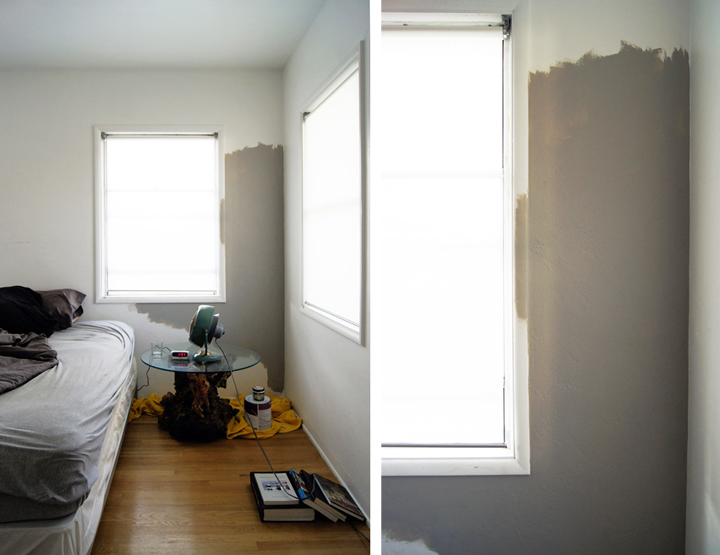
I tried blue. Then gray. Waited a few days and settled on Behrs Ashes. Hmmmmm. Now, why did I want to do an accent wall?

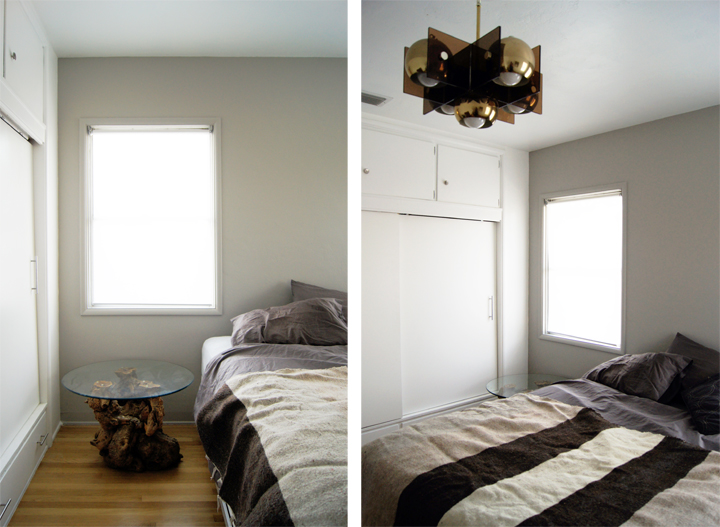
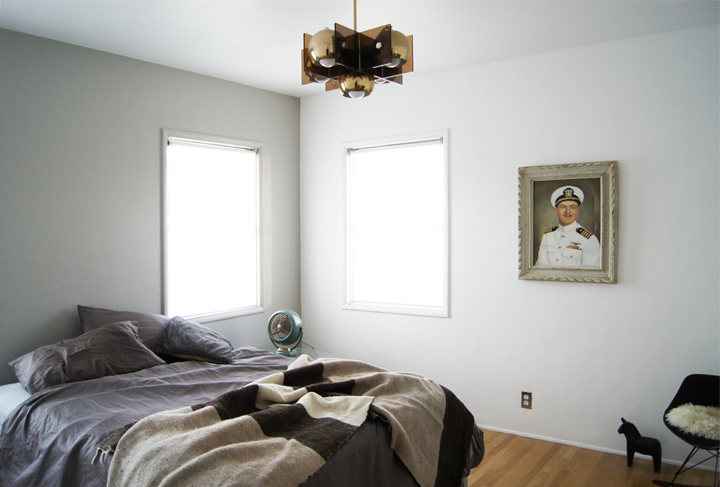
It may have something to do with being consistently dissatisfied with the tiny main bedroom. Something deep inside needs it to be more snazzy or possibly wants to distract from those asymmetrical windows (which are a huge pain in the ass when it comes to placing headboards or furniture or anything really).

I think I like the color. It’s hard to judge since the bed linens are not working at all with it and I’m having a problem figuring out what to do with the bed frame. My suspicions are that beds are the hardest thing to put together well.

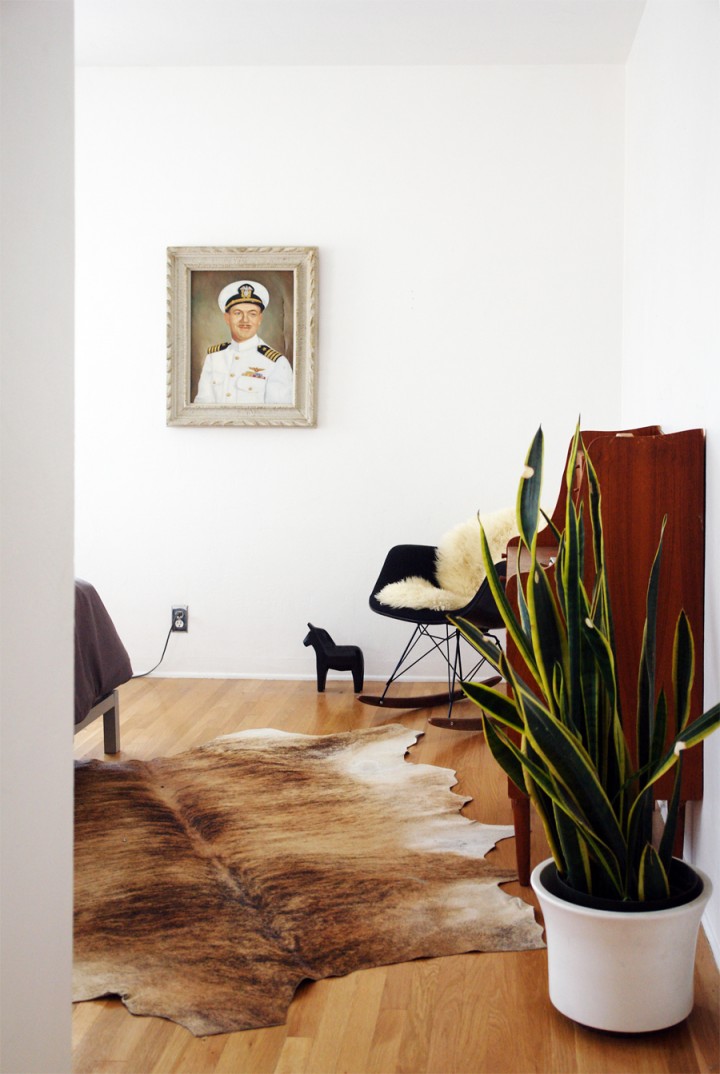
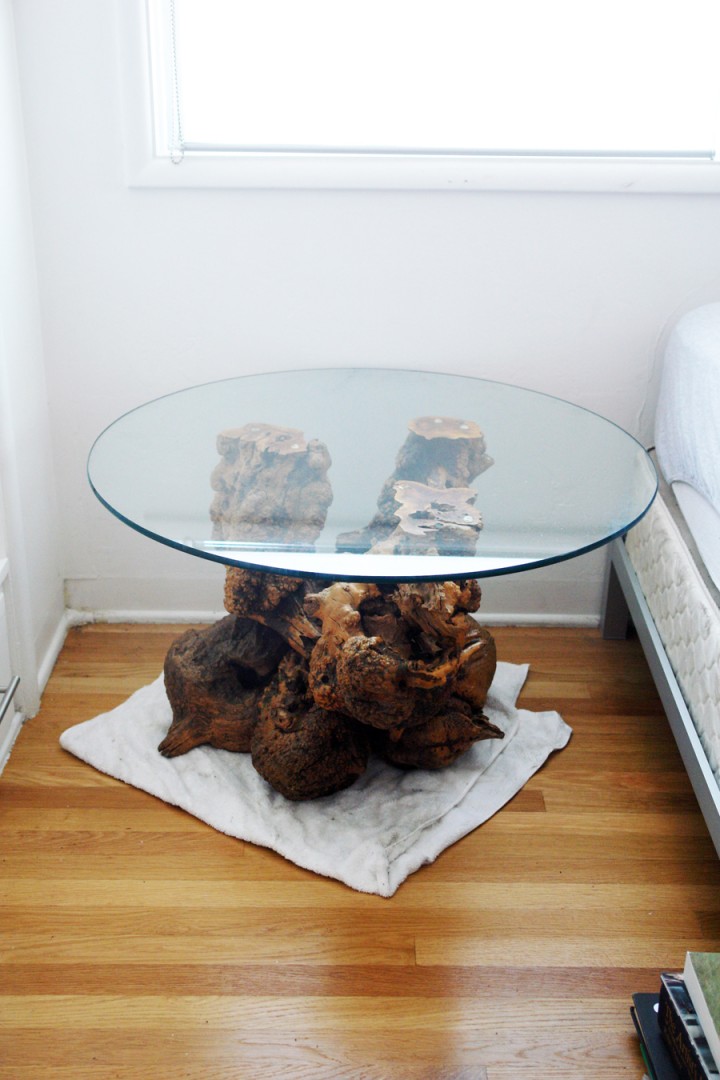
Here is a reminder of what the other side of the bedroom looks like and those burl wood tables will be nightstands.

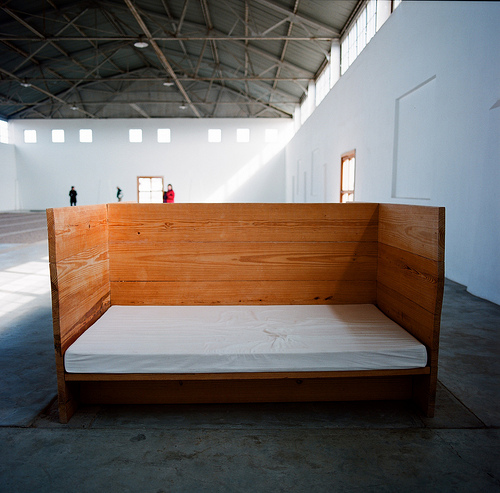
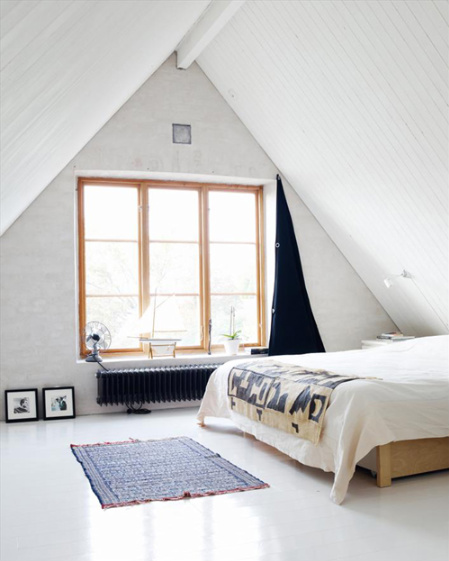
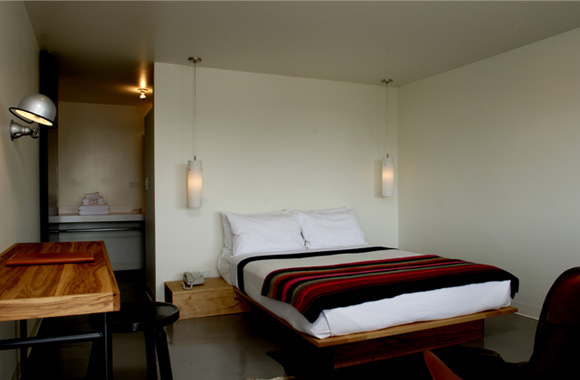
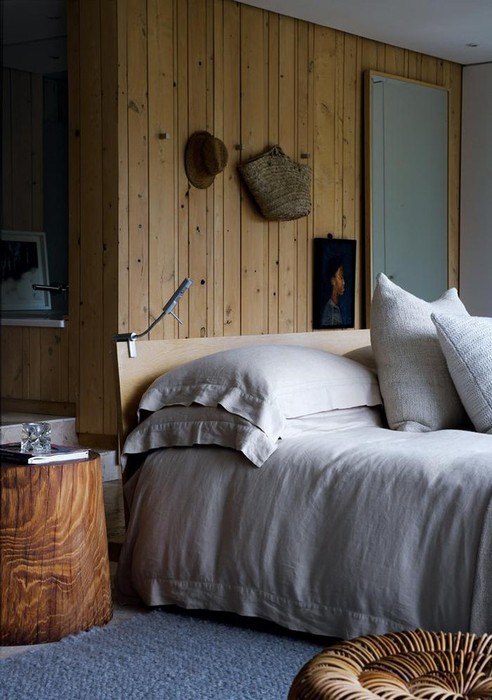
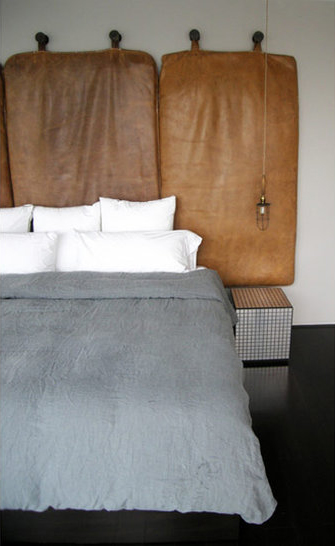
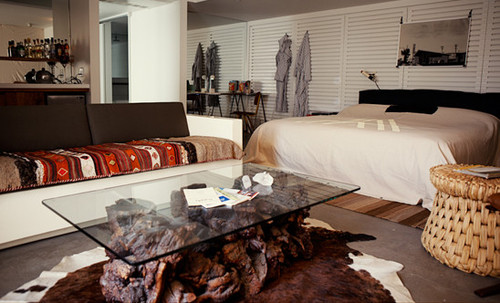
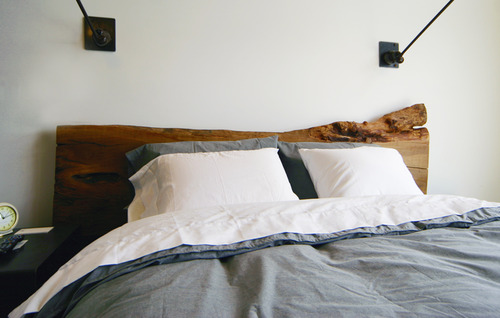
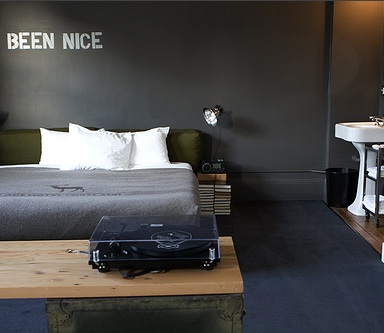
I’ve been going through my tumblr archives trying to figure out what it is that I hope to achieve. Below are some shots that seemed to have a coherent aesthetic scheme running through them.

I’m feeling a little stuck and broke. I’ve been combing through all the affordable bed linens I can find on ye’ old interweb and nothing is approaching being acceptably perfect. Well, except for EVERYTHING made by Area. Area is incredibly lovely, but also very, very expensive. I know that the bedding answer seems sooo obvious, but we can’t do white. I would totally go for full on white bedding in an instant but The Boy has put a kibosh on any and all white bedding.

The bed will need to be lowered in order to have a room for a headboard and allow easier access for Iggy’s little short butt to jump up. Nothing affordable, short and amazing is popping up so it looks like we might have to DIY a platform bed as well as some sort of headboard. The closet door handle situation will also need to be addressed, which requires some more fancy DIY action. Bedside lighting has proven to be difficult issue over the past few years and I’ve been seriously considering an Akari table light to keep things casual.

Maybe many potted cactuses is the answer.  Maybe a visit from the money fairy is the real answer…I’m thinking this whole remodel business would be a lot easier with bags of money.
Front Door

Wednesday, August 18th, 2010

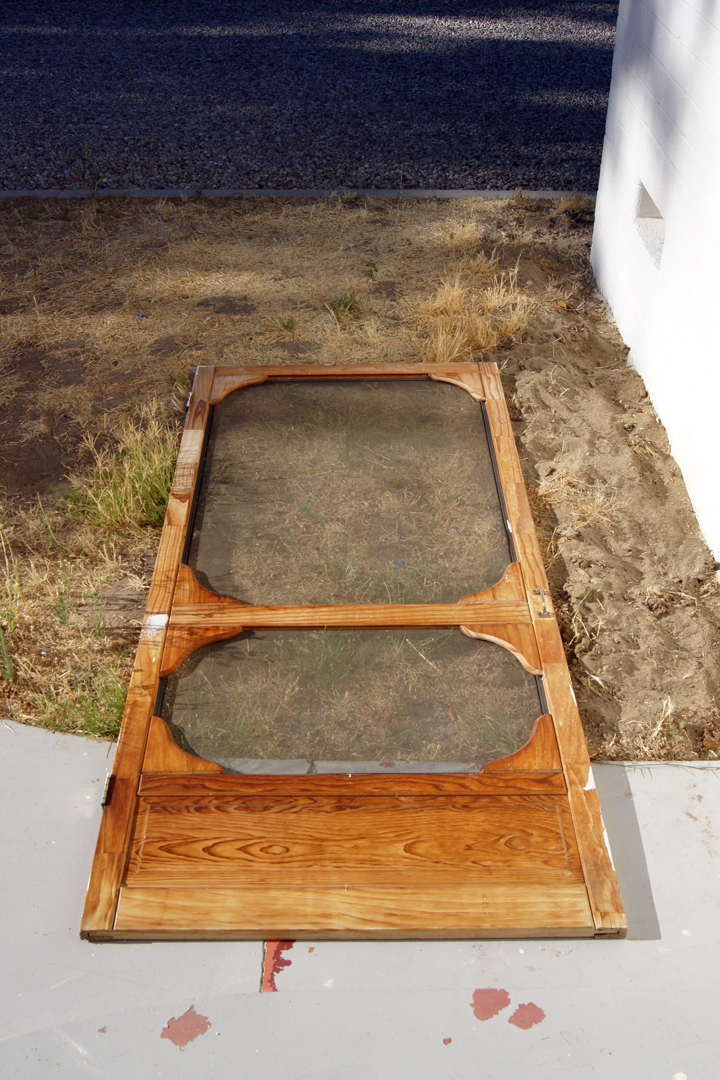
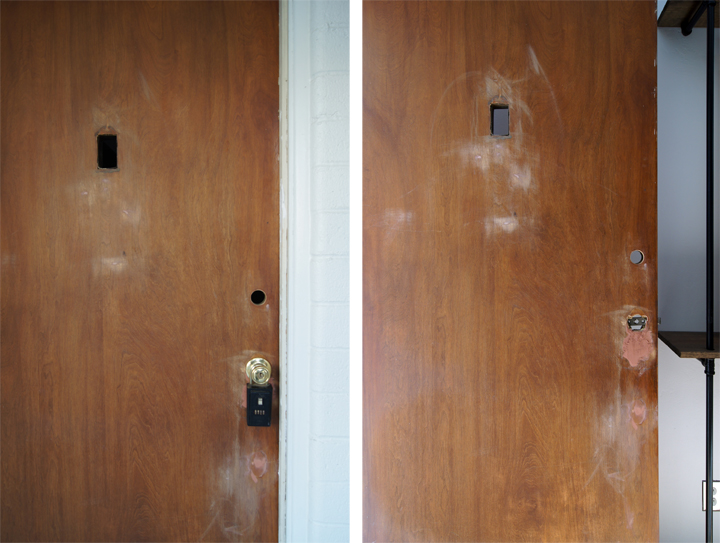
Screw you ugly screen door. Screw you big weird hole.

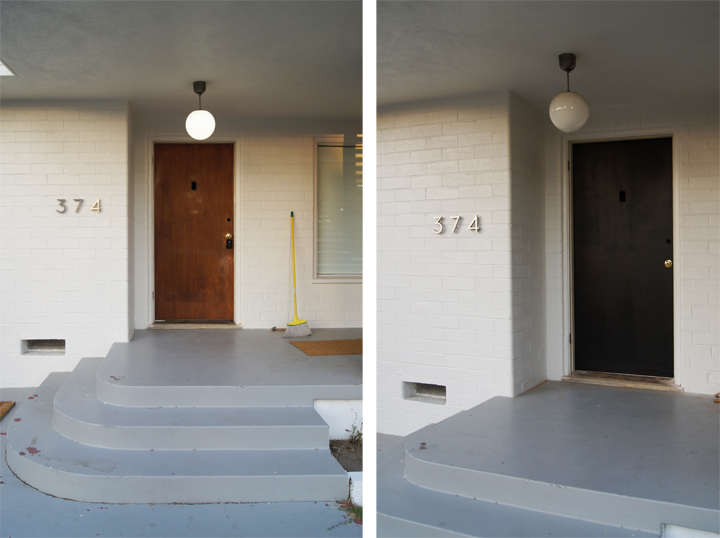
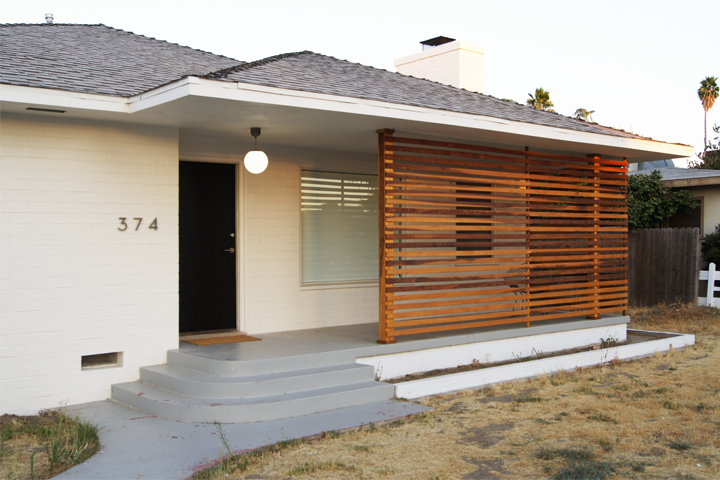
We finally got motivated and figured out how to fix the big hole in the front door – which means the front door is going to rehab.

Screw you as well stupid Realtor lock box.

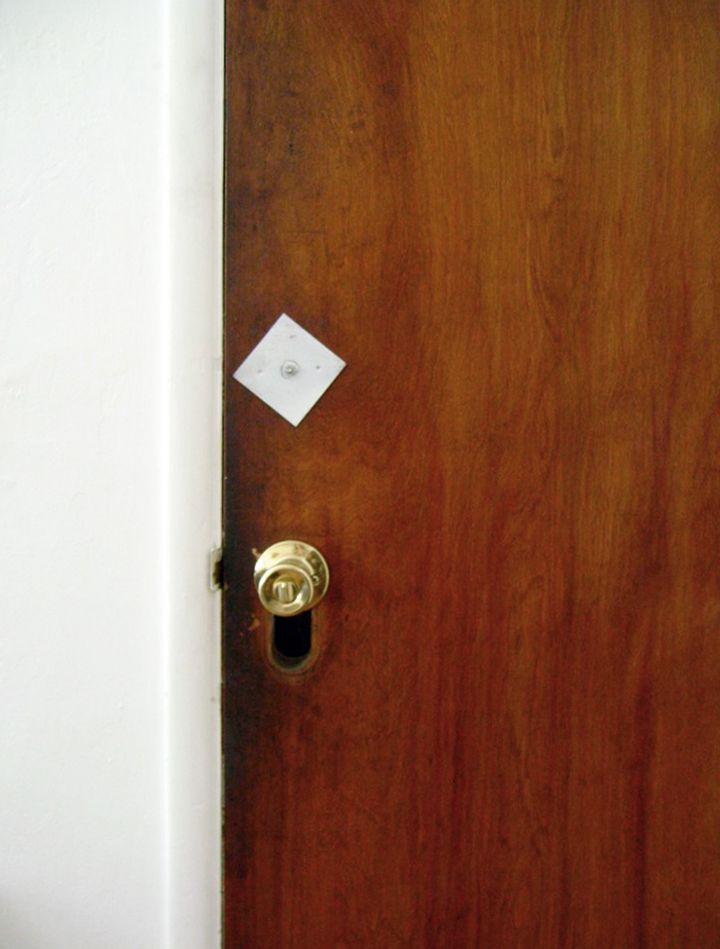
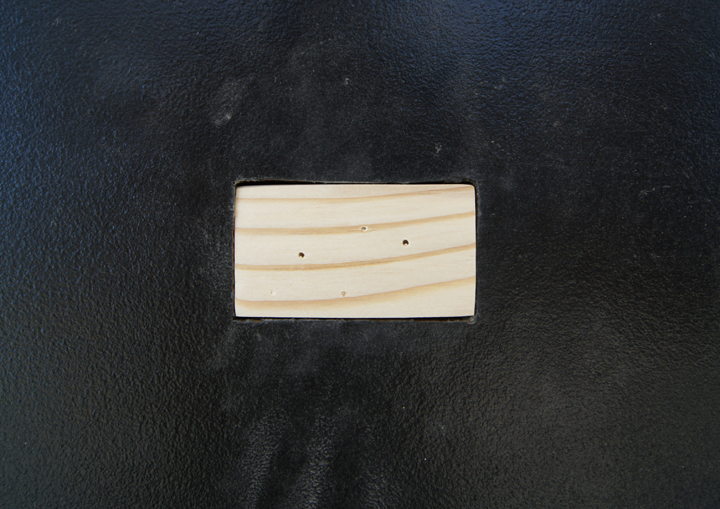
The Boy made a little custom wood chunk to fill the giant hole below the doorknob. He puttied it up with some wood filler and then proceeded to fill a bunch of wonky holes throughout to get it primed for painting.

Sand sand sand. Patch patch patch.

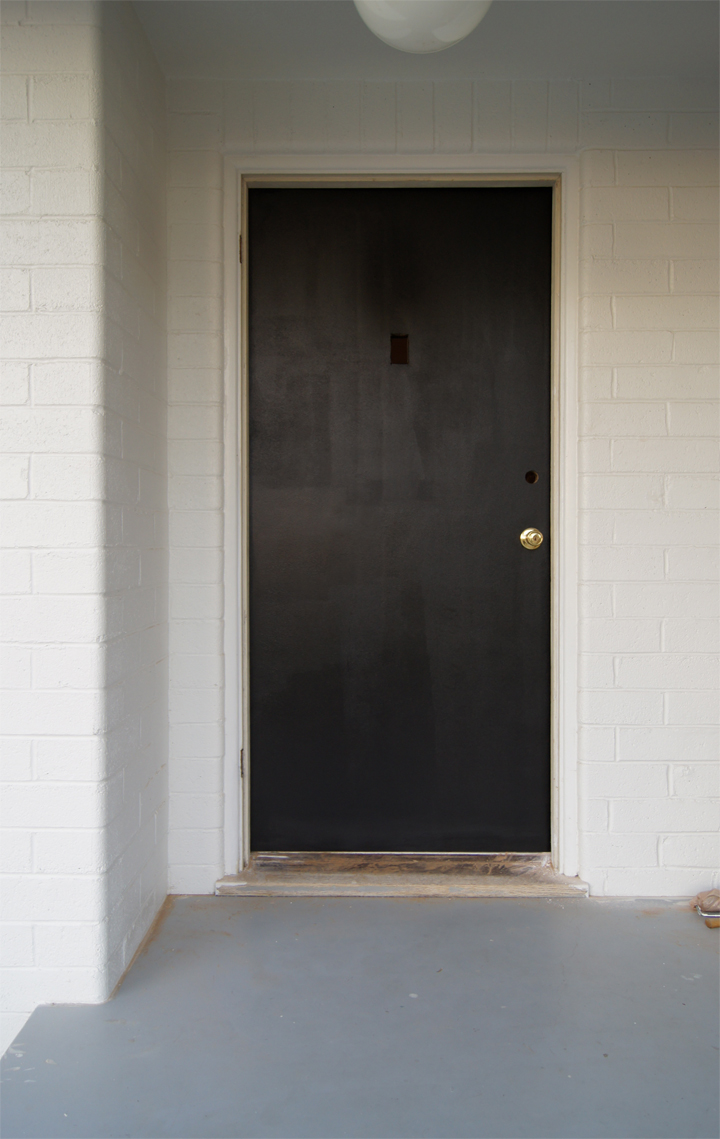
Then we tried painting the door and…disaster.

It looks terrible.

Smooth roller + Behr exterior True Black in a semi-gloss = WTF. It’s ugly finish city. It was the same combo we used for the garage doors. So what went wrong?

I don’t know. I googled and googled to no avail.

As a last resort I spoke with the paint guy at Home Depot. He said it was a drying problem; the paint was drying too quickly and we weren’t putting enough paint on the roller as well as pressing too hard. Therefore, bad finish.

Since we were sanding things down and calling a do over, I decided we needed to patch up the peep hole. We had a big ornate brass thing that just wasn’t going to work with the more modern hardware we were installing. The Boy and I argued back and forth about its inclusion, and in the end The Boy cut and fit another custom chunk of wood to seal that eyesore up forever. More wood filler, more sand sand sand and BAM, solid door.

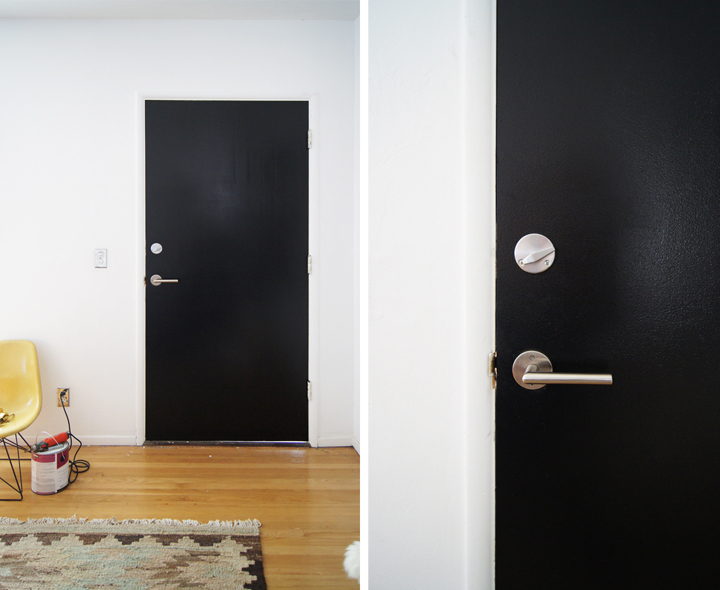
Here is the final interior after repainting and installing the new hardware. I settled on Emteks Stuttgart Lever which was $55 and a specially sized 1-1/2″ Schlage B560P deadbolt for about $35. Why the weird small deadbolt that is super expensive? Well, we tried to bore out our other exterior doors to fit a standard deadbolt and it was a complete nightmare. A nightmare I swore we would not repeat. Too bad I forgot that satin nickle is not the same color as satin chrome. Both the handle and deadbolt only offered either finish, so that means no shared finish color. Damn this door and all its stupid complications!

The deadbolt did fit like a dream, BTW.

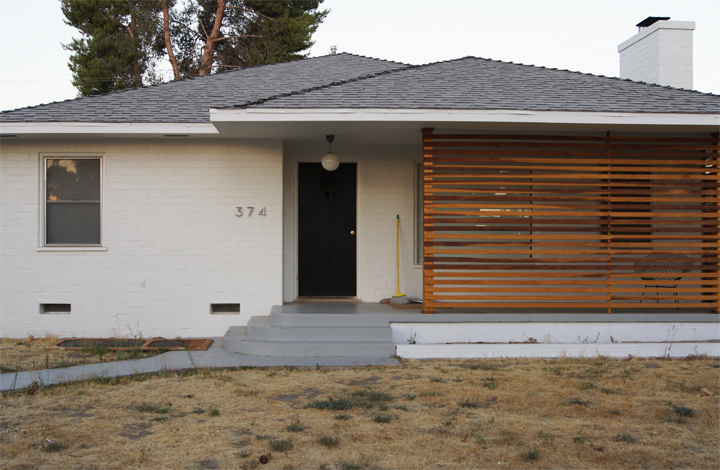
We still need to patch and paint the exterior molding and door jamb. Oh, and paint the cement porch. At least that screen door is dead and gone.

See the lovely lumps on the upper left of the door reflecting all weird? You can totally feel them undulating under your hand. UGH. These were yet another thing contributing to the weird finish. They are not lovely lady lumps, but bizarre rolling mounds. They make me crazy.

I give up, we are calling it done. Stupid old fucked up door.

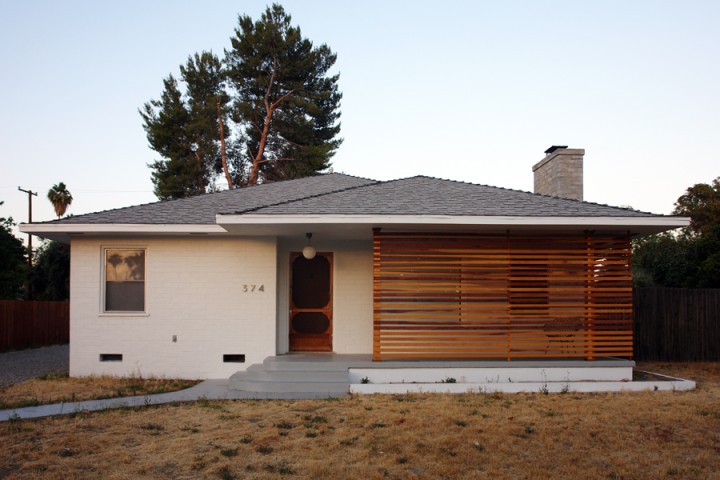
BEFORE:

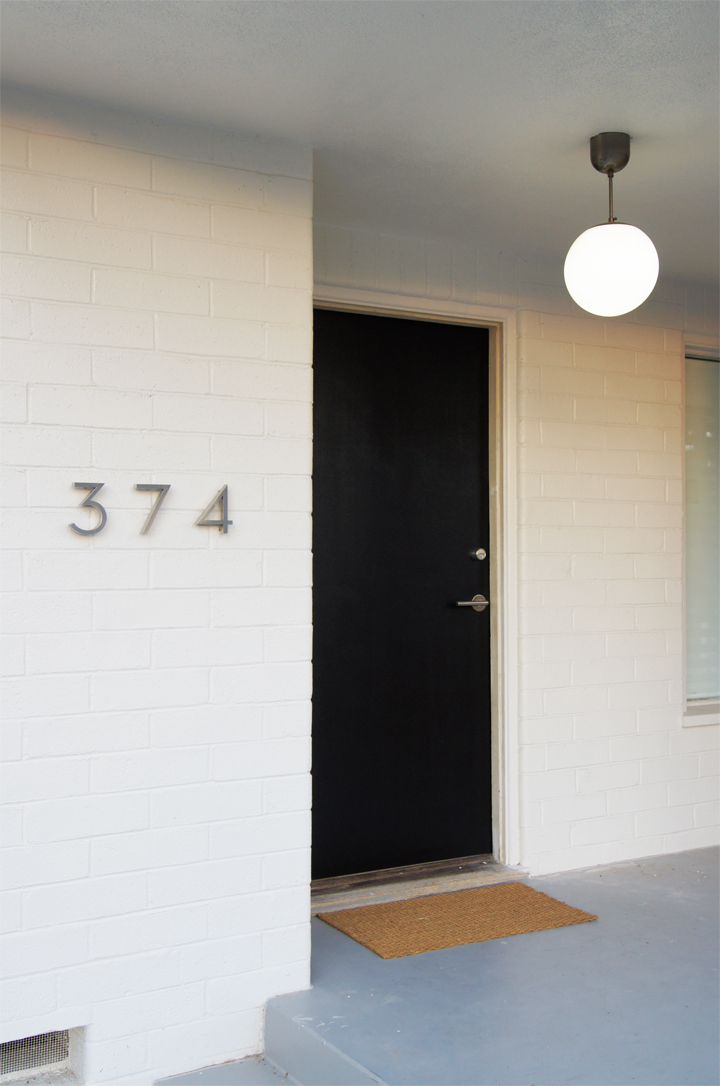
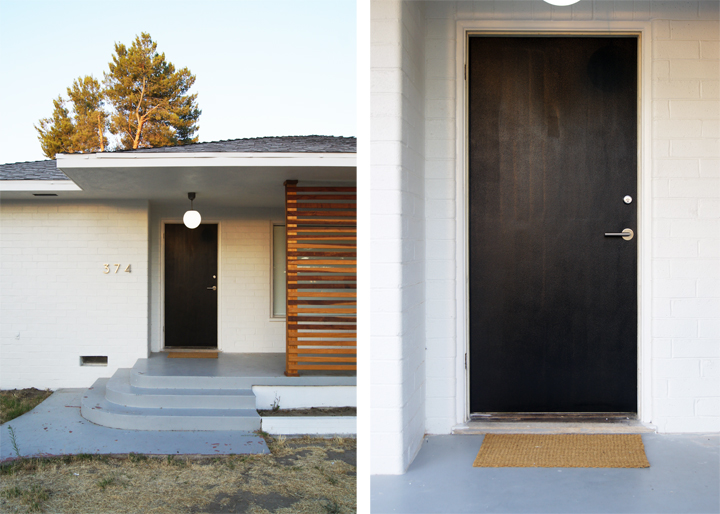
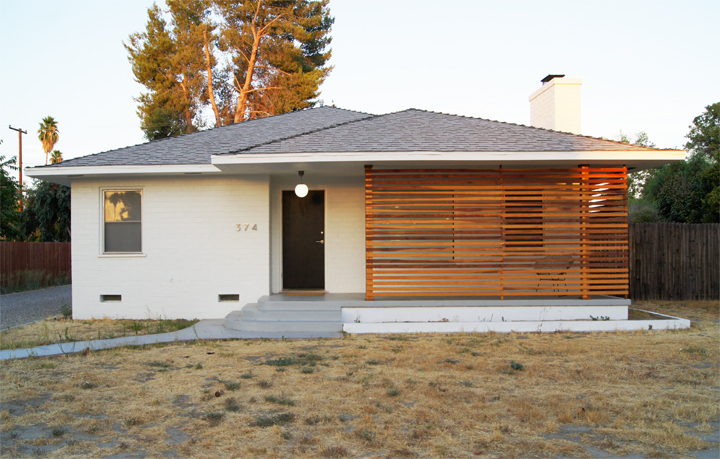
AFTER:

It works. I am so done screwing around with it. Better this than a big stupid hole in the door filled with spiders.

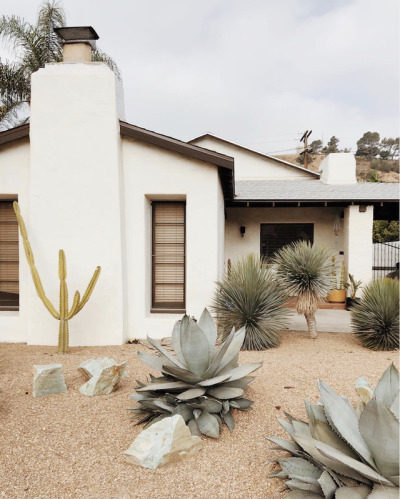
Now we need a large modern planter next to the door with some sort of cactus. Then porch paint. Hardscape. New fence. Gate. Landscape. Mailbox. Edging. And then on and on and on and on…

Color Testing

Monday, August 16th, 2010

I tried out Behr’s “Ashes” and actually love it. It’s a warm and complicated gray that might be the perfect backdrop for a DIY leather headboard and some dark linens. Oh snap, switching things up. It looks a little khaki in this sunset light, but is definitely lovely all day and night long.

I’m still trying to work with the original envisioned palette of navy, warm browns, gray, black and white. Using the warm wood tones, caramel leather, a healthy dose of gray and a navy duvet will hopefully all go down smoothly with a few other surprises thrown in.

It’s my one day off this week. Can we finish painting this wall and the front door? Maybe…if The Boy will get out of bed. Wake up, it’s project time.