Archive for the ‘before’ Category

Fence

Thursday, March 18th, 2010

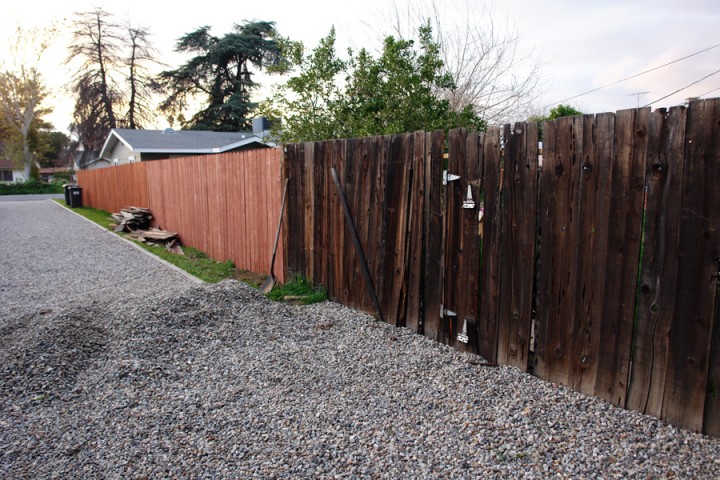
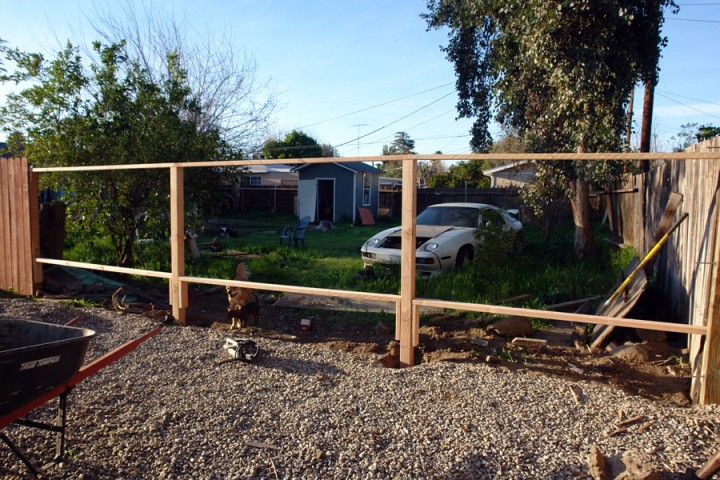
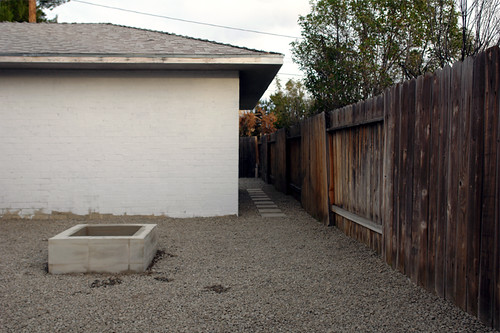
The boy and our neighbor began to fix the ghetto franken-fence with that cheap and ungodly orange hued wood.

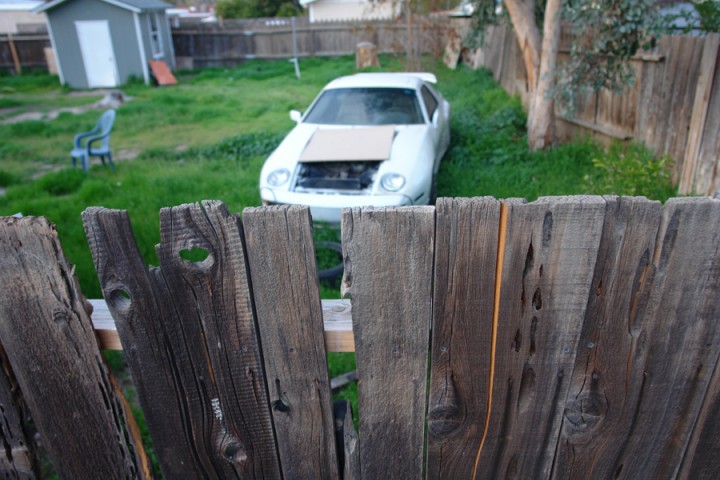
It’s better than this raggedy mess of awfulness, but is still is a hot mess of a salmon colored fence…

Why all of a sudden should we start this you ask? Well…

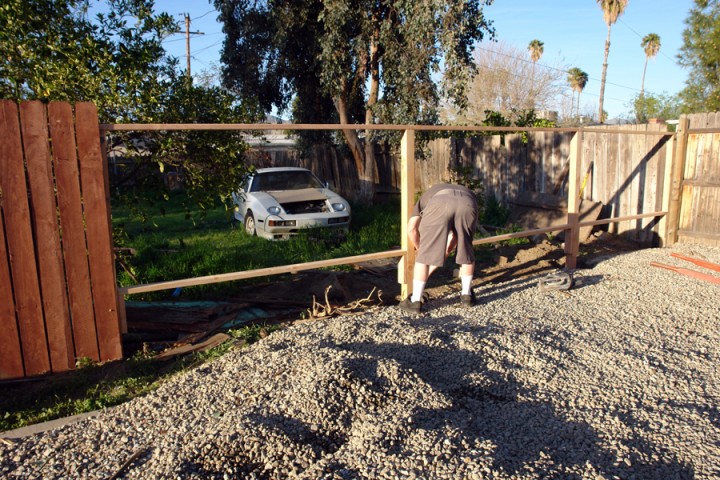
The city finally sent notice to the neighbor that he was required to get the 15 cars off his front lawn in 24 hours or get fined. The solution? Rip down our properties dividing fence and store some of those broken down cars in their backyard. White trash style!

As a compromise we are splitting the cost of redoing the final ghetto run of fence since it was even more janky after hauling cars through it.

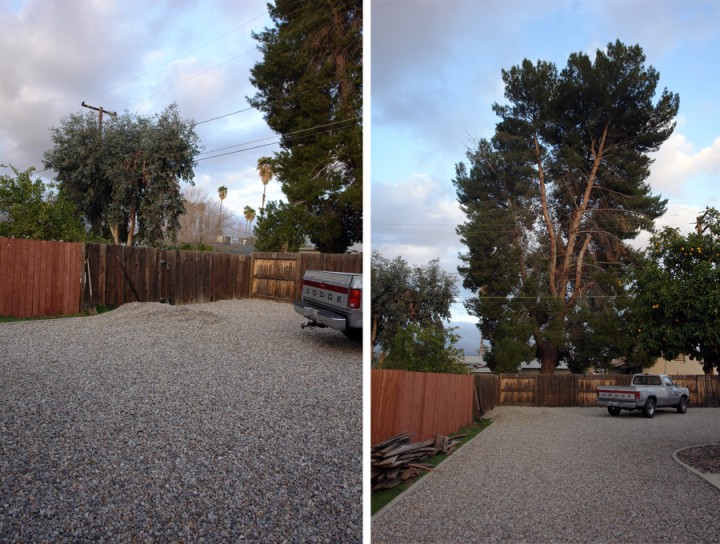
Oh, and look at that poor tree! The city shaved it naked. This is a constant battle against ugliness and we are losing horribly.

The boy rebuilt and cemented in some new posts to finish the final run of fence.

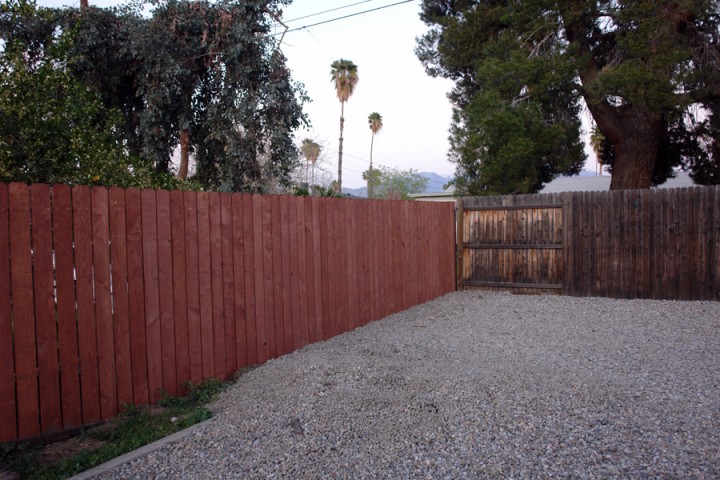
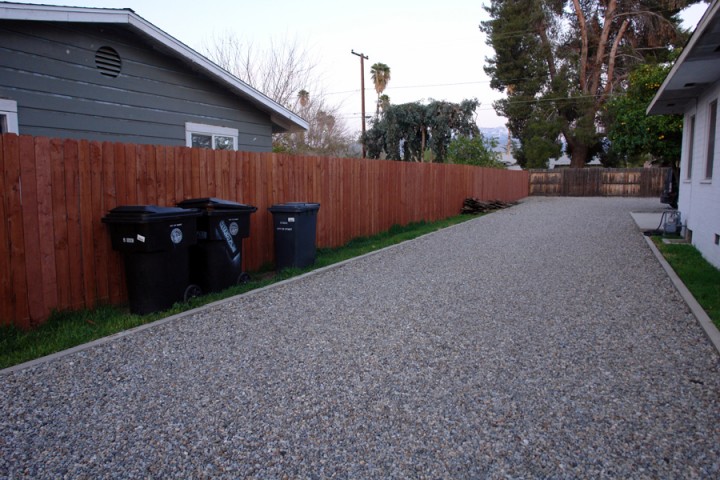
Shazaam! Fence.

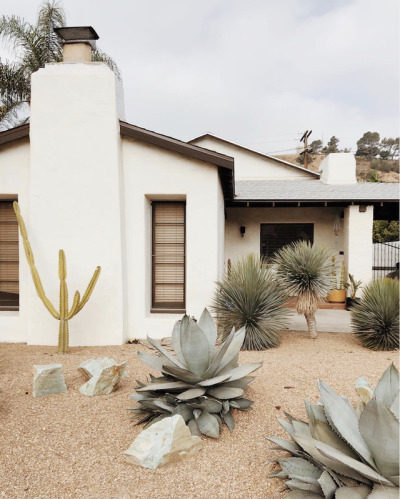
Maybe now it’s time to consider landscaping that foot and a half of weed grass. Maybe some sort of tall drought resistant plant that camouflages this new fence…

Laundry Room

Tuesday, March 9th, 2010

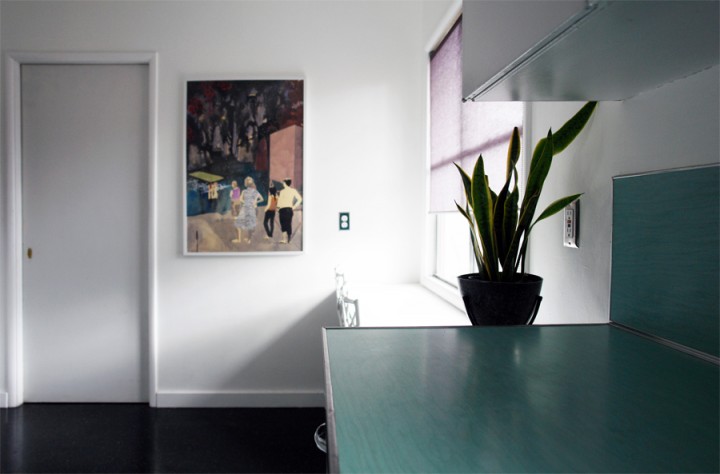
What lurks behind that mysterious pocket door in the kitchen?

HURL. It’s the laundry room.
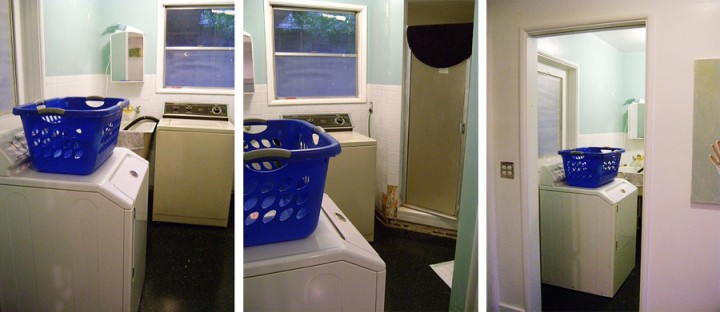
Oh yeah. It’s FUGLY.

These are old pics from a few years ago and it’s only gotten worse if you can imagine.
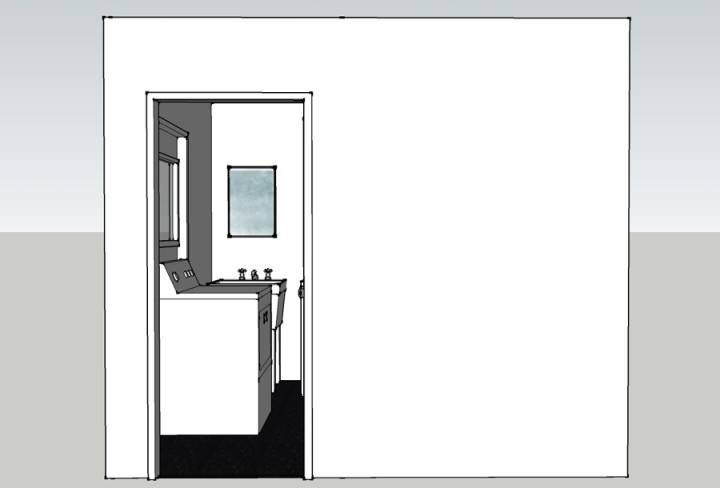
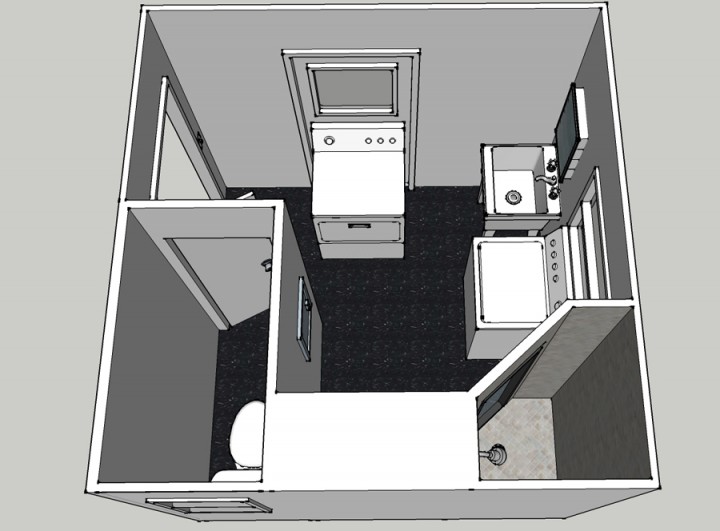
With my new and improved Google Sketchup powers (thanks all for the great tips! I’m starting to get the hang of this shit) I built out the laundry room as it currently is. This is the view from the kitchen! The room is only 9′ x 9′ and houses the washer and dryer (in ODD locations), a utility sink, shower, closet and toilet cubicle as well as the secondary breaker box.
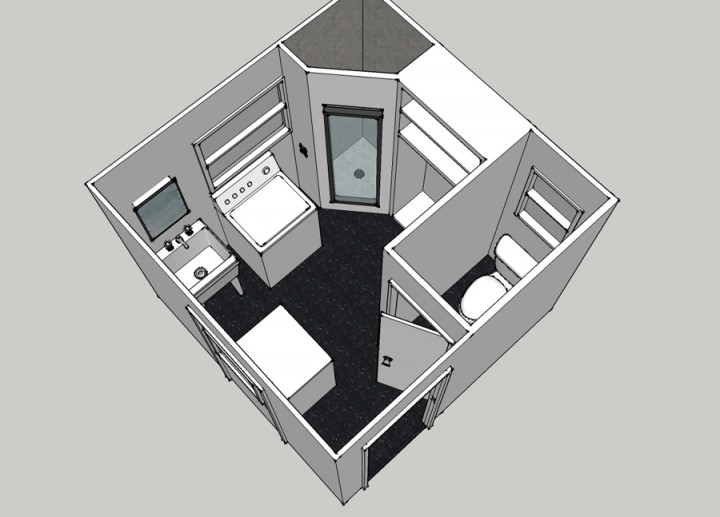
Here is a view from above.

Now for the tour. To the right you’ll see the 3′ wide toilet “poopicle”, then squeeze on by the dryer on the left that is installed through and on an exterior door, the utility sink is on your left if you can once again squeeze by the dryer sticking out in the middle of the room. The washing machine is on your right and then there is the tiny musty shower with a shower head installed at about 4′ high and a ceiling that’s at about 6′. Just a wee bit claustrophobic and almost impossible to wash your hair.

There is a huge closet though…
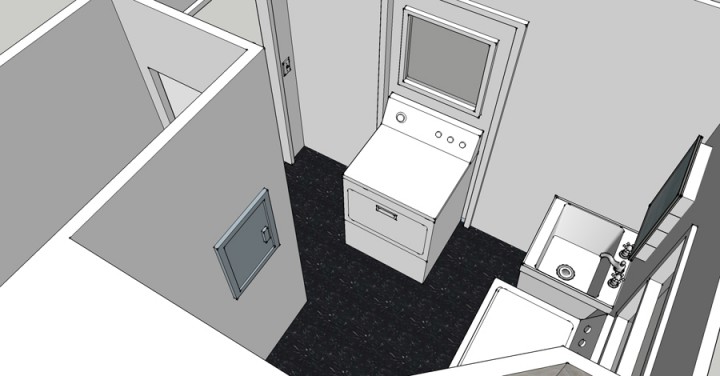
Here you can see the breaker box on the wall of the toilet poopicle and the dryer wedged into the defunct doorway. The Brick House was rigged up this way when we moved and it’s been on my “priority list” for when we somehow run into a big pile of money. I’m not even sure how to slap lipstick on this pig so I’ve just left it, with the awesome teal paint and plastic tiles falling off the walls.
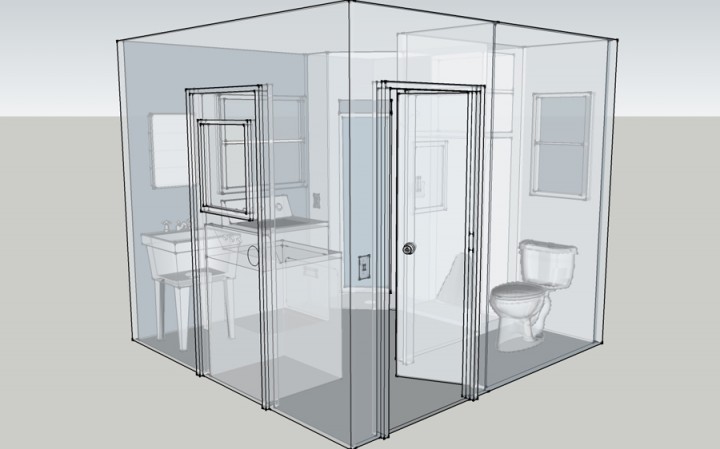
Ohhhh x-ray vision.
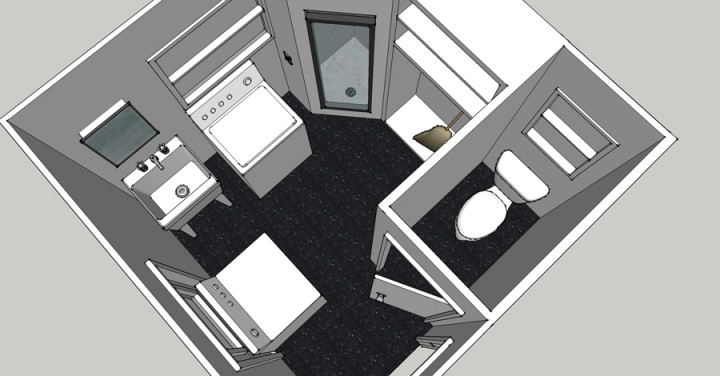
Look at that huge closet. Guess whose going to get turned into a shower! And here is that little cramped and useless second shower. Only used in the direst of emergencies.
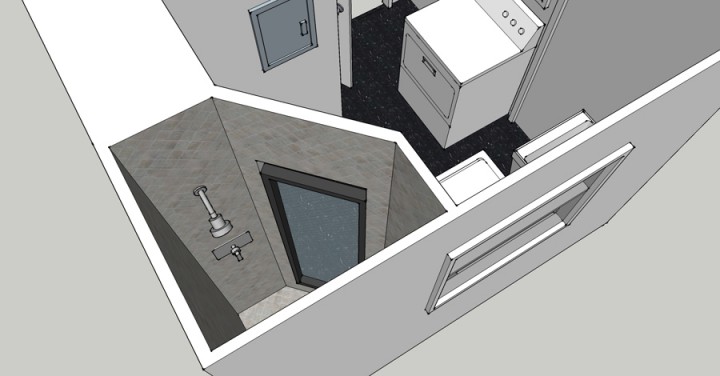
My mission is this: With my new found sketchup power I’m going to stop ignoring this beast and get going on a plan of action. My questions for you are these…

-We have one FULL bathroom. Should I keep the shower and just remake it so it’s usable? Or is it weird to have a big shower off your kitchen totally far away from the rest of the house?

-Stackable or side by side laundry? Pros and cons?

-The sink may have to go. Is it weird to have a toilet, shower and NO sink off the kitchen?

-How the hell do you brick up that stupid door? Should it get turned into an exterior door again? Or a giant window?

This whole room is one giant clusterf*ck. No wonder we’ve been ignoring it.
Patio Walkway

Monday, January 11th, 2010

DSC06583

Figured out today that we are stupid, like really stupid.

I blame it on inexperience, but logically if your going to create a gridded cement paver patio it would be wise to level the area, put down sand and install the pavers first.

Maybe it’s just project fatigue. We also drove to Home Depot in my little Scion to pick up 10′ lengths of wood and 30 super heavy cinder blocks. Once we loaded up the cart we realized we had to drive back home and get The Boys truck.

We Are Idiots.

DSC06603

The whole plan was to create a 18 x 18′ gridded cement paver patio around the fire pit with gravel as a filler. It would have been smarter to install those f*cking pavers first but somehow we got gravel happy and thought we needed to level out the area with gravel. Dumb move.

I installed the first row of stepping stones behind the garage today and it required digging out each individual spot, leveling and finessing each stone in a rocky pit of hell, and cursing our own ineptness.

I do think it turned out rad considering the disgusting hamster bedding dog run of death that was there before.

We chose 18 x 18″ cement stepping stones that cost about $50 total.

DSC06608

Now we have to decide what to do:

– Leave it all gravel.
– Install 18 x 18″ pavers at $5 a piece.
– Install 12 x 12″ pavers at $1 a piece.

I’m leaning towards the 12 x 12″ pavers, even though initially I was super opposed to them (I had lofty dreams of like 30 x 30″ pavers till I found out how much they are and how fragile). The smaller ones are WAY easier to work with, could be installed closer together and would be about $150 compared to like $350 for the larger size.