Archive for the ‘before’ Category

Side Yard

Wednesday, December 30th, 2009

DSC06328 copyDSC06360 copy

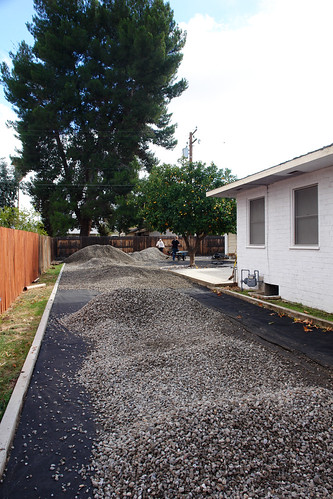
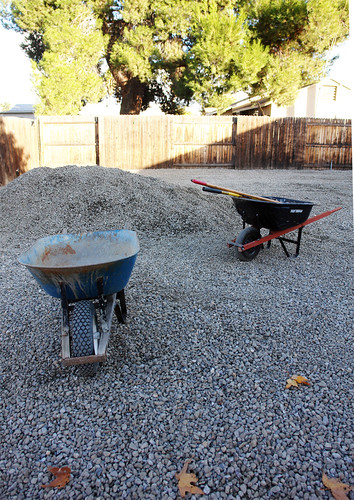
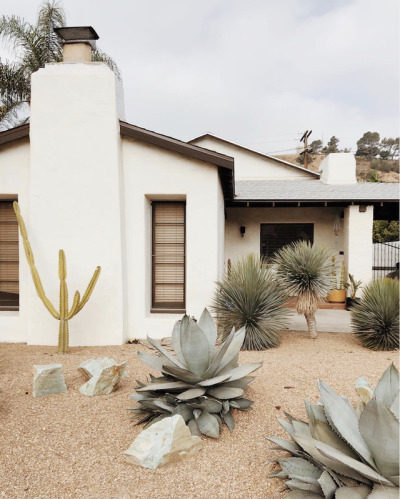
Some of that leftover gravel is headed over to our side yard which will be turned into an entertainment space fitted with cement square pavers, a fire pit, and lots’o crazy drought tolerant plantings. It’s going to be A to the Mazing if all goes as planned…

But, what have we accomplished in the two years of thinking and planning this area?

100_0061 copy

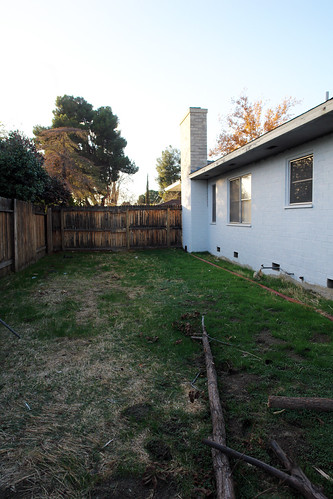
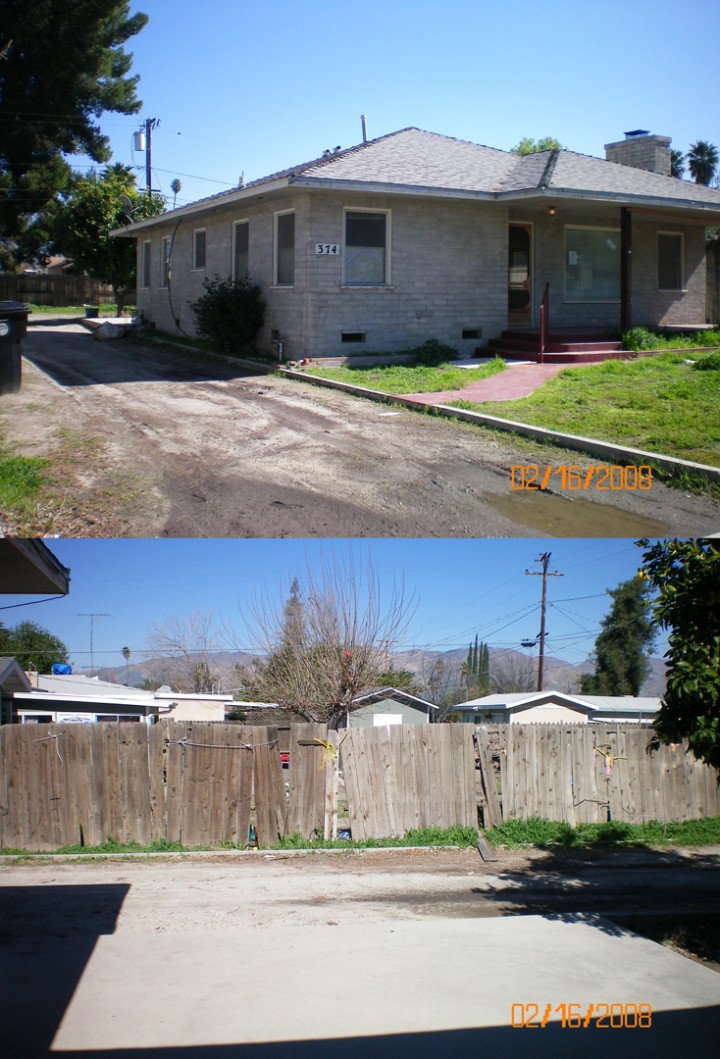
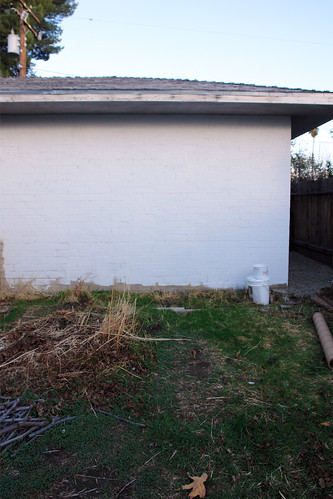
Here is a before pic (from our inspection) of the area connecting the back yard to the side yard located behind the garage. We think the previous owner used it as a dog run or something else way more sinisterly creepy. It was lined with plywood, janky wood pallets and TONS of that hamster wood-shaving stuff. Smell = gross.

DSC06265 copyDSC06357 copy

We cleaned all that scariness out, lined the area with geotextile fabric and dumped about four inches of the driveway gravel down.

Much better.

So much more to do: fix the fence, create planting areas, level it all out, actually put paint on the house. It’s still not fully primed yet…six months after we began…jeeez.

2010! Year of the exterior!
Driveway

Tuesday, December 29th, 2009

These terrible images were shot during our home inspection almost two years ago. Unfortunately, not that much has really changed with the exterior of The Brick House as we move on into 2010.

Heretofore I dub 2010 “the year of the exterior”.

So hey, lets start off with the DRIVEWAY.

Driveway-map_cement

Here is my awesome drawing denoting the super rad cement pads that would run up the length of the driveway with 1″ crushed rock gravel as a main base. HA HA HA – awww dreaming. Yeah, that was way too expensive. Quotes ranged from $6,000 – $20,000 dollars. What!

Our DIY budget was $1,000 to do almost 3,600 sq. ft. of driveway. Yeah, I know. Stupid low.

Here is what we did…

Step 1

-Rent a tractor for one day.

-Let the Boy go hog-wild grading all our fancy dirt.
(BTW, this was his first time on a tractor and he did brilliantly)

DSC06199 copy DSC06142 copy

DSC06137 copy DSC06109 copy

There was a surprising mess…

DSC06112 copy

WTF, giant cement blob. You were a pain in the ass.


Step 2

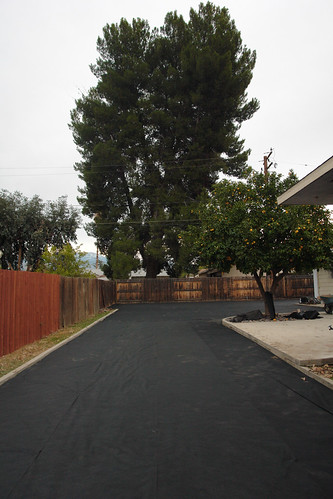
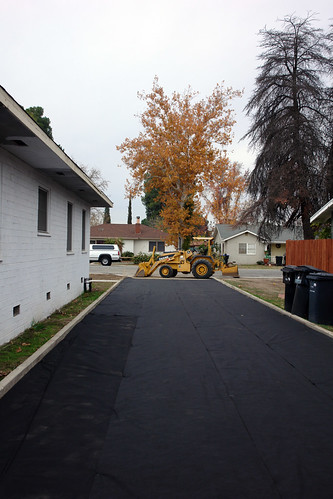
-Take preventative measures with geotextile fabric. It’s permeable, prevents erosion, keeps gravel in place and helps stop weeds. Keeps that gravel looking fresh and not ghetto.

-Roll out 3,600 sq. ft. of this stuff and stake it down into place.

DSC06225 copy DSC06168 copy
DSC06196 copy
Step 3

-Move 50 tons of locally sourced 1″ crushed river rock. By hand. 50 TONS. F*ck you gravel.

-Thank your mom, Carpenter Craig, two friendly neighbors, and the Boy for helping spread gravel all day. Thank you guys.

DSC06244 copy DSC06235 copy

DSC06227 copy DSC06306 copy

Yeah. BY HAND.


Step 4

-Compact that crap down. (We used our cars)

DSC06304 copy DSC06257 copy

DSC06298 copy DSC06324 copy

Done!

Well, almost. There is still the issue of that large mound of gravel in the middle. It’s the leftovers for another project we are currently working on…teaser.

The DIY cost break down:

Tractor Rental: $235.46
Geotextile Fabric: $250.13
50 Tons o’ Gravel: $610.00

Driveway Total: $1,095.59

All in all we finished on budget and on time. It took two full days with a lot of help, a little rain and a ton of aspirin.

Driveway

Friday, November 20th, 2009


We got a refund out of our escrow account after our property taxes were reevaluated and lowered to reflect the actual purchase price of the house (actually a little lower due to the nosedive real estate market) instead of charging us the previous owners purchase price (which they have for a year and was WAY WAY WAY more than we paid). Another good aspect was that our mortgage payment was also lowered and now we are paying less for the house than we’ve ever paid in rent. So – good news overall.

The focus for using this little boon of cash has fallen on fixing up our crappy/weedy dirt driveway. Which is seriously Ghetto.

Here is a little layout map – and yes, our driveway is huge.

Driveway map

Here are some inspiration pictures I’ve been looking at to figure out what to do with the beast of a driveway.

maas_051109_02

PalmSprings3BedroomsSleeps6_11527090043571

ward-lawrence-house-exterior-driveway

aaa-1

19 house side

The Boy wants the whole driveway done in 1″ gravel. I want rectangular cement slabs with gravel divisions.

Like everything, it’s all going to come down to those DOLLARS. We definitely don’t want to overspend as this town is awful and going overboard probably won’t ever pay off.

If we go all gravel, we could totally DIY the driveway. If there are cement slabs, we will need pro assistance. We could always install those big cement pavers to kind of fake the look, and I know cement will cost way more than we should spend (We actually got a quote for $15,000 to do what I want to the whole driveway. WTF – we got other more reasonable quotes but that one just seemed insane).

It’s going to cost :

-$872.50 (including tax and delivery) for all the gravel.
-$250 for a 24 hour tractor rental to level and grade the dirt.

Thats $1,122.50 to DIY a full on gravel driveway.

So, my question for all you fabulous DIYer’s is this – what’s a good, cheap driveway solution? Have any of you gorgeous, charming, and witty readers put a driveway in and what are your do’s and don’ts?