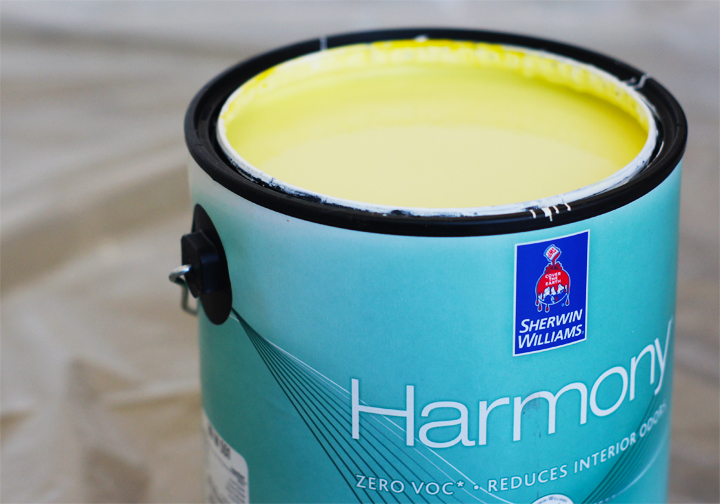
If you saw Emily Henderson’s blue office makeover or Cassandra’s red red redo on Coco and Kelley, then it’s old news that it’s Sherwin-Williams National Painting Week. I’m celebrating paint and painting and paint related things with a bit of DIY and the funnest of yellows, Fun Yellow.
DIY? Say what.
Here’s what: Burl. Jute. Color Dipping. Magic.
Lets do this thing.
…………………..
MATERIALS
TOP
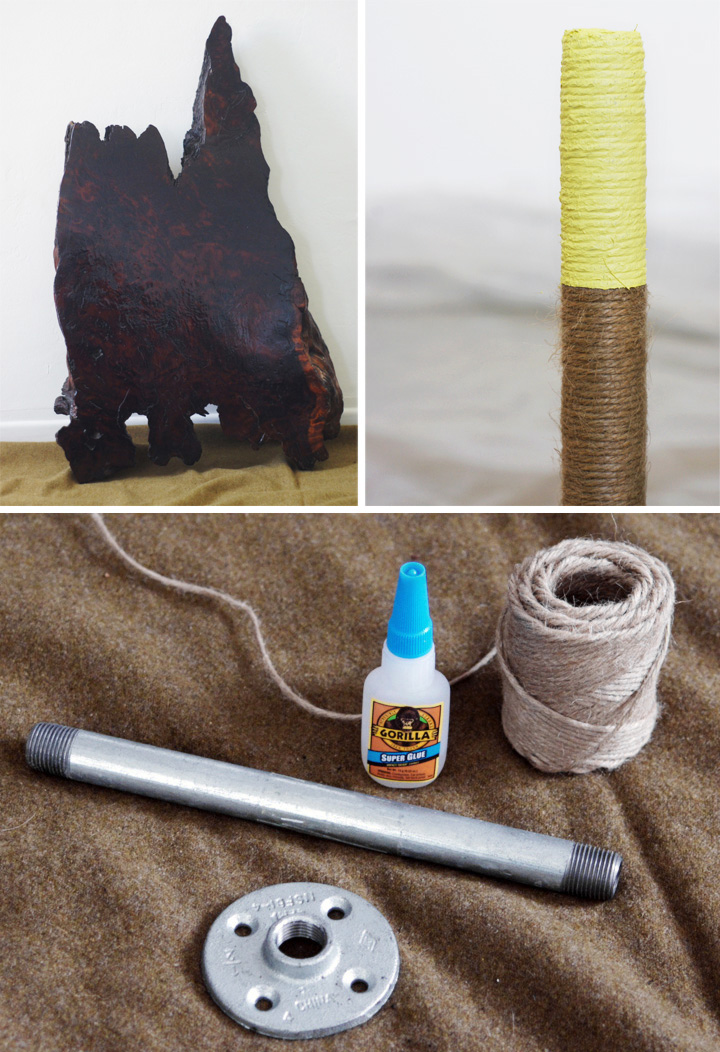
2 – wood tops/whatever you’d like to use. *I used two slabs of vintage redwood burl I found on Craigslist, but you can use anything your heart desires. Like maybe burl? Oh, wait.
LEG
6 – 1/2″ x 10″ galvanized steel pipe
6 – 1/2″ galvanized floor flange
1 – jute twine
1 – paint *I used Sherwin Williams Fun Yellow
TOOLS
1 – drill
24 – screws
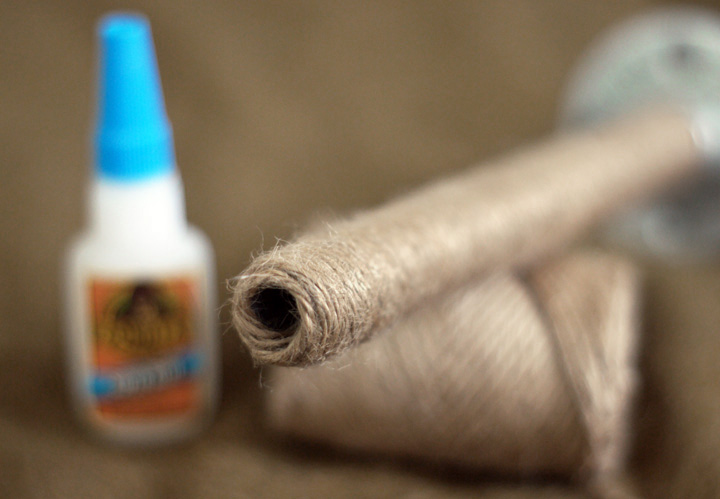
1 – glue *I used Gorilla Super Glue. Why? It was already here.
1 – masking tape
1 – small paint brush
HOW TO
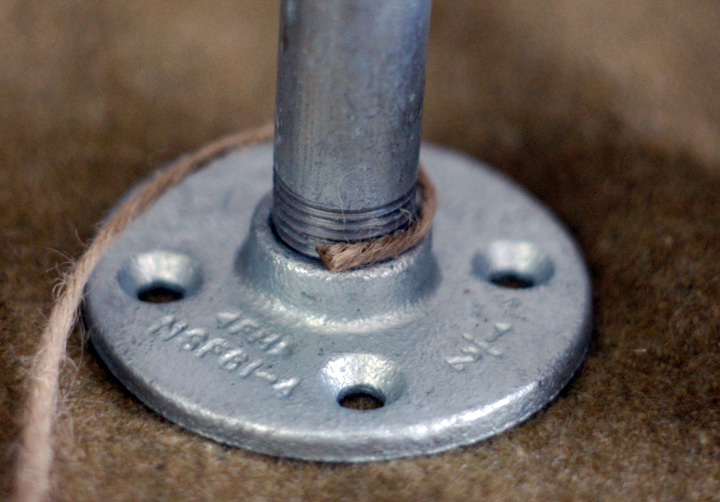
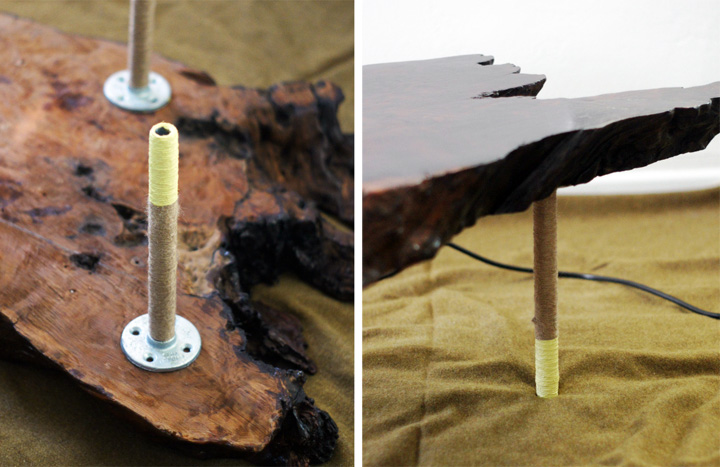
1. Screw the steel pipe (or nipple – if you prefer the hilarious technical terminology) into the flange.
2. Squeeze a dollop of glue onto the base of the threaded part of the pipe and attach the end bit of that jute twine.
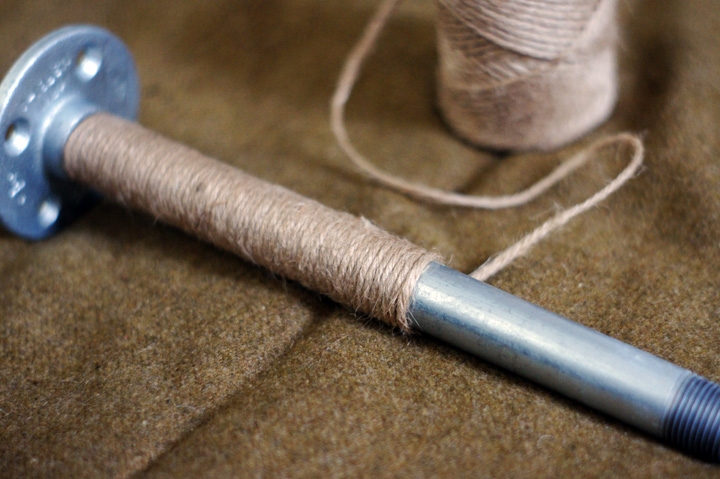
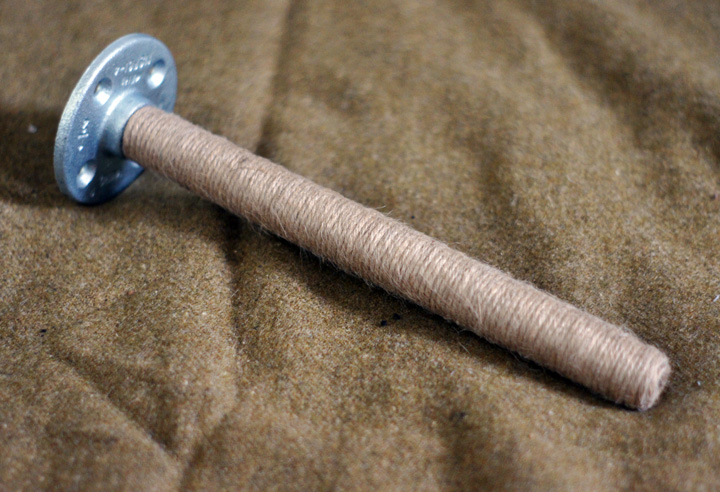
3. Wrap jute twine around the entire length of the pipe. Yes, it’s boring, but really doesn’t take that long.
*Be sure to keep the twine slightly taut as you wrap and also as you’re wrapping, it helps to push the wrapped twine down towards base for even coverage.
4. Finish wrapping the length of the pipe and cut the twine.
5. Tuck the loose twine bit into the pipe and secure with a spot of glue.
Now you have a fully jute wrapped leg. Hooray.
*Smart person tip: notice how the twine actually wraps over the pipes rough threaded end in order to protect delicate floors and such? Be nice to your floors!
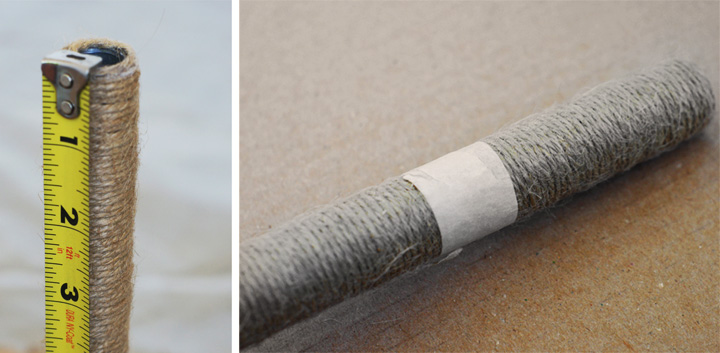
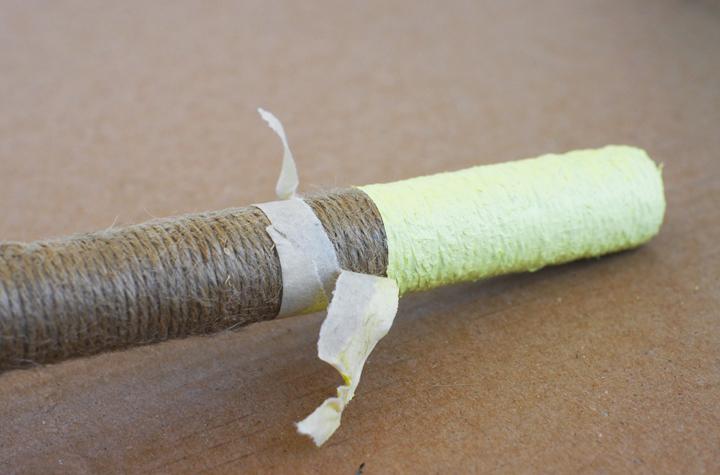
6. Measure 3″ down from the foot end of the pipe.
7. Tape around the pipe horizontally at this 3″ mark.
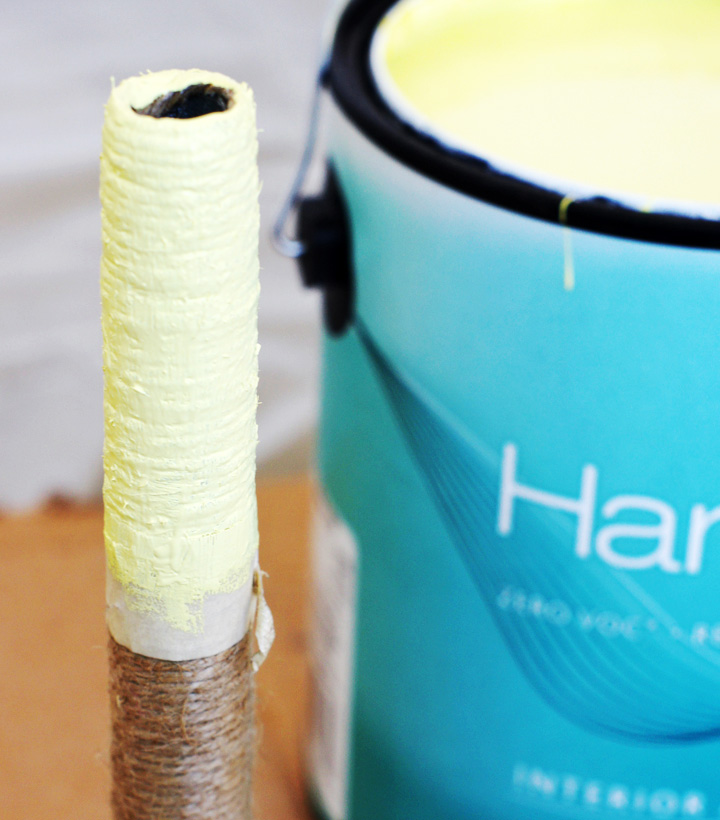
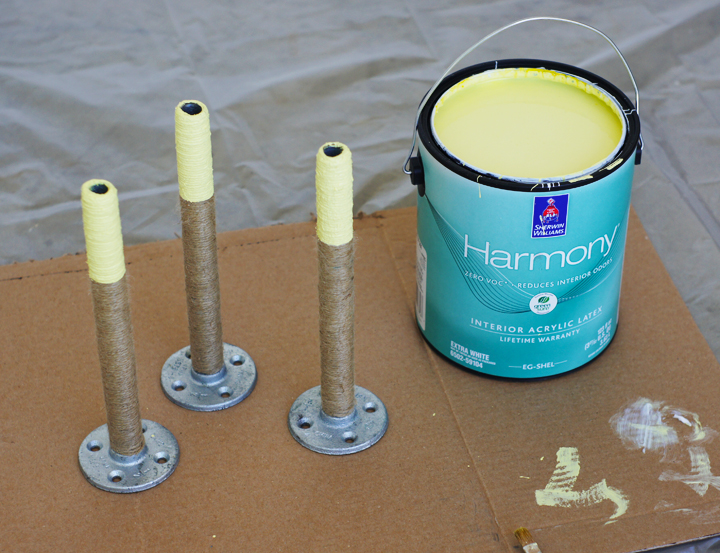
8. Dip the securely taped leg into some paint. Like yellow maybe?
*Smart person tip: Stuff old newspaper bits or paper scraps into the leg hole so it won’t fill up with paint and drip forever.
9. Brush off any excess paint drips with a small brush and lay the leg down to dry.
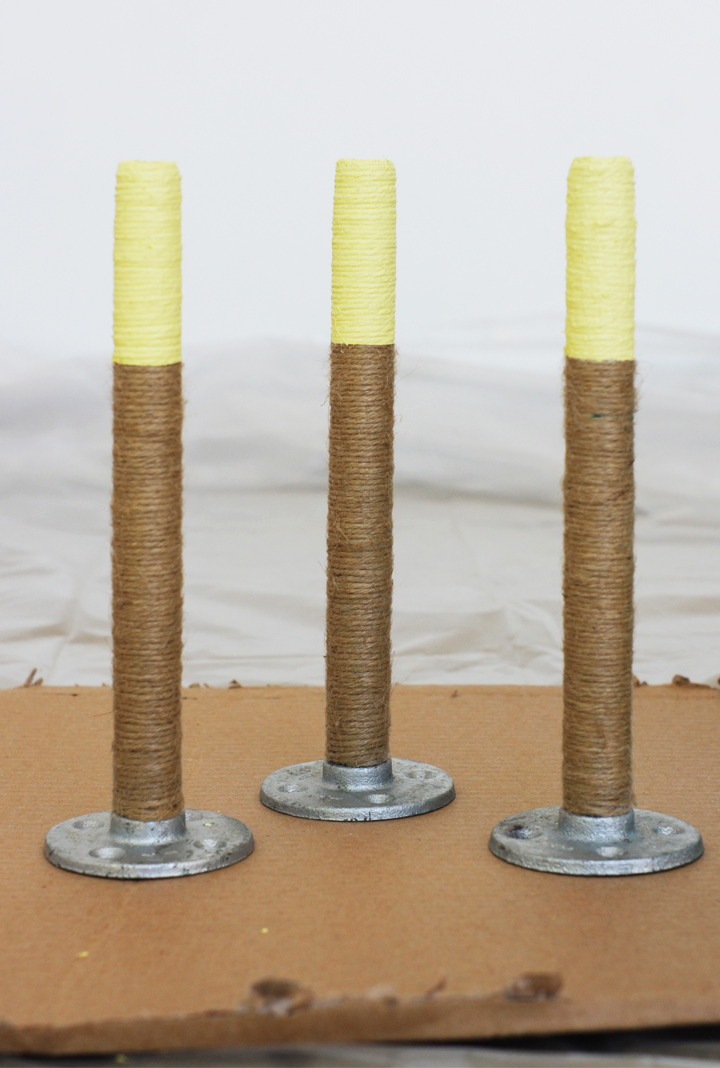
10. Once the paint fully dries, go ahead and remove the tape slowly and carefully to keep the paint edge crisp.
Repeat and repeat and repeat all of those steps as needed.
FACT : tables need more than one leg. Crazy, but true.
Look at you, you sassy finished legs. Hey now.
OK, now that every leg is jute wrapped, color dipped and thoroughly dry – then what happens?
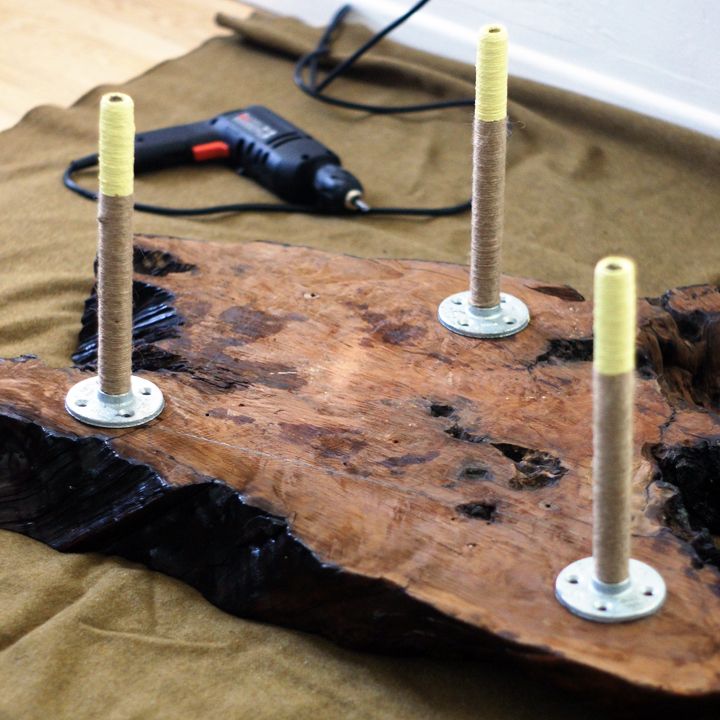
Well, these babies can’t wait to hold stuff off the floor.
The time is now.
Lets go nuts.
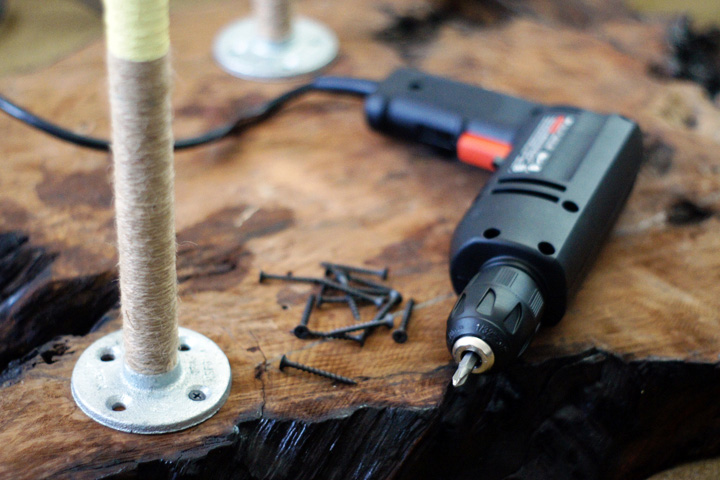
Screw the finished legs onto whatever top you’ve scrounged up and then repeat and repeat and repeat. Do I need to say that the screws go through the flange holes? No, but I did.
Anyways. Boom. Legs. Done.
Now you have the power to transform anything into a table. Use it wisely.
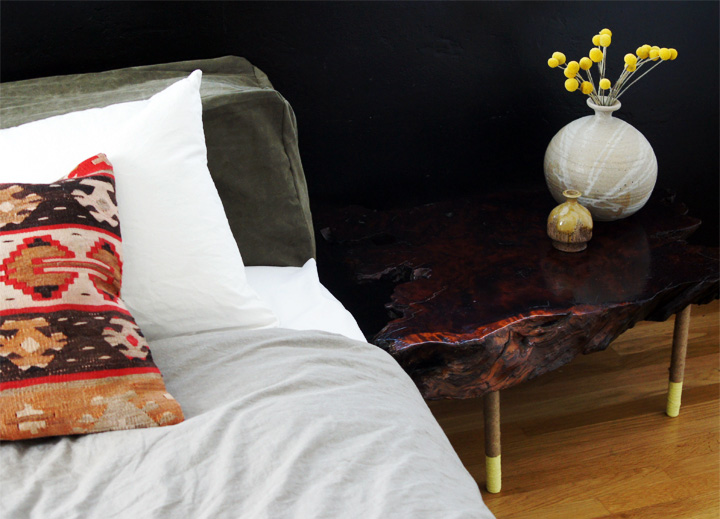
Look whose all screwed on and ready to be a nightstand! You legs! That’s who!
Go get in the guest bedroom, you silly gooses.
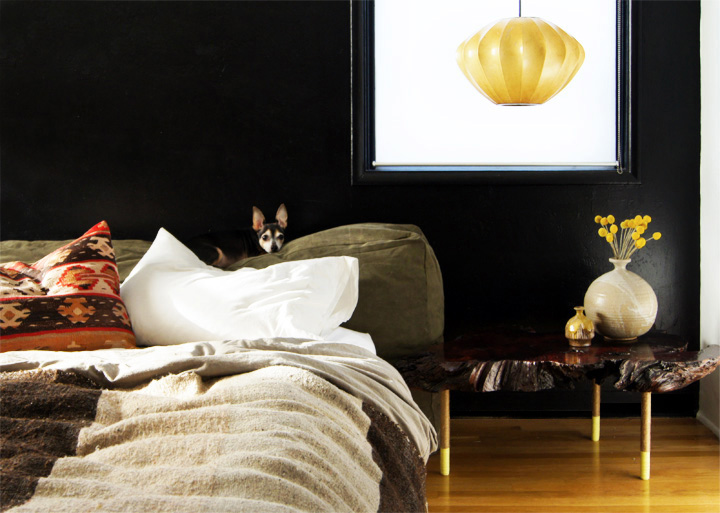
Adding these custom dipped boots of color to the jute wrapped legs helped float the nightstands off the black wall and wood floor in all the best possible ways. The final tables turned out way better than I’d dare hope, which is great since I’ve gotten incredible tired of looking for nightstands.
All my problems? Solved.
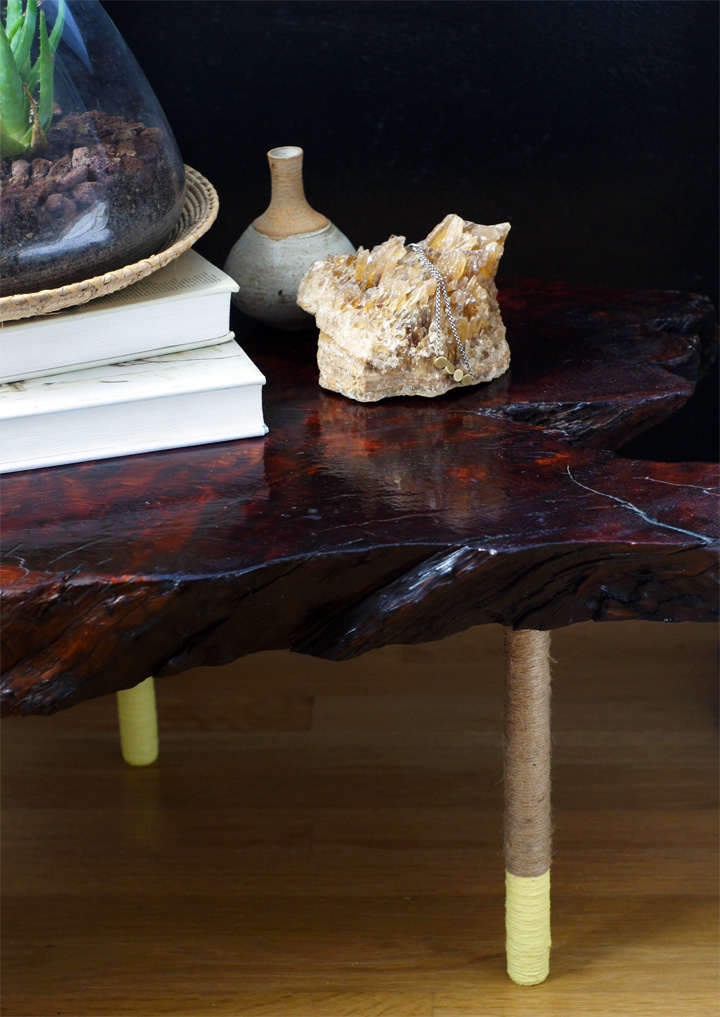
DIY accomplished. Done and Done.
Even notoriously pretentious Iggy-pup is impressed. He also asks that you ignore that new headboard situation happening. Details soon.
Oh, so just in case nightstands aren’t your jam – no worries, my feelings aren’t that hurt – methinks this project can easily be customized to anything and everything you’d like to wrap in jute or color dip. Like your friends? Neighbors? Or maybe something more practical, like taller legs for a dining table?
Color boots for everyone.
…………………..
For more color fun, check out Amanda Hill’s project launching tomorrow over at Recycled Consign and Design. Thanks again to Sherwin-Williams inviting me to participate and helping sponsor my project for National Painting Week.
