Archive for the ‘DIY’ Category

Refreshing Vintage Wood

Thursday, September 16th, 2010

Jennifer from A Merry Mishap emailed recently asking for a little advice to spruce up her newly found vintage dining room table. Like a lot vintage pieces I find while out and about in thrift stores, there always seems to be something wrong that makes the piece a little less than perfect and therefore more affordable. The Boy likes to call it “character”, especially when he gauges, scuffs or scrapes some item in the house. He isn’t destroying it,  just adding to the “character”.

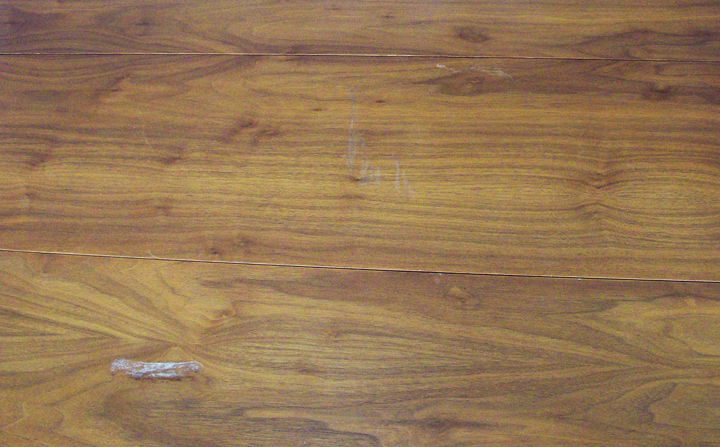
Jennifer’s table has a couple of scuffs, a scratch and a mysterious white mark. I’m guessing it’s paint. It also seems that the table top is a veneer instead of solid wood, which can be refreshed a bit but some issues like deep scratches are never going to truly go away.

Since there were a few other questions about how I was going to oil up the chest in the master bedroom I thought I could show you guys (and therefore Jennifer as well) how I handle dealing with lackluster vintage wood furniture.

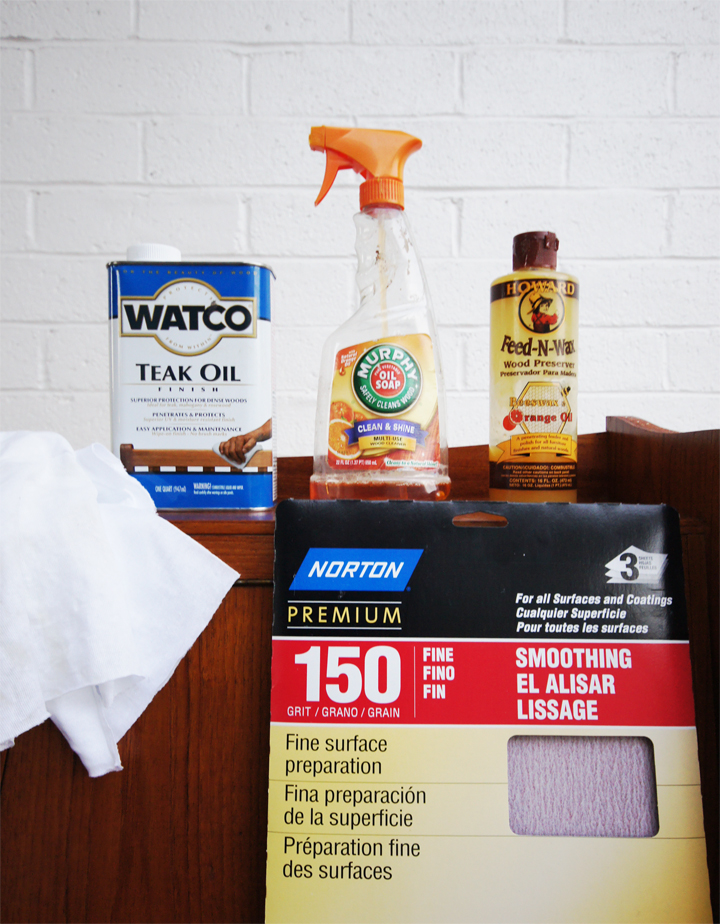
This is my typical arsenal:

Murphy Oil Soap
Watco Teak Oil (or Danish Oil in a Natural Finish)
Howard Feed-N-Wax
Rags (Lint free)
Fine Sand Paper (or Super Fine)

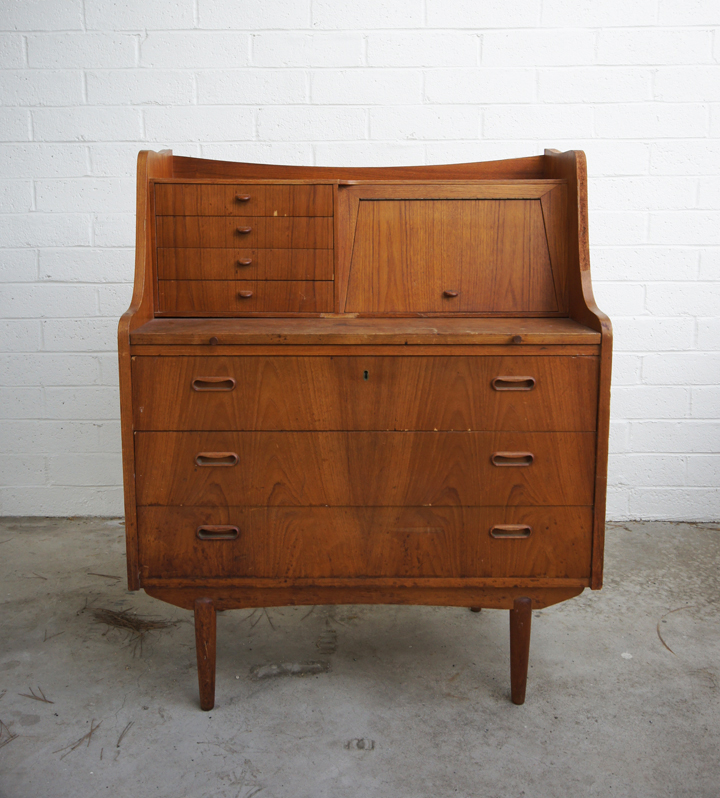
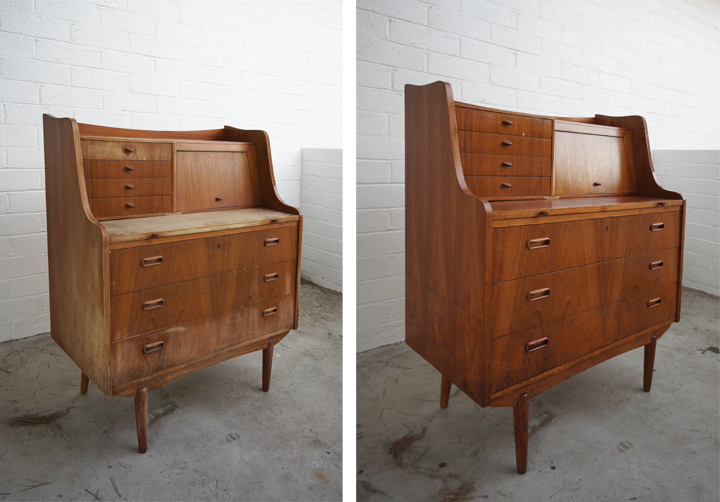
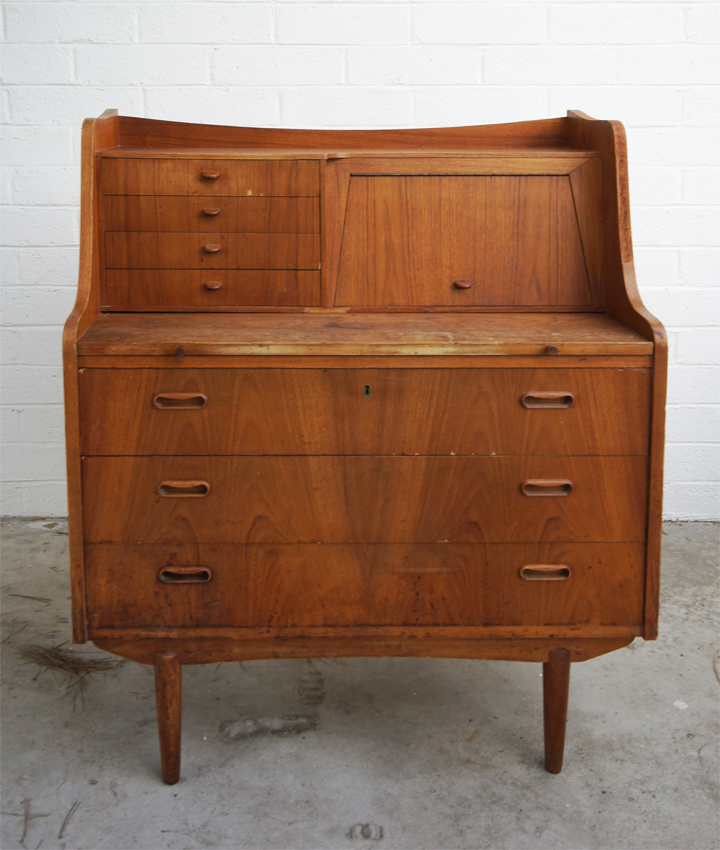
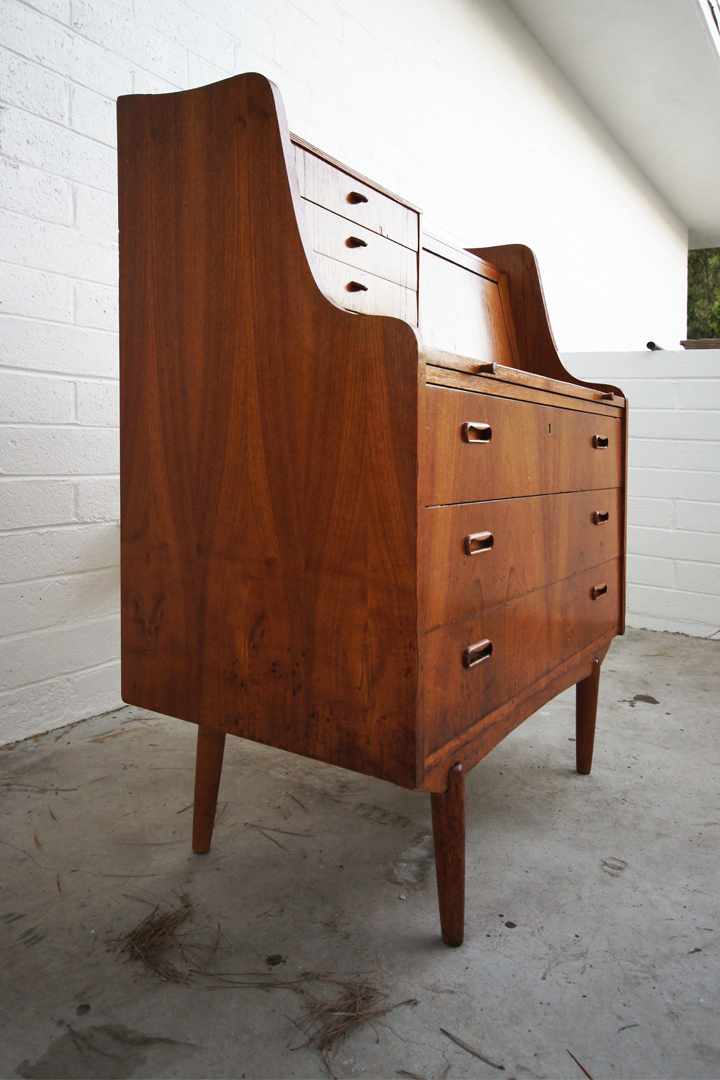
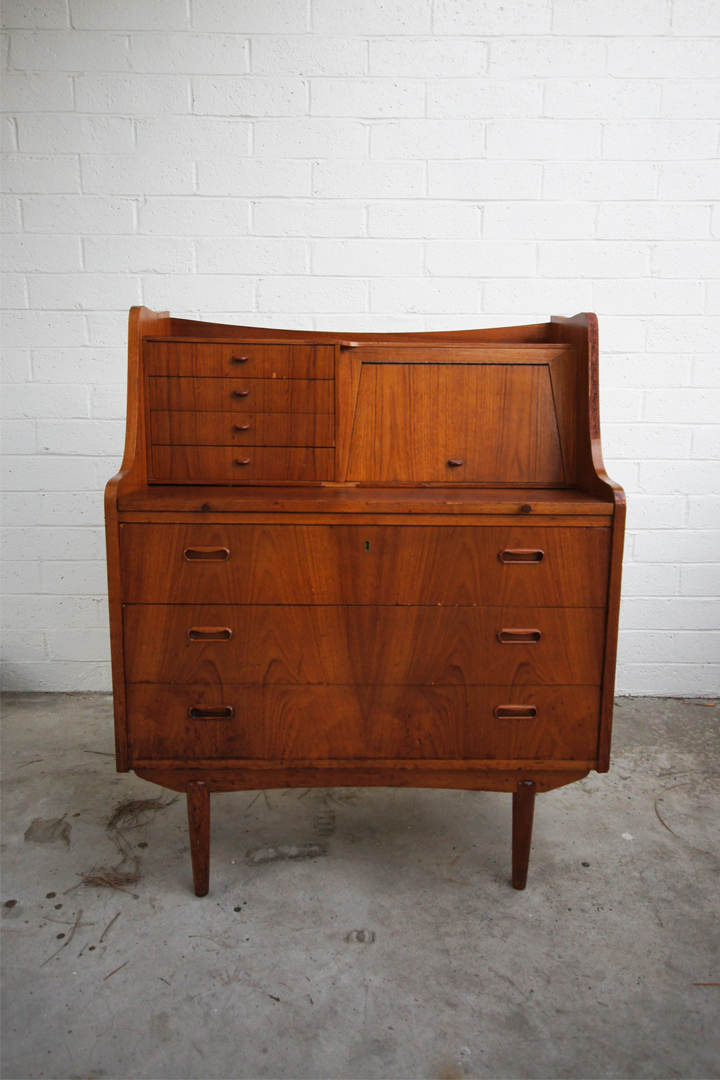
This vintage Danish chest/secretary has some major problems. Water damage, chipped and missing veneer, paint scuffs, sun damage, overall filth and dryness. Looks like the previous owners used and abused this thing, like a sixty year old hooker from Reno.

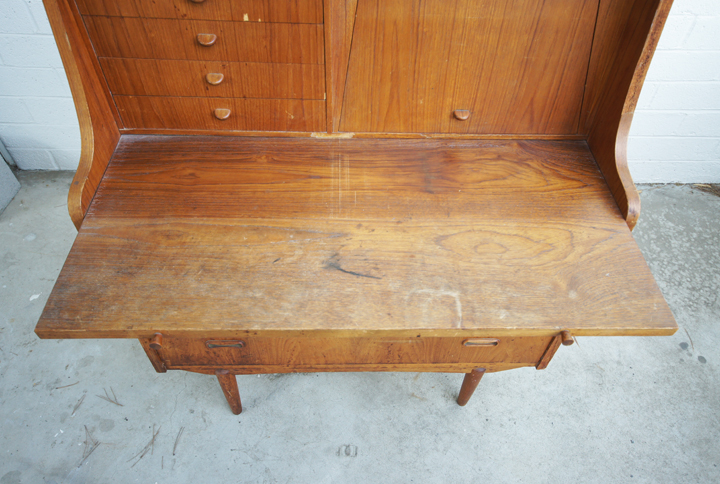
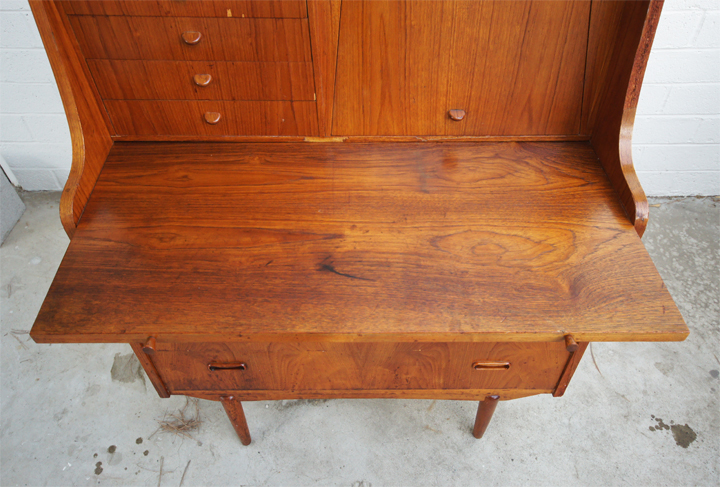
The desk area pulls out and is obviously pretty destroyed. The wood is scratched, has tons of water and sun damage and some odd stains. You know…like a hooker from Reno. Ugh. I can’t stand myself either.

The first step is to sand the trouble areas with a fine sand paper. Since there is no finish coating on the piece and I don’t plan on staining it a different color, I focused my sanding to the “trouble” areas, i.e. areas with stains, paint marks or minor scuffs.

Always sand with the grain of the wood. Never veer off-course, ALWAYS GO WITH THE DIRECTION OF THE GRAIN – for everything. That is the number one rule I live by. Another rule, don’t eat at Applebee’s.

After sanding, I pull out my Murphy Oil Soap and spray everything down to clean off the dust, grim and old wax in preparation of the next step.

Now is the time for the oil rub down. Using either the Watco Teak Oil or Danish Oil, soak a rag and rub the entire piece down. Wait ten minutes and with a clean rag wipe off the excess oil. Depending on how thirsty the wood is you can do two or three coats of the oil.

I love using a natural oil finish and not a stain. The oil sucks into the wood brings back the finish, color and the grain and helps seal it from the inside out. There is a great velvety finish when done and no fear of urethane peeling or yellowing over time.

After the oil is totally sucked into the wood and things are dry to the touch, the final step is to rub down everything with the Howard Feed-N-Wax. Again, you want to spread the wax on liberally with a cloth, wait twenty minutes and wipe off the excess. Let it harden up and then stick it back in the house while congratulating yourself for being awesome.

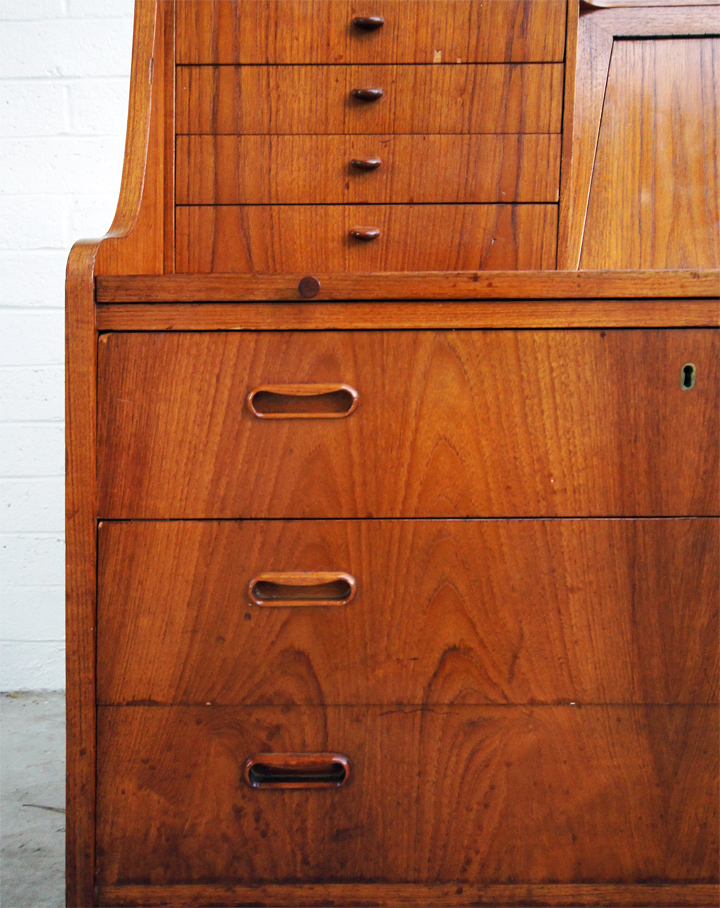
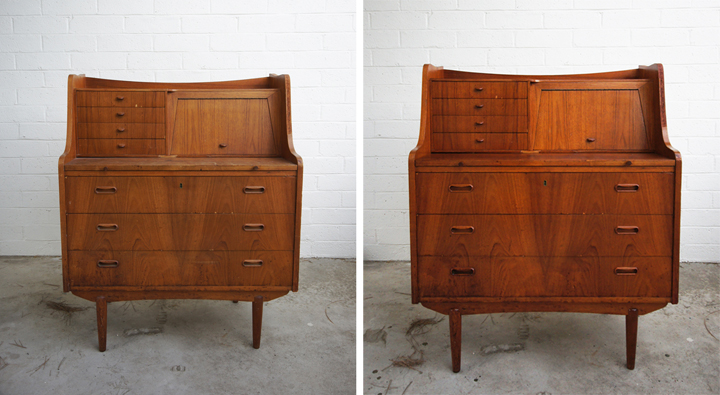
The wood should appear darker, more even and have a nice luster after the treatment. Scratches and scuffs should blend in with the wood since the oil makes them stand out less visually. Even though they aren’t gone, you’d be surprised how they almost disappear. Deep water stains are almost impossible to get rid of on veneer. You can’t sand veneer too much without the risk of sanding all the way through. Bleaching is always a tricky proposition, and could go wrong fast. Using the oil tends to even out the color difference and making the dark spots fade back a bit.

This chest needs the veneer replaced in a number of areas, but I’m not that interested in making it super perfect. I sort of like things to show some of their age, be a bit beat up and therefore less precious when you live with them. Then I don’t feel so bad when I inevitably screw it up even more.

Before and After.

Oiled up and ready to go. Now we just need to finish the rest of the master bedroom.
Front Door, Finished

Monday, August 23rd, 2010

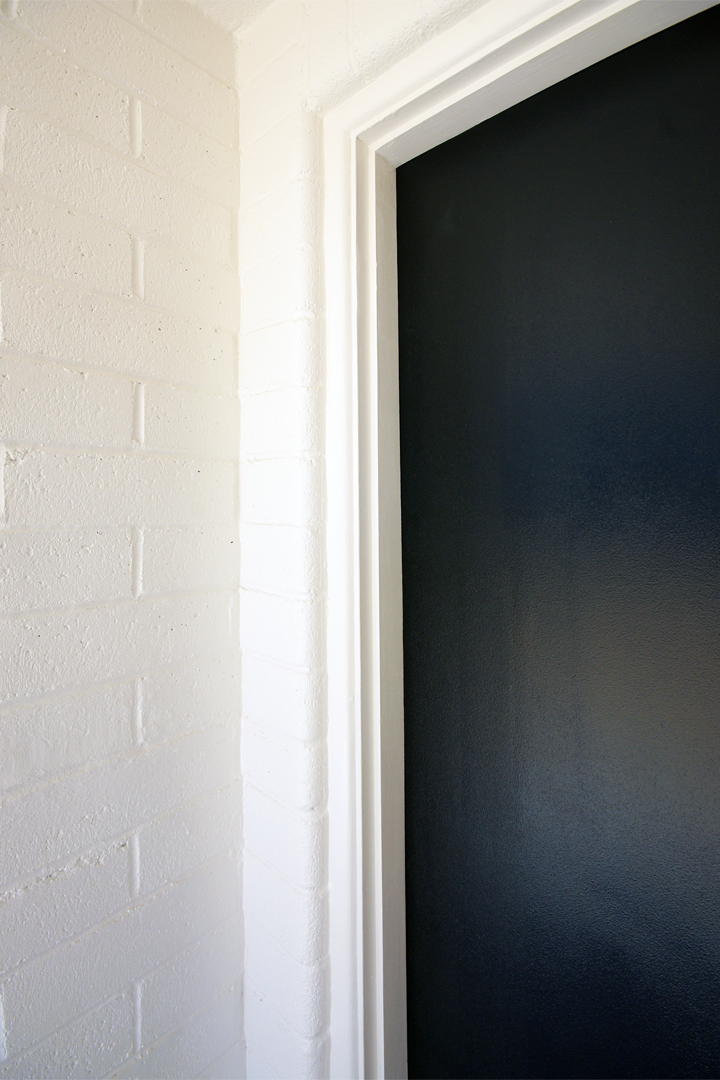
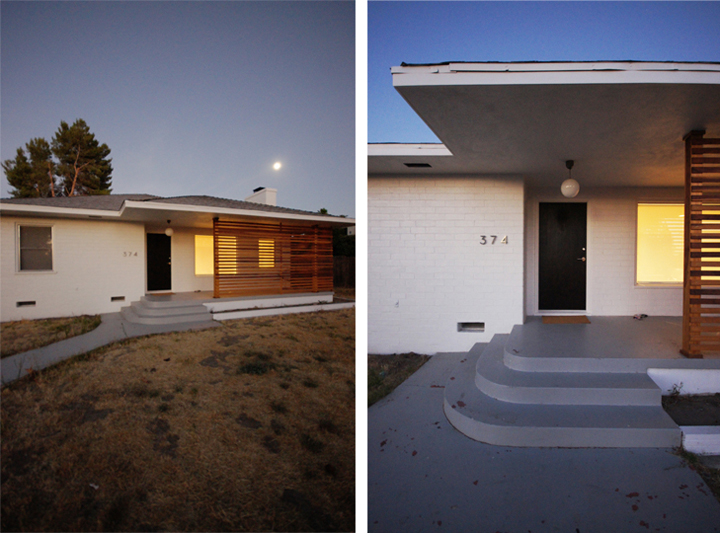
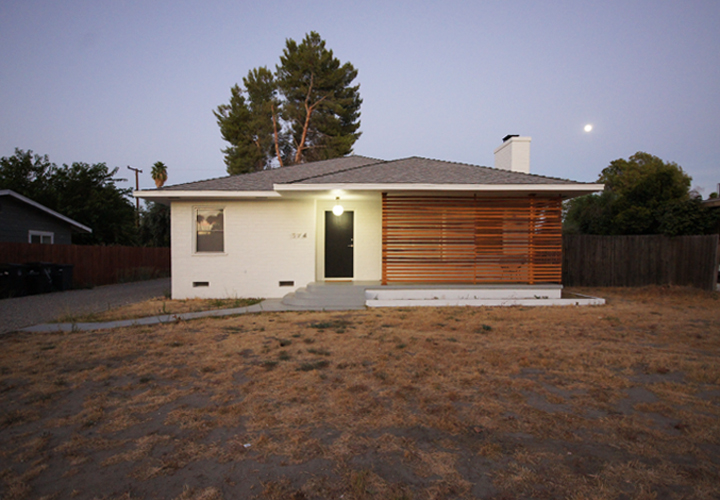
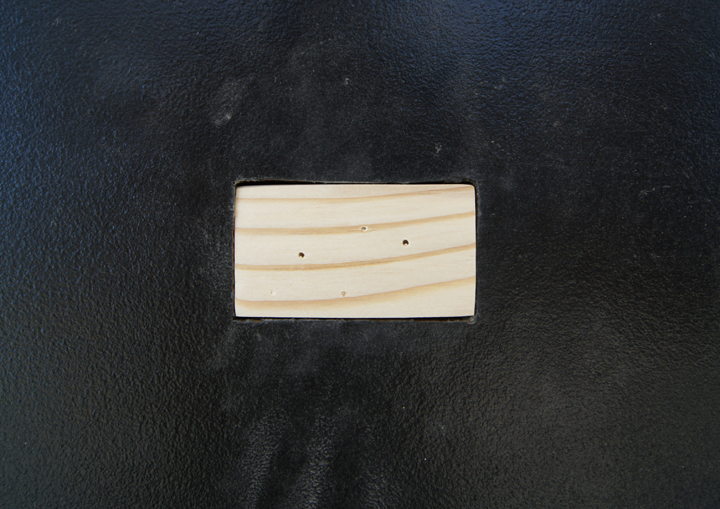
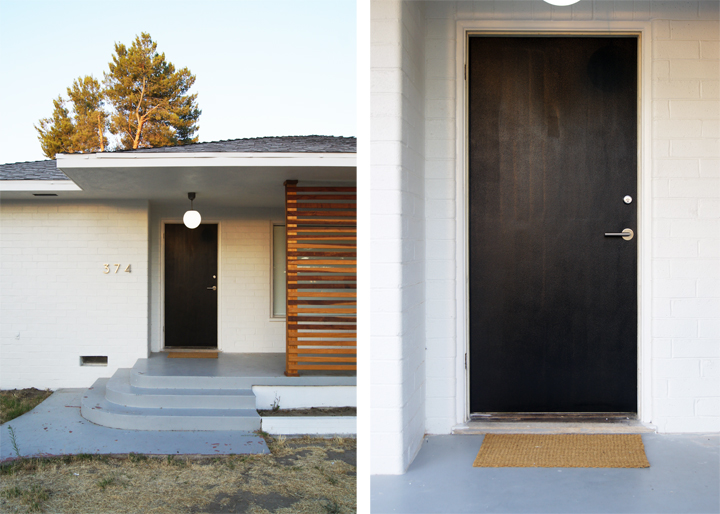
The front door needed a few final tweaks to make it the bomb shit. We patched up the old hinge holes left after the screen door was removed and slapped on a few final coats of paint.

Pur-tty. Like they were never there.

You know what fills an old hinge hole really well? Paint stir sticks from Home Depot. We’ve patched a fair amount of old hinge holes using stir sticks and somehow they are the perfect width and depth. Trim it to height, glue it in the hole, nail it, wood filler, sand it down and BAM! No more old hinge hole.

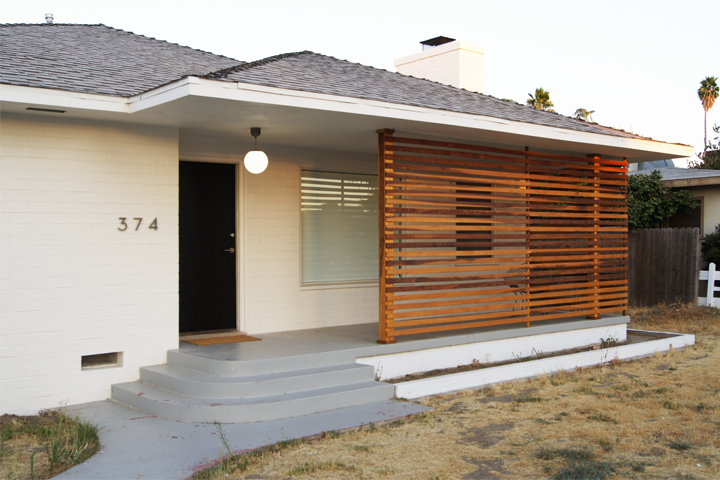
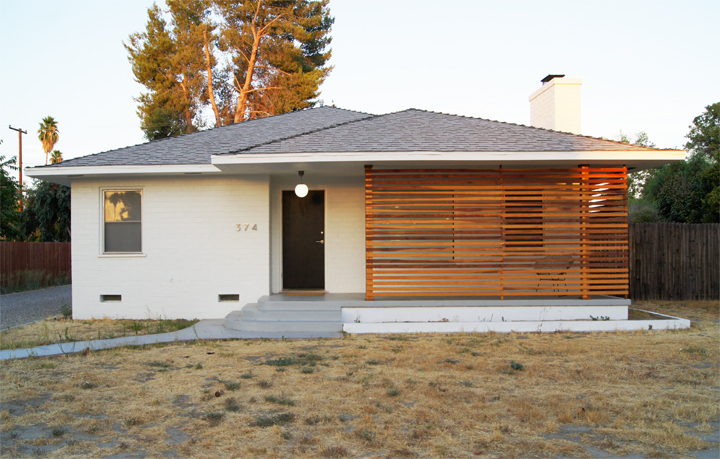
The door is looking pretty snazzy. We planned on painting the porch on Sunday but it was soooo hot and I was so exhausted. Sunday marked the end of my long summer work schedule, so I’m free, free to work on the house on the weekends again!

Instead of working on anything though we just ended up lounging in the tank pool and watching True Blood.

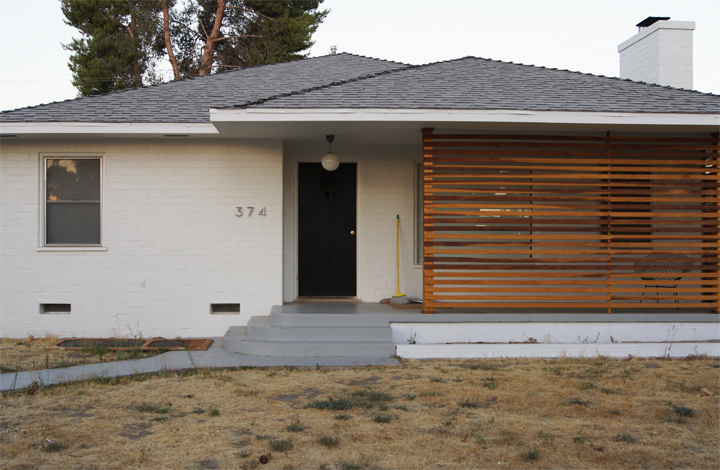
Even with all the frustration of fixing and patching the front door instead of getting a new one, I’m pretty happy with the result. We have four more doors to install in the back of the house, and we will definitely go the new route. Now finding affordable modern single light glass doors is the new goal.

I can’t wait to landscape, it’s long overdue. The front of the house is looking so sexy that the weeds are kind of like Alexander Skarsgard with a shirt on. Totally ruins the view.

Front Door

Wednesday, August 18th, 2010

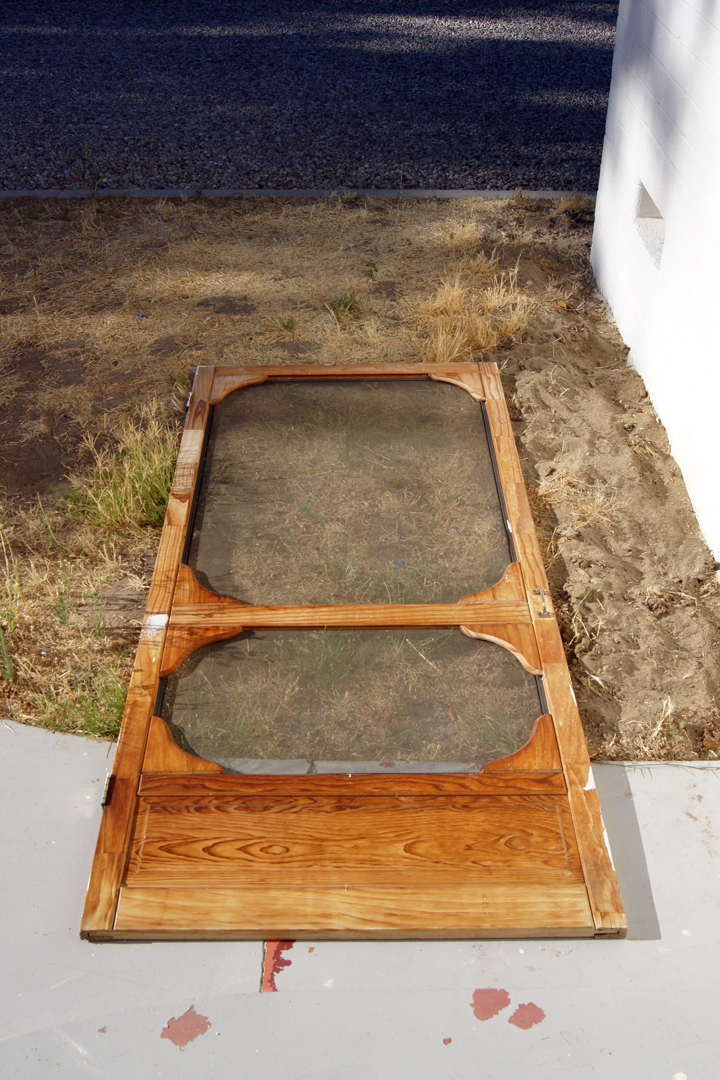
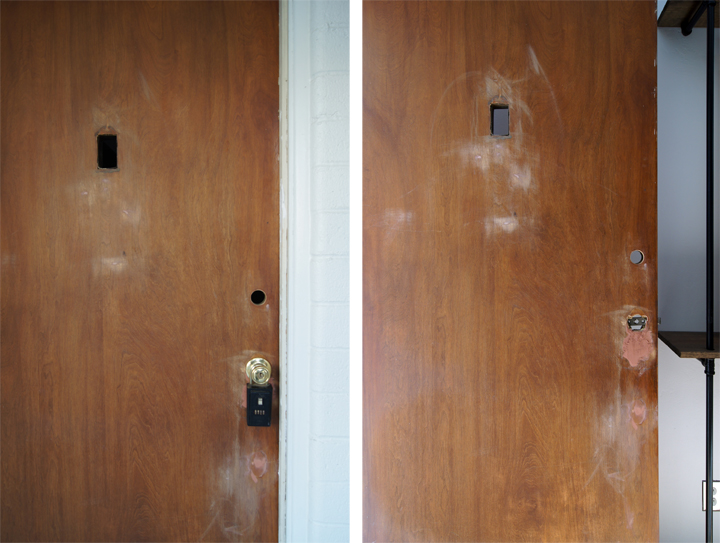
Screw you ugly screen door. Screw you big weird hole.

We finally got motivated and figured out how to fix the big hole in the front door – which means the front door is going to rehab.

Screw you as well stupid Realtor lock box.

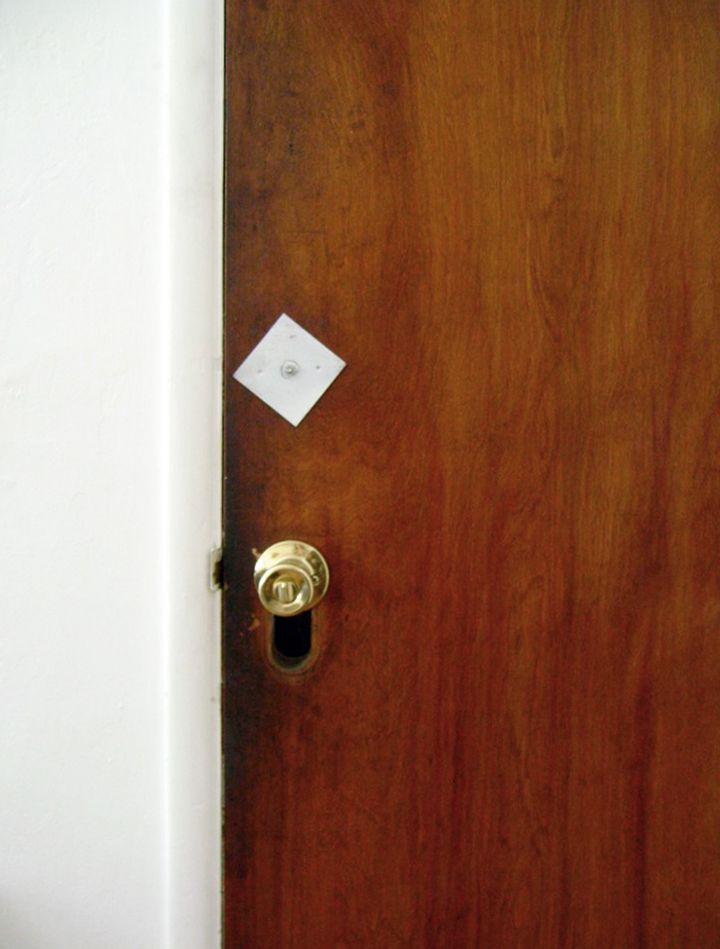
The Boy made a little custom wood chunk to fill the giant hole below the doorknob. He puttied it up with some wood filler and then proceeded to fill a bunch of wonky holes throughout to get it primed for painting.

Sand sand sand. Patch patch patch.

Then we tried painting the door and…disaster.

It looks terrible.

Smooth roller + Behr exterior True Black in a semi-gloss = WTF. It’s ugly finish city. It was the same combo we used for the garage doors. So what went wrong?

I don’t know. I googled and googled to no avail.

As a last resort I spoke with the paint guy at Home Depot. He said it was a drying problem; the paint was drying too quickly and we weren’t putting enough paint on the roller as well as pressing too hard. Therefore, bad finish.

Since we were sanding things down and calling a do over, I decided we needed to patch up the peep hole. We had a big ornate brass thing that just wasn’t going to work with the more modern hardware we were installing. The Boy and I argued back and forth about its inclusion, and in the end The Boy cut and fit another custom chunk of wood to seal that eyesore up forever. More wood filler, more sand sand sand and BAM, solid door.

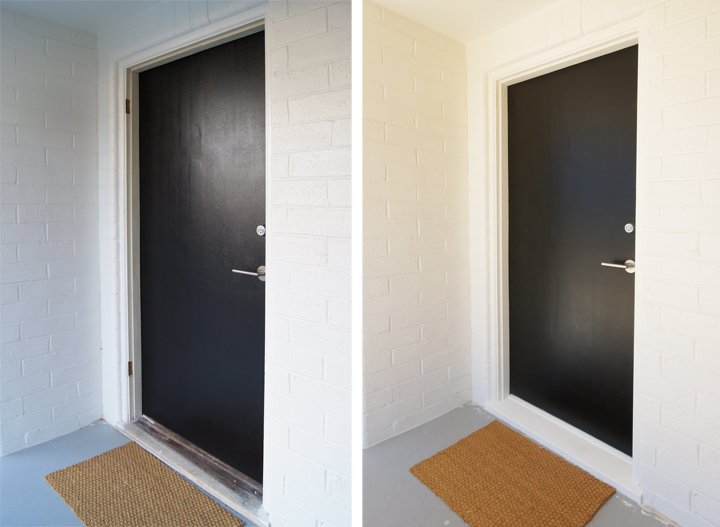
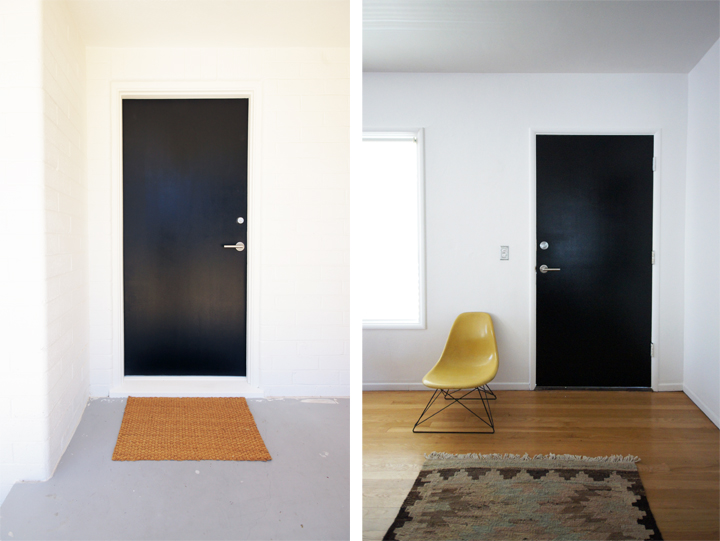
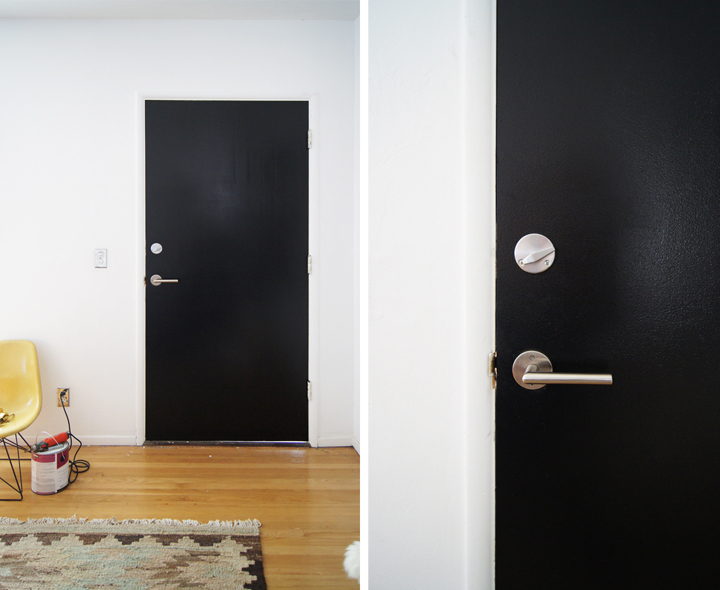
Here is the final interior after repainting and installing the new hardware. I settled on Emteks Stuttgart Lever which was $55 and a specially sized 1-1/2″ Schlage B560P deadbolt for about $35. Why the weird small deadbolt that is super expensive? Well, we tried to bore out our other exterior doors to fit a standard deadbolt and it was a complete nightmare. A nightmare I swore we would not repeat. Too bad I forgot that satin nickle is not the same color as satin chrome. Both the handle and deadbolt only offered either finish, so that means no shared finish color. Damn this door and all its stupid complications!

The deadbolt did fit like a dream, BTW.

We still need to patch and paint the exterior molding and door jamb. Oh, and paint the cement porch. At least that screen door is dead and gone.

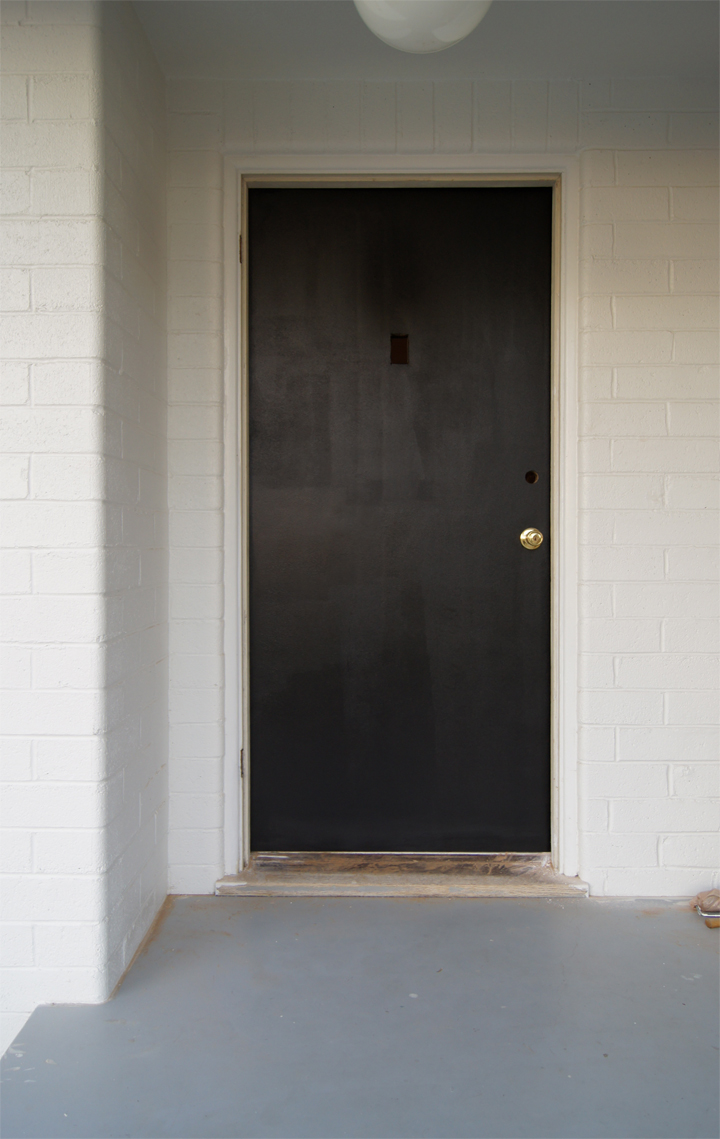
See the lovely lumps on the upper left of the door reflecting all weird? You can totally feel them undulating under your hand. UGH. These were yet another thing contributing to the weird finish. They are not lovely lady lumps, but bizarre rolling mounds. They make me crazy.

I give up, we are calling it done. Stupid old fucked up door.

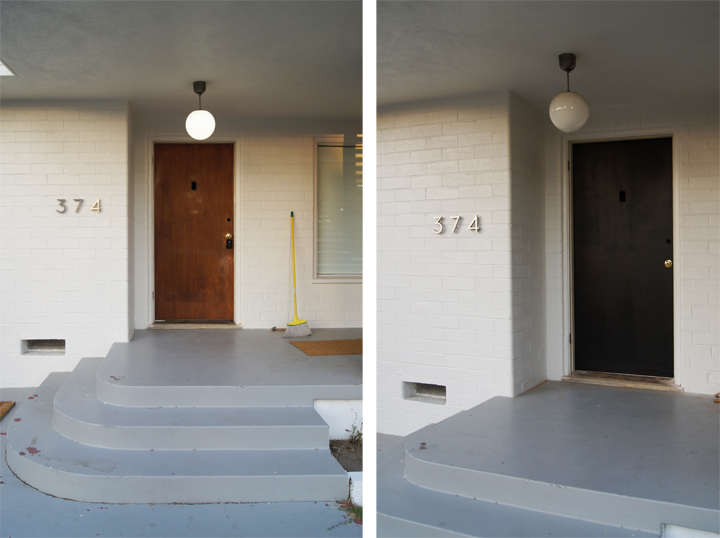
BEFORE:

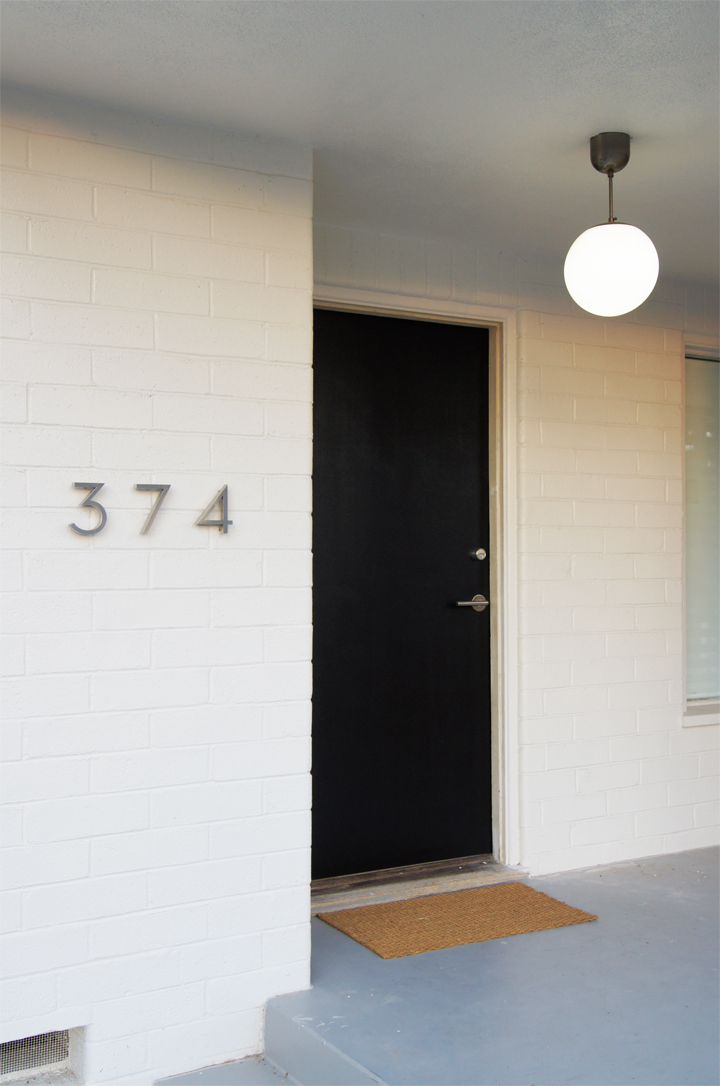
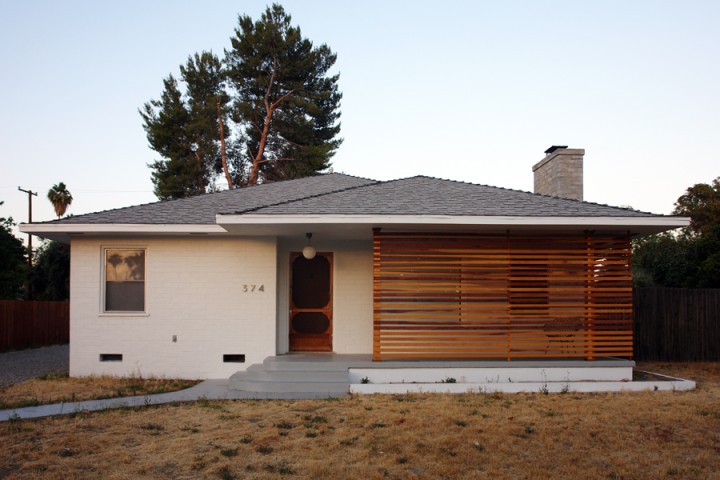
AFTER:

It works. I am so done screwing around with it. Better this than a big stupid hole in the door filled with spiders.

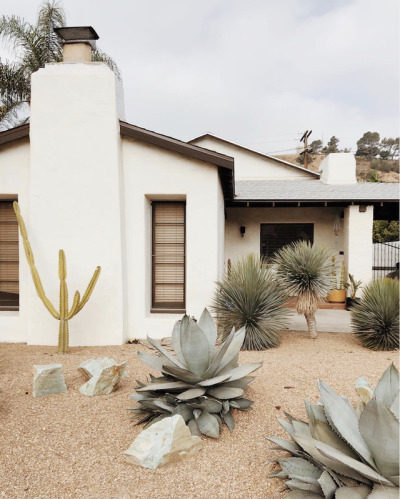
Now we need a large modern planter next to the door with some sort of cactus. Then porch paint. Hardscape. New fence. Gate. Landscape. Mailbox. Edging. And then on and on and on and on…