Archive for the ‘vintage’ Category

Pro Burl

Friday, November 5th, 2010

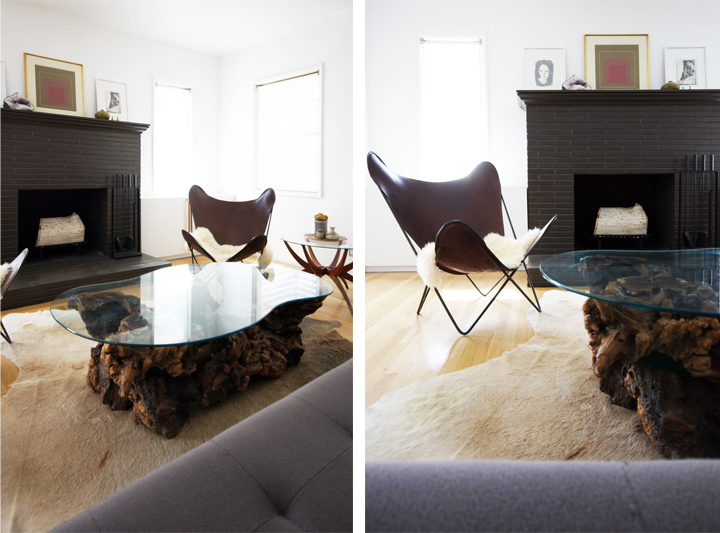
Ever since I bought the ol’ giant vintage burl root coffee table (and his two side table friends) there has been what I’m deeming a “mixed” response. Needless to say it’s almost been overwhelmingly negative. People just hate this type of table vehemently. Hate it enough to send me emails about how ugly it is, which I must say, takes a HUGE amount of hate since a lot of energy is spent just to comment, let alone locate my email address and then compose a few paragraphs of hate.

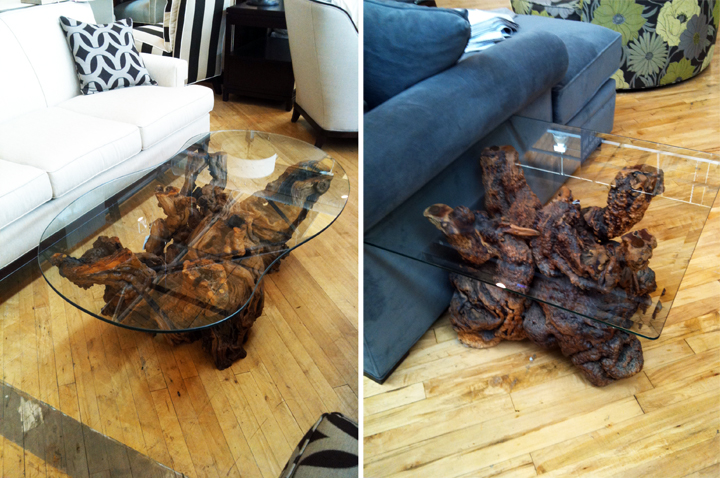
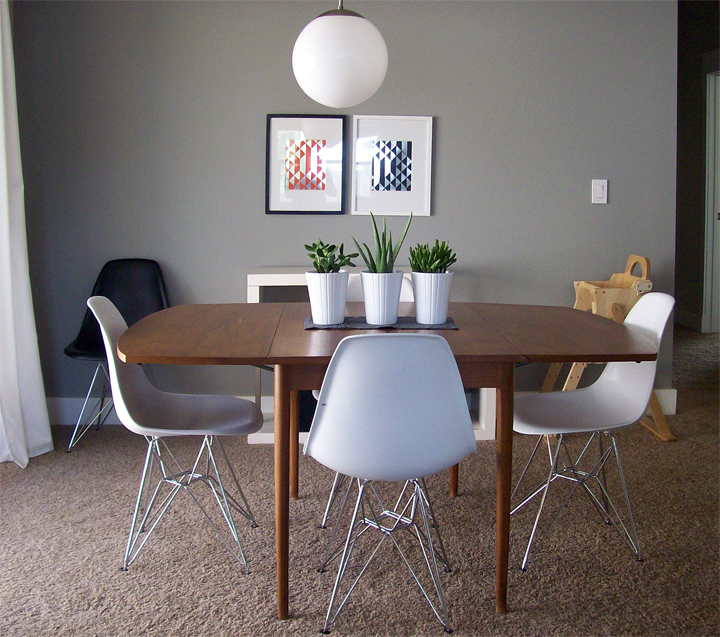
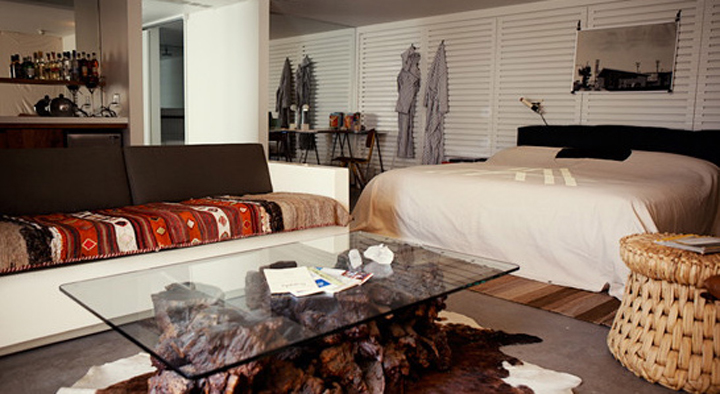
I know. It’s not for everyone. It is for some folks. It’s not the most elegant table in the world, but I just continue to LOVE it no matter what the world thinks. I’m not sure exactly why…maybe it’s the beefy weight, the gnarly sculptural mass of it compared to the more lofty and open mid century lines of the rest of the home. My particular coffee table still needs a new rectangular glass top. Like this:

I think a larger rectangular glass would modern it up a bit. I hate the curves happening right now. Also, how sad is it that Viva Terra no longer carries that chunky woven stool. I want a pair so effing bad right now.

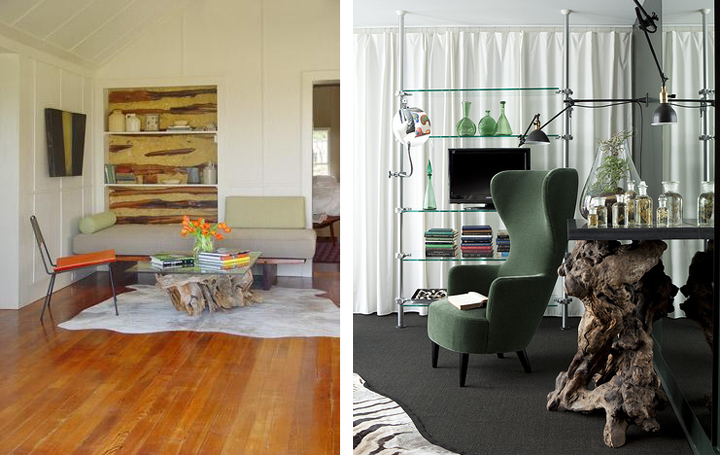
I know there are folks out there that have these kind of tables, but I’m having a hell of a time finding images of burly beasts in actual living spaces. Oh my, I hate that green chair and pretty much everything happening in the photo with the zebra rug…except for the lamps.

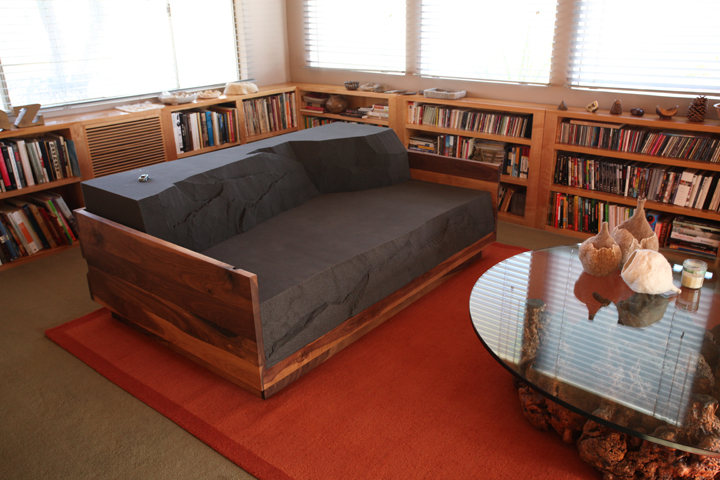
Check out this amazing round burly version at A-Z West…and that killer Raugh Sofa, so dreamy.

When I was in Los Angeles I hit up HD Buttercup for a little work related research and saw a bajillion teak root, burl, and driftwood tables. All priced around $1,500 – $5,000 depending on size. Someone must be loving this stuff and paying a crap load for it…

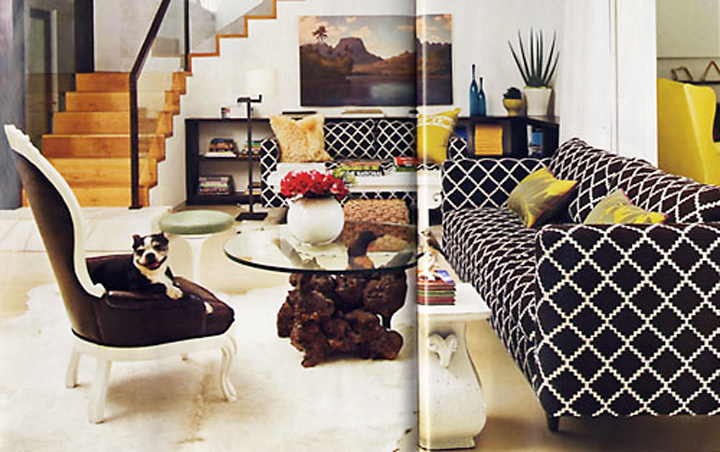
This Metropolitan Home feature may be a little much for my particular palette, but how happy is that Boston fur monster? He loves Burl.

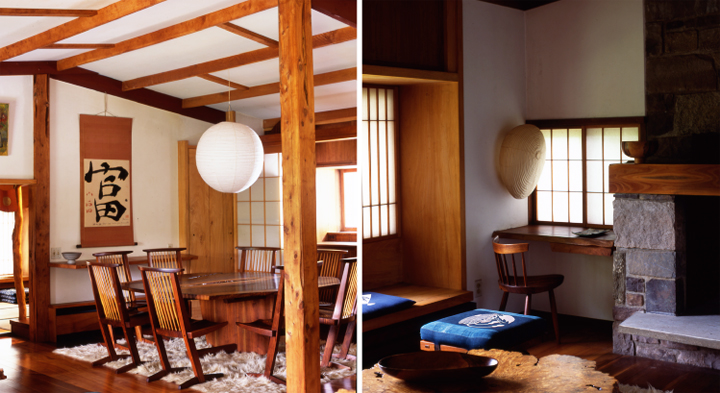
My crazy love of rough-hewn natural slab furniture may have it’s more sophisticated roots in a down right obsession with the work of George Nakashima (even though what I can afford to buy tends to be more along the lines of the free love wood working of the late 60’s hippy culture). Show me someone who hates Nakashima’s work. You can’t because he’s awesome. It’s a fact.

Pretty much I would put as much rough-hewn, raw edge, giant gnarly slabs of wood everywhere and anywhere I can. And I’m probably going to. Eventually.

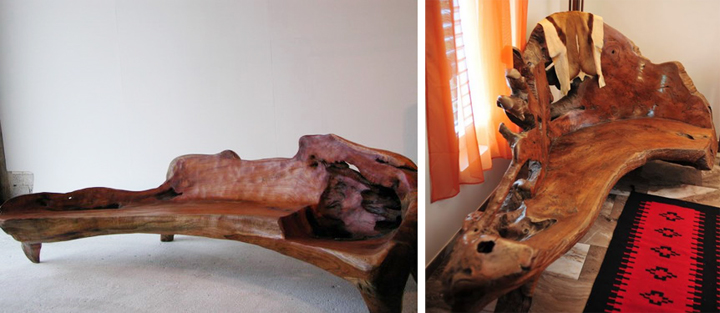
Yeah. I’d even throw some giant teak root benches and chairs around if I had the cash. I’ve been on the lookout for years, but that stuff is expensive and hard to find – a lethal combo.

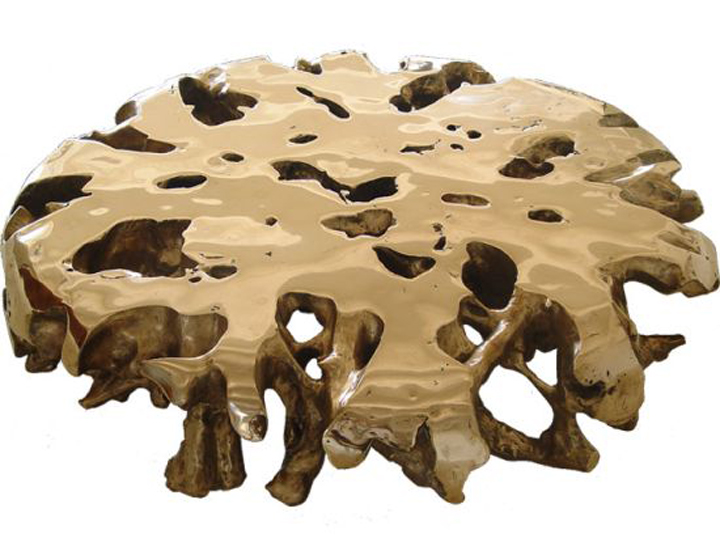
I might as well keep an eye out for this $55K Meteor Table made by Christa. It’s rooty and made of shiny bronze? My two favorite things combined into one ultra expensive mess.
Refreshing Vintage Wood

Thursday, September 16th, 2010

Jennifer from A Merry Mishap emailed recently asking for a little advice to spruce up her newly found vintage dining room table. Like a lot vintage pieces I find while out and about in thrift stores, there always seems to be something wrong that makes the piece a little less than perfect and therefore more affordable. The Boy likes to call it “character”, especially when he gauges, scuffs or scrapes some item in the house. He isn’t destroying it,  just adding to the “character”.

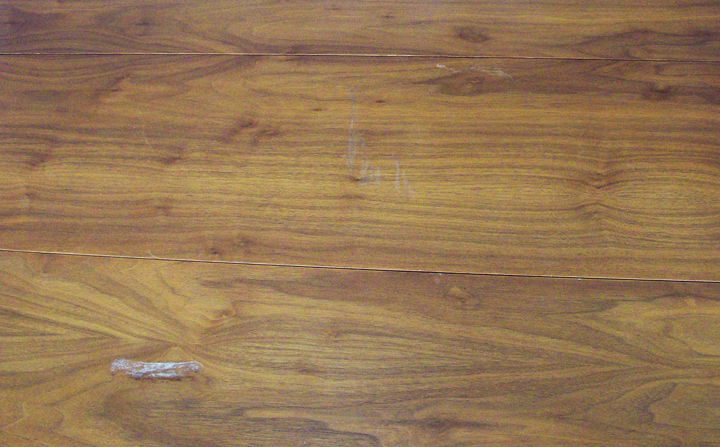
Jennifer’s table has a couple of scuffs, a scratch and a mysterious white mark. I’m guessing it’s paint. It also seems that the table top is a veneer instead of solid wood, which can be refreshed a bit but some issues like deep scratches are never going to truly go away.

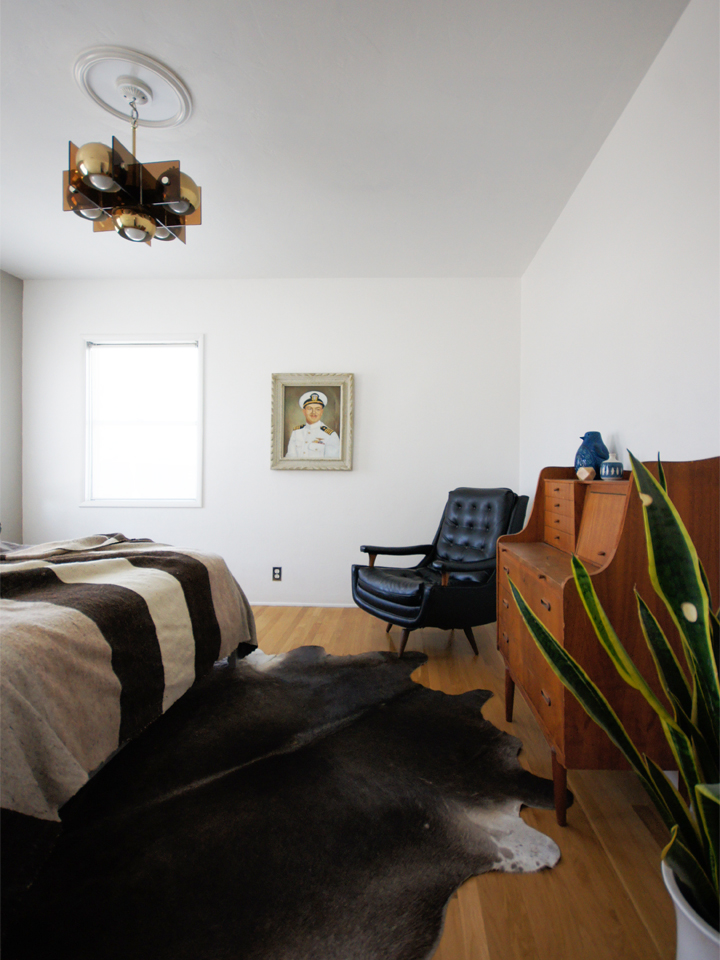
Since there were a few other questions about how I was going to oil up the chest in the master bedroom I thought I could show you guys (and therefore Jennifer as well) how I handle dealing with lackluster vintage wood furniture.

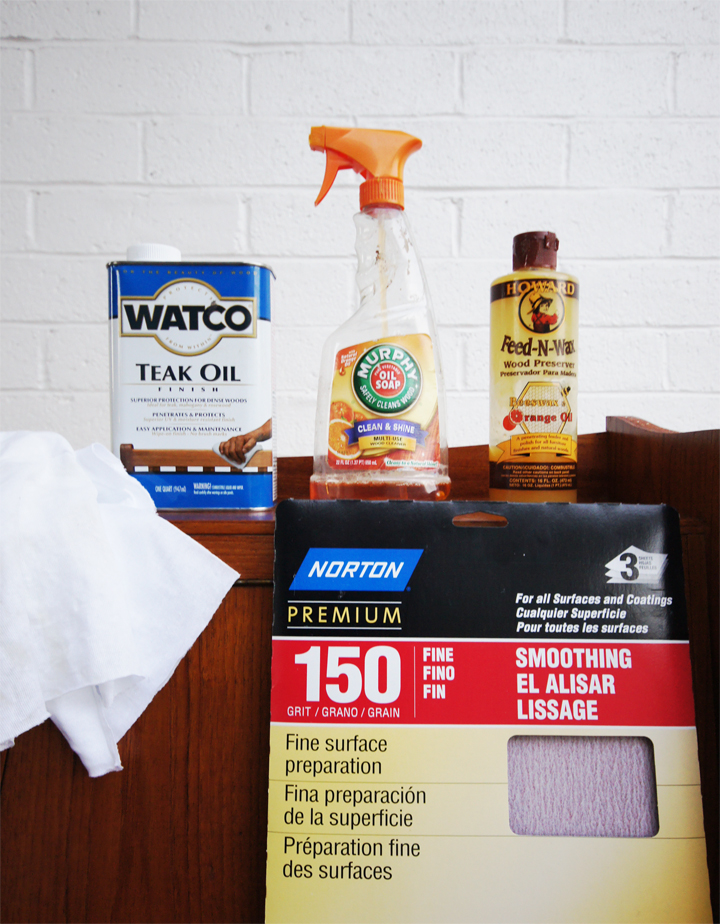
This is my typical arsenal:

Murphy Oil Soap
Watco Teak Oil (or Danish Oil in a Natural Finish)
Howard Feed-N-Wax
Rags (Lint free)
Fine Sand Paper (or Super Fine)

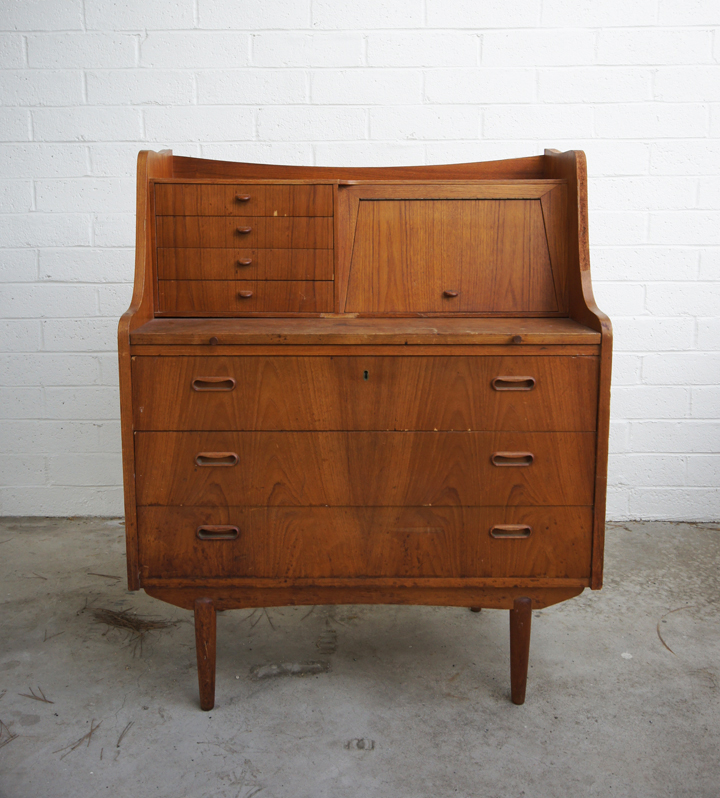
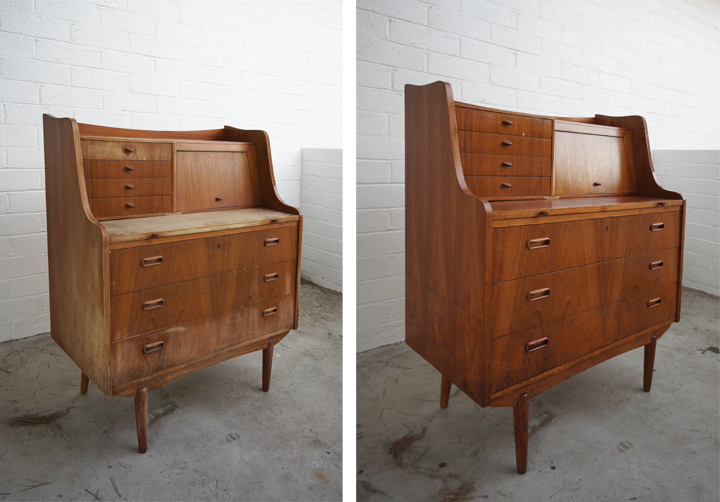
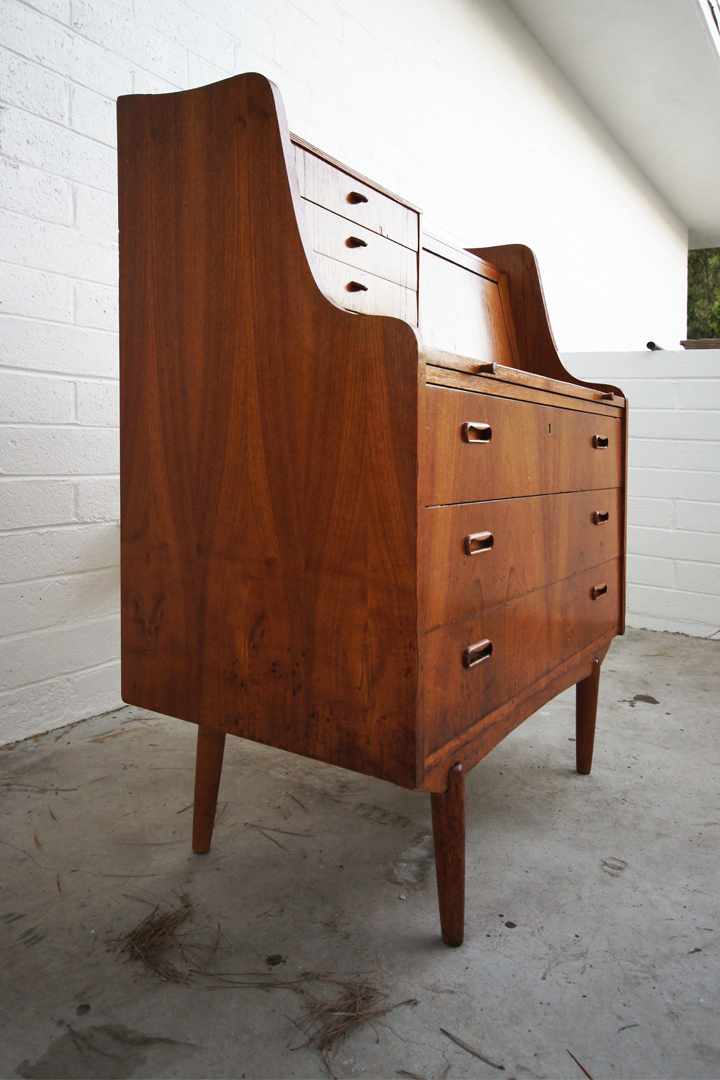
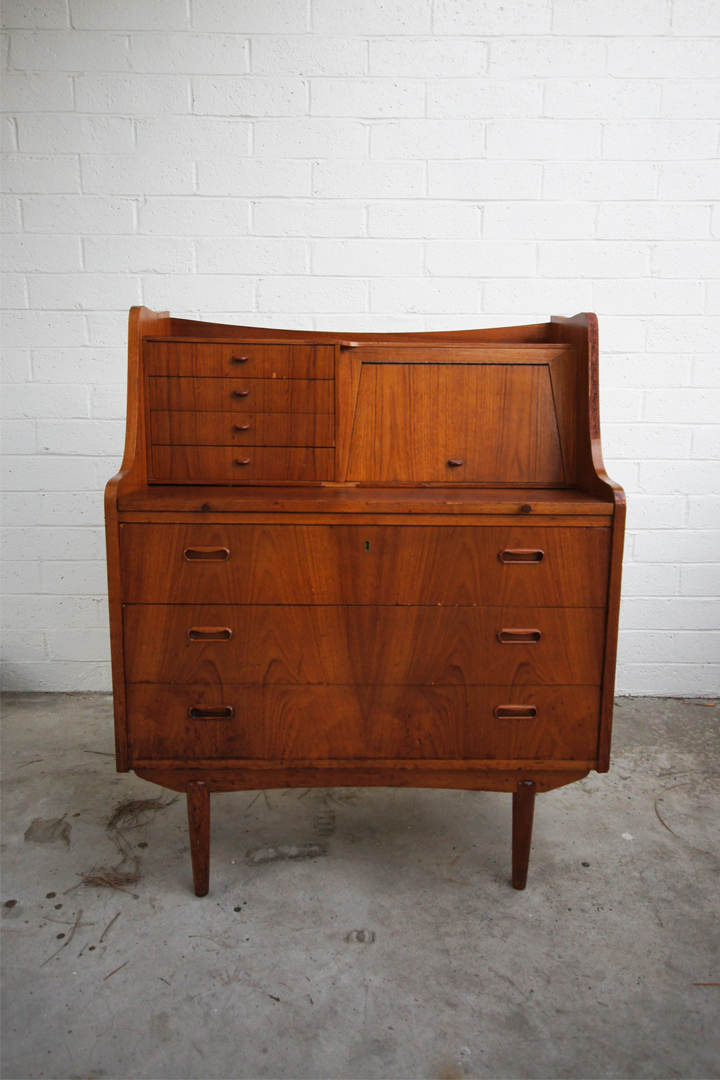
This vintage Danish chest/secretary has some major problems. Water damage, chipped and missing veneer, paint scuffs, sun damage, overall filth and dryness. Looks like the previous owners used and abused this thing, like a sixty year old hooker from Reno.

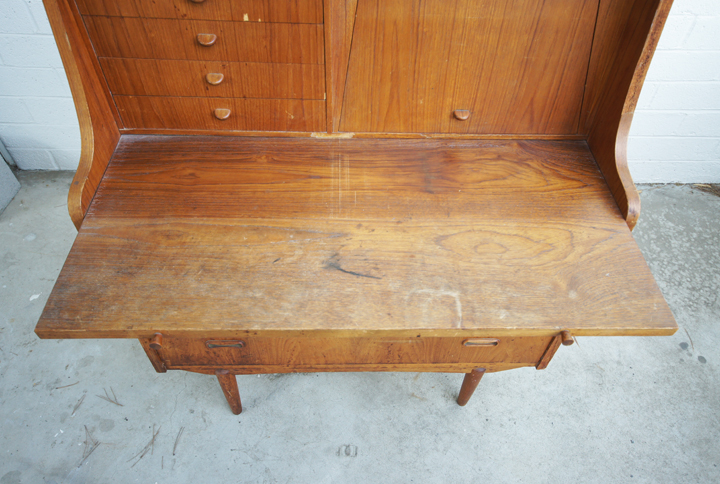
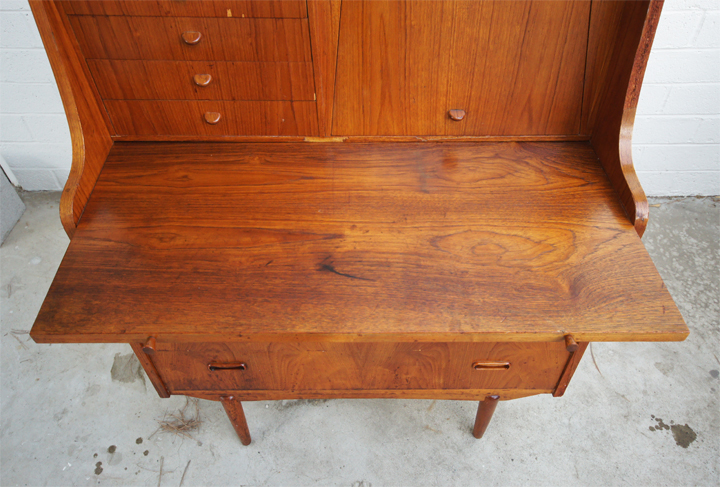
The desk area pulls out and is obviously pretty destroyed. The wood is scratched, has tons of water and sun damage and some odd stains. You know…like a hooker from Reno. Ugh. I can’t stand myself either.

The first step is to sand the trouble areas with a fine sand paper. Since there is no finish coating on the piece and I don’t plan on staining it a different color, I focused my sanding to the “trouble” areas, i.e. areas with stains, paint marks or minor scuffs.

Always sand with the grain of the wood. Never veer off-course, ALWAYS GO WITH THE DIRECTION OF THE GRAIN – for everything. That is the number one rule I live by. Another rule, don’t eat at Applebee’s.

After sanding, I pull out my Murphy Oil Soap and spray everything down to clean off the dust, grim and old wax in preparation of the next step.

Now is the time for the oil rub down. Using either the Watco Teak Oil or Danish Oil, soak a rag and rub the entire piece down. Wait ten minutes and with a clean rag wipe off the excess oil. Depending on how thirsty the wood is you can do two or three coats of the oil.

I love using a natural oil finish and not a stain. The oil sucks into the wood brings back the finish, color and the grain and helps seal it from the inside out. There is a great velvety finish when done and no fear of urethane peeling or yellowing over time.

After the oil is totally sucked into the wood and things are dry to the touch, the final step is to rub down everything with the Howard Feed-N-Wax. Again, you want to spread the wax on liberally with a cloth, wait twenty minutes and wipe off the excess. Let it harden up and then stick it back in the house while congratulating yourself for being awesome.

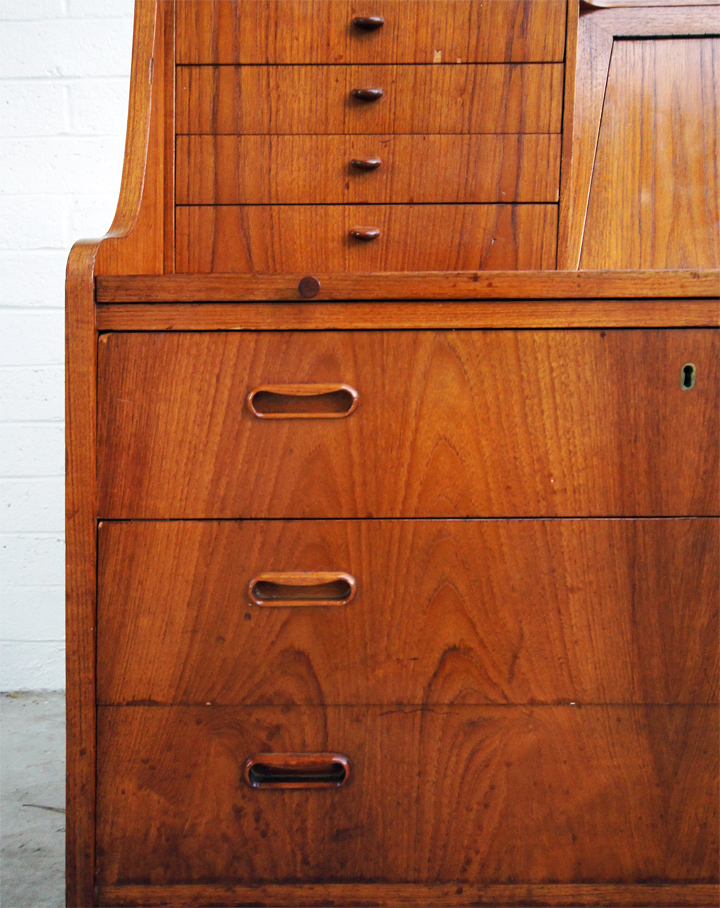
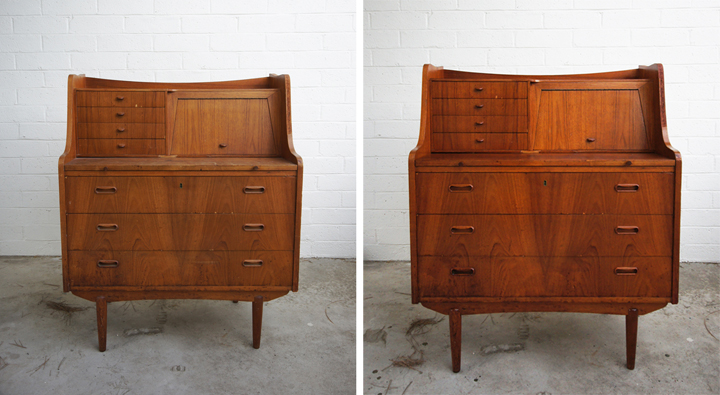
The wood should appear darker, more even and have a nice luster after the treatment. Scratches and scuffs should blend in with the wood since the oil makes them stand out less visually. Even though they aren’t gone, you’d be surprised how they almost disappear. Deep water stains are almost impossible to get rid of on veneer. You can’t sand veneer too much without the risk of sanding all the way through. Bleaching is always a tricky proposition, and could go wrong fast. Using the oil tends to even out the color difference and making the dark spots fade back a bit.

This chest needs the veneer replaced in a number of areas, but I’m not that interested in making it super perfect. I sort of like things to show some of their age, be a bit beat up and therefore less precious when you live with them. Then I don’t feel so bad when I inevitably screw it up even more.

Before and After.

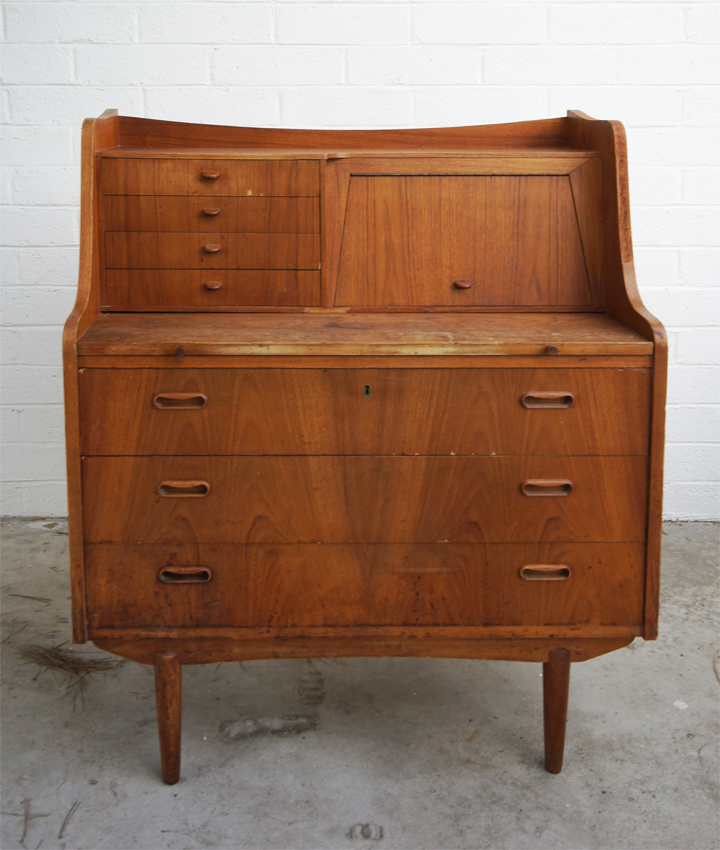
Oiled up and ready to go. Now we just need to finish the rest of the master bedroom.

Thrifty!

Wednesday, September 1st, 2010

I went thrifting in what feels like the first time since hell froze over and was feeling a bit rusty after an extended break from being out on the streets patrolling for vintage goods. I spent most of the day trying to find a groove but only found jack squat while wadding through packed thrift stores listlessly and a bit distracted. I hit all the usual spots and nothing – not even interesting smalls. It was like a wasteland of overpriced crap out there.

On the way to hit the last store on my route, I spotted a sign for a new thrift store that ended up being tucked away in an industrial storage facility in a total no-mans land of warehouses and despair. I can not explain how nice it is to find somewhere new, somewhere fresh, somewhere very well priced. Inside was great – just that perfect mix of jumbled furniture, racks of clothes and strange electronics, disgruntled employees and that very distinct thrift store smell.

Smells like victory.

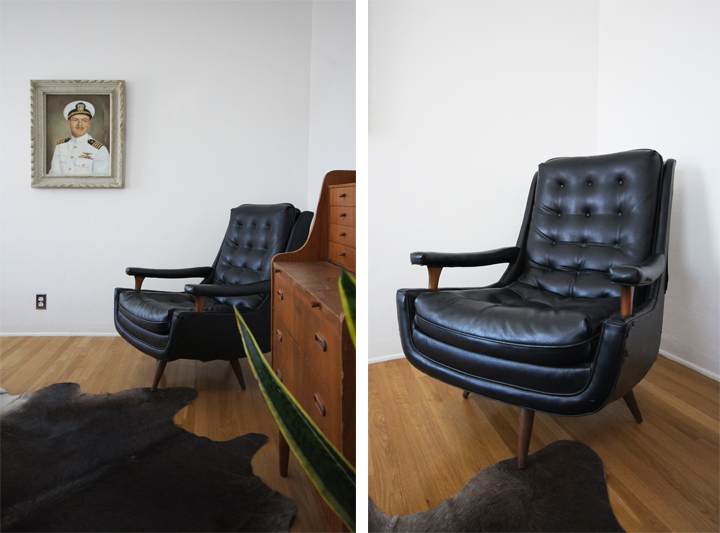
There is nothing like 50% off day, and nothing is as good as a comfy vintage chair that swivels and rocks and only costs $10.

I’m calling it “The Captain’s Chair” and The Captain approves.