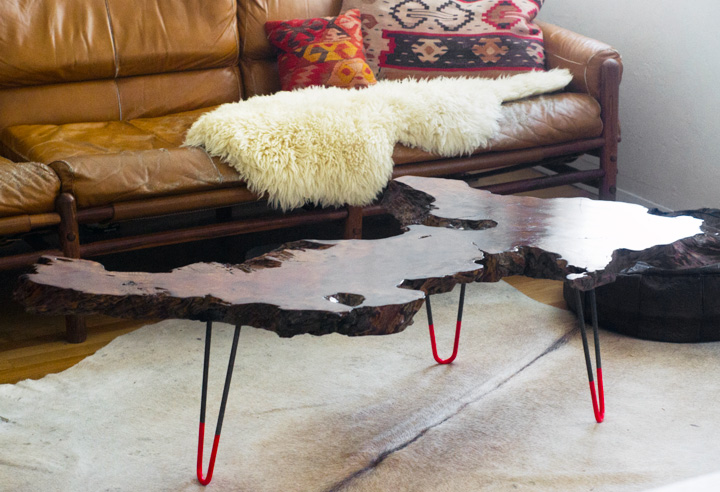
I made a new coffee table for the den and so can you! You know, if you want to or whatever. I don’t care! It’s your coffee and a place to put it, homeslice.
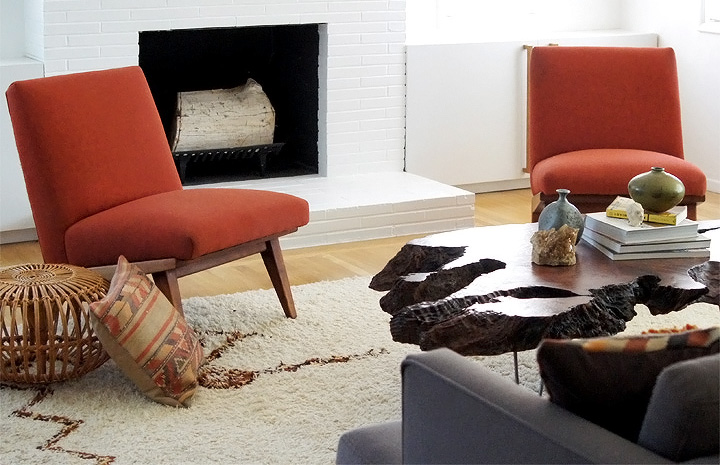
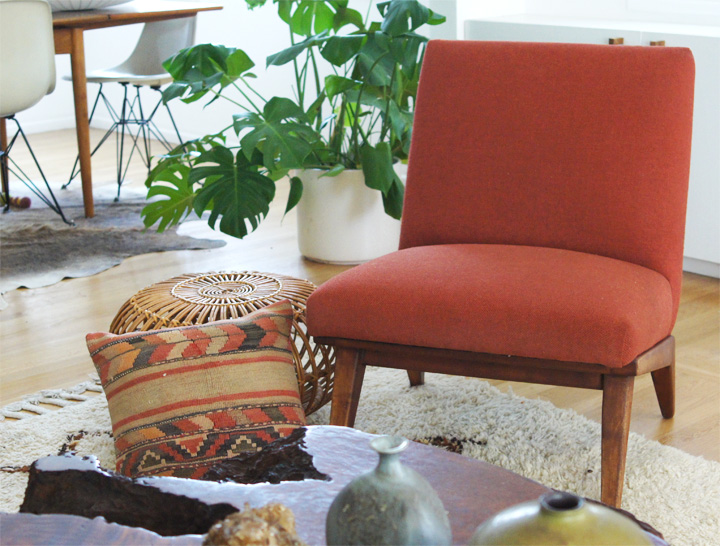
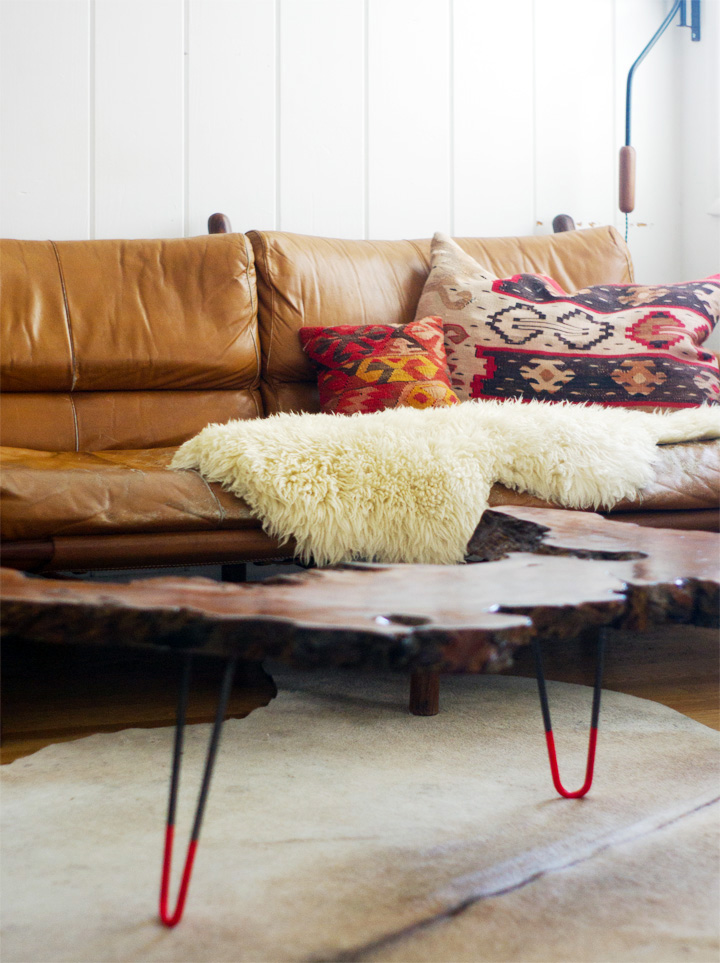
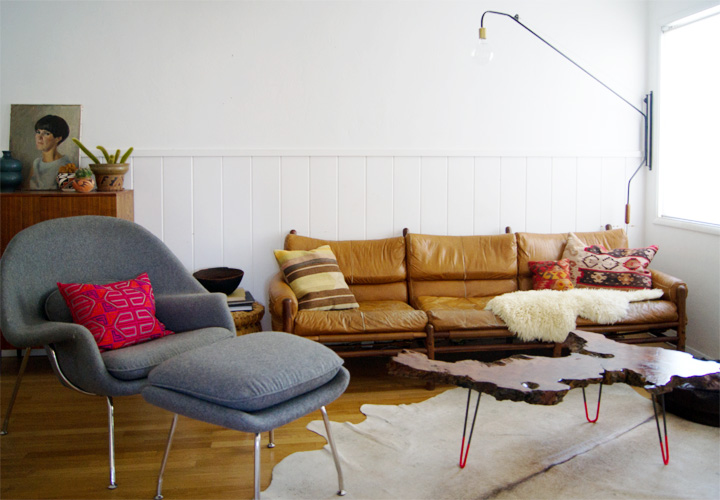
The den has always been my nemesis in terms of awkward layout, weird wainscoting and overall browntown-ness and remained so despite a year living with that gorgeous tulip table. Sometimes marble isn’t able to solve all your problems, so when I ran across this wood slab top on Craigslist I thought, hey, why not throw in some more brown to browntown and maybe – just maybe – add a touch of neon pizazz to fix this mess of a room.
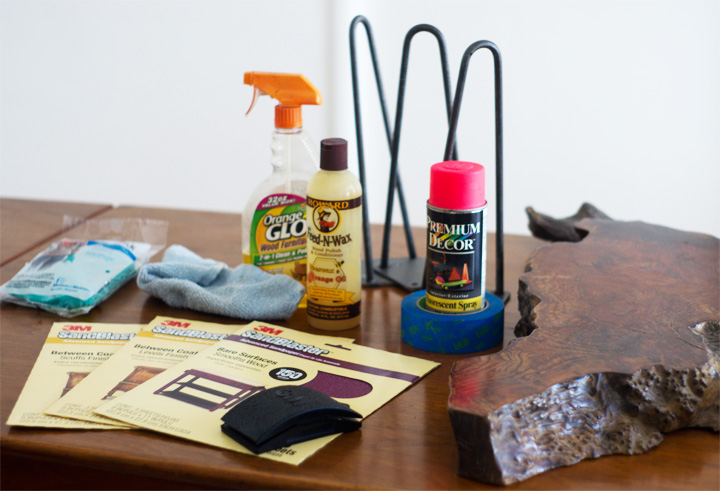
WHAT YOU’LL NEED
– Table Top (I found this slab on Craigslist – eBay is a great source or THIS might work for you, but any top can work)
– Hairpin Legs (Logan from OneFortyThree made these ones – oh, and check out his shop too)
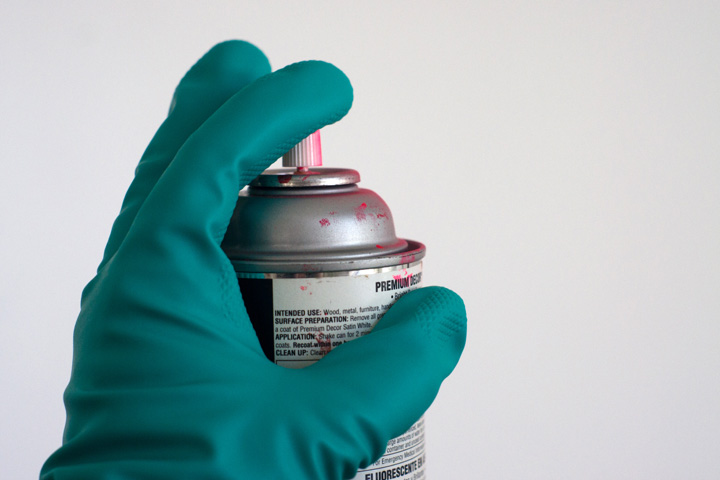
– Florescent Spray Paint
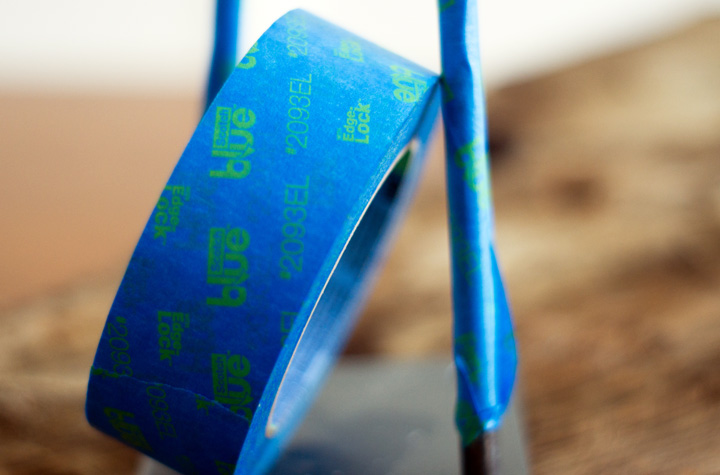
– ScotchBlue Painter’s Tape
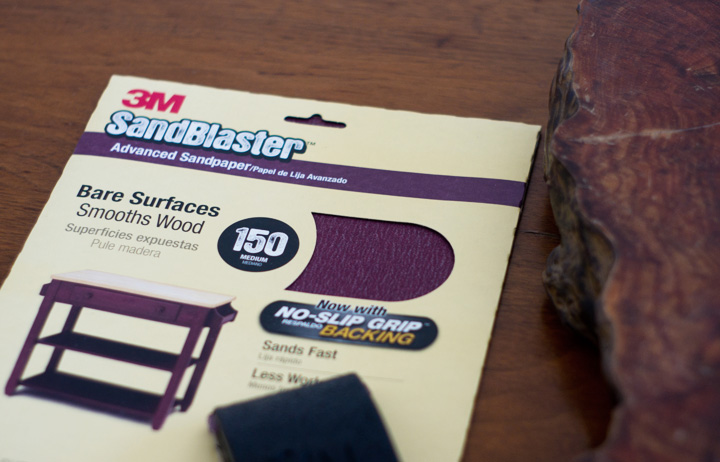
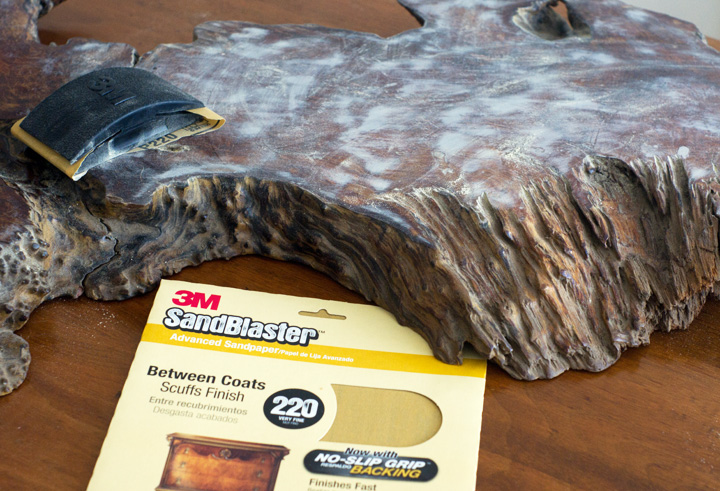
– 3M Advanced Abrasives Sandpaper (I used the 150 and 220 grit)
– 3M TEKK Protection Saftey Gear (gloves, mask, ect.)
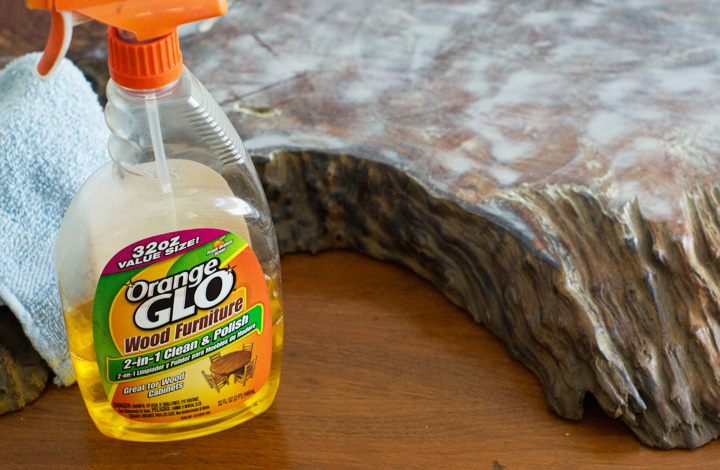
– Orange Glo Spray Cleaner
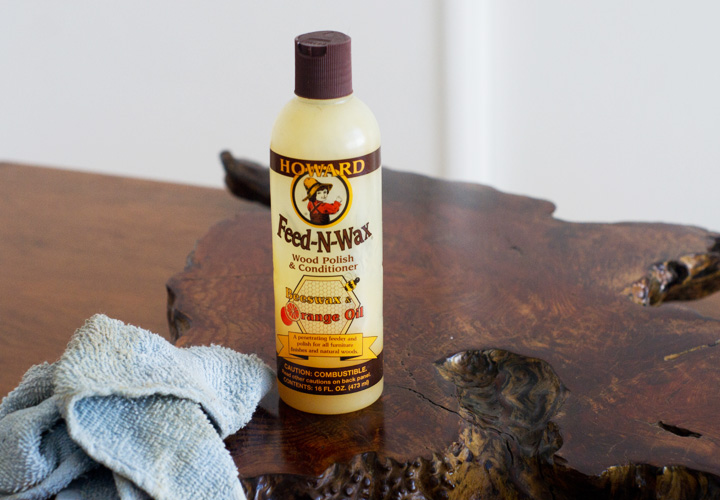
– Howard Feed & Wax
– Cordless Drill
– Tape Measure
– Screws (length and type best suited for your table top)
– Rags
HOW TO DIY
1. My wood slab had some surface scratches and vintage grim that needed to be ‘refreshed’, so I started hand-sanding with the rougher 150 grit sandpaper to knock down the majority of the damage and finished up with the very fine 220 grit for a nice smooth finish.
*Tip Corner: Depending on how rough your wood is or if it has any sort of lacquer or stain finish, you might prefer using a power sander to expedite the sanding process. Wear some eye protection and a mask if power sanding off any kind of preexisting finish, ’cause seriously who knows what it is or if you should ingest it (you really probably shouldn’t FYI). Anyways, my wood was in pretty good shape and didn’t need a ton of sanding to look and feel good.
2. After sanding, go ahead and remove all the dust and icky stuff with some Orange Glo Spray and a clean rag in order to prep the wood for the final buff.
3. Sometimes when refinishing wood I’ll use Danish Oil to restore and treat the wood and then buff it, but this slab was already in pretty good shape and didn’t really need it, so I finished up by buffing on some Howard Feed & Wax (aka my favorite thing ever).
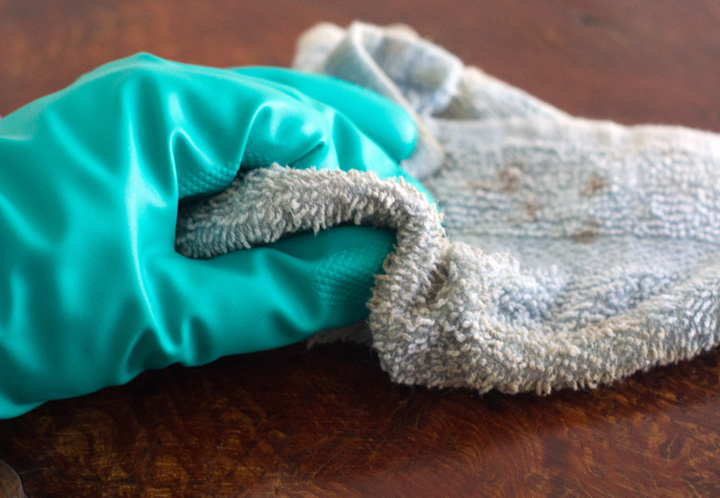
*Tip Corner: After years of gross oil hands turning into gross oily hobo hair (when I inevitably touched my hair with my oily hands) I finally threw on some gloves and avoided the whole situation. Now I am an adult. An adult doing things safely or something.
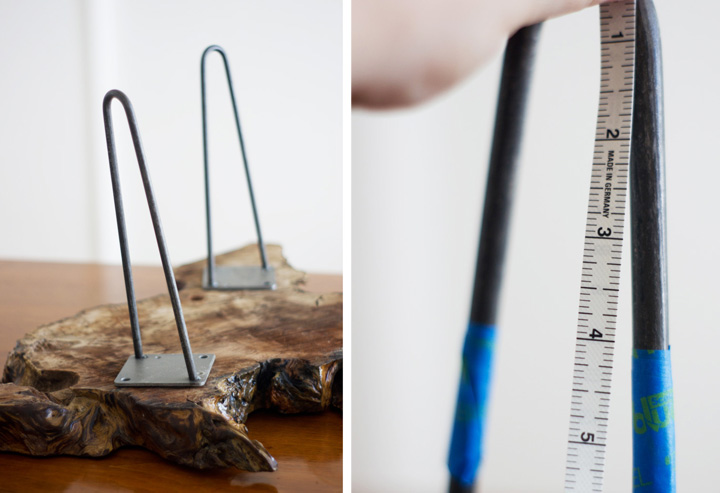
4. After the top was all finished up I flipped it over and roughly placed the hairpin legs to eyeball where they should go.
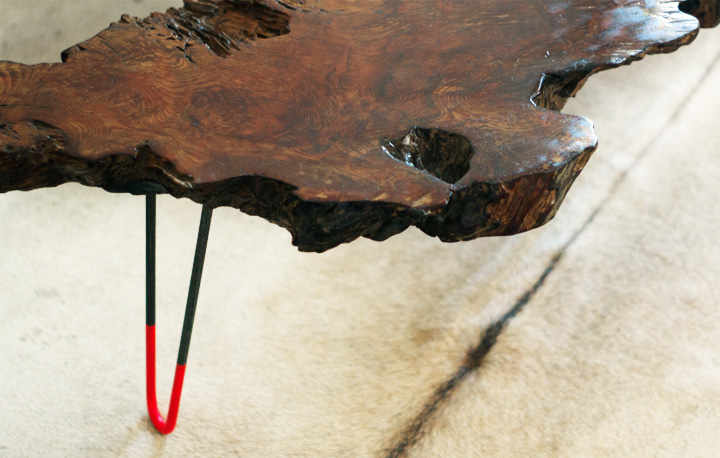
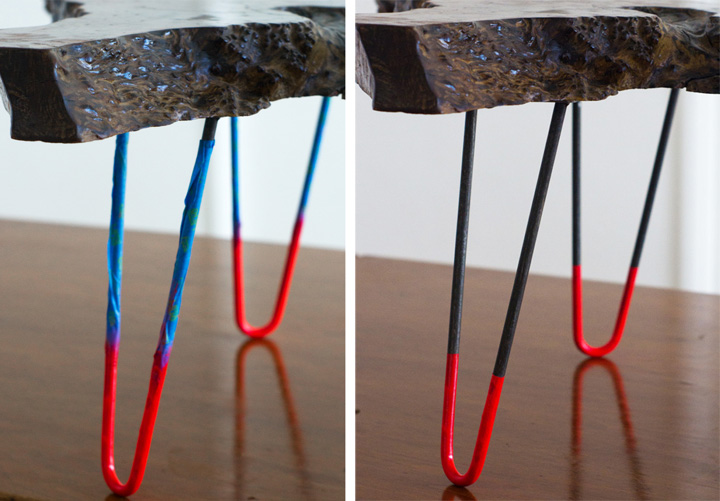
5. Once placement was decided, I taped off the legs at 4″ to prep them for the neon spray paint.
*Tip Corner: I taped the legs all the way down in order to avoid any over-spray. Why? Because I’m a messy and lazy spray painter, duh.
6. I threw on some gloves to avoid that messy nozzle spray paint finger thing that always happens and then gave each leg a few coats of paint. Also, go ahead and wear a mask and some eye protection for extra safety – you know, if you go all willy-nilly and spray paint crazy and want to protect stuff like your health. SAFETY.
*FYI, florescent spray paint seems thinner than normal paint and ended up taking more coats than I expected.
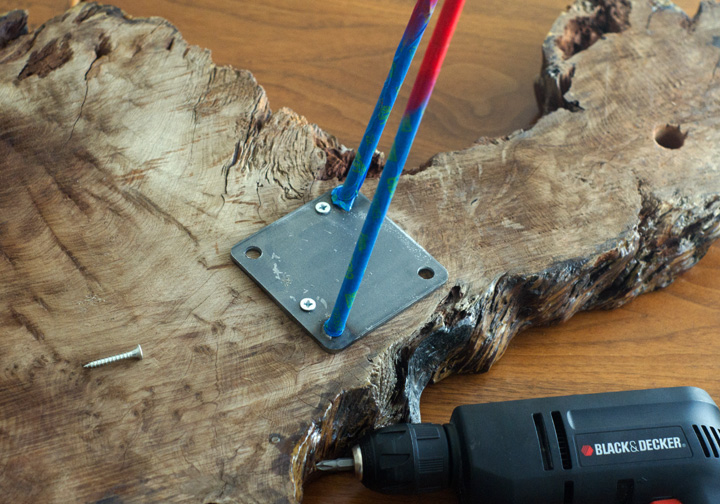
7. I screwed on the legs and then pulled off the tape.
BOOM. Done.
Easy-peasy custom neon fun times.
I’m super happy with how the coffee table turned out and really enjoy this little florescent touch to what has always been browntown central. Now if that lame wainscoting would just disappear without me having to do anything…
…………………………………………….
This post is a collaboration with 3MDIY. To learn more about safety and preparation, visit 3MDIY.com

 (I used the


 . To learn more about safety and preparation, visit
