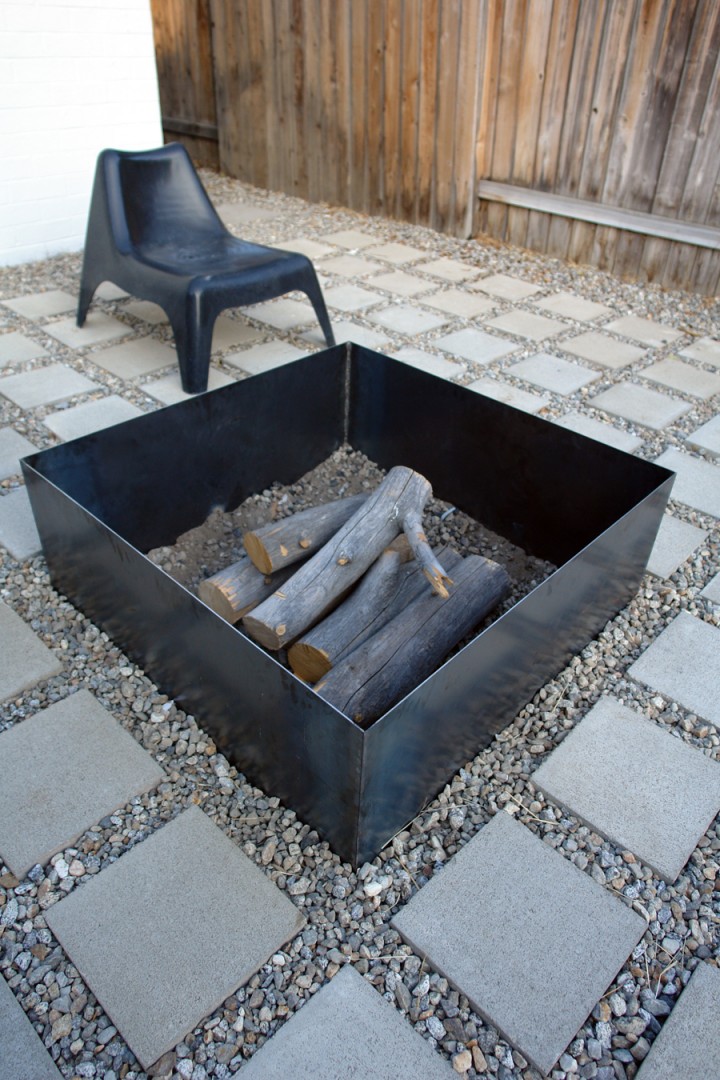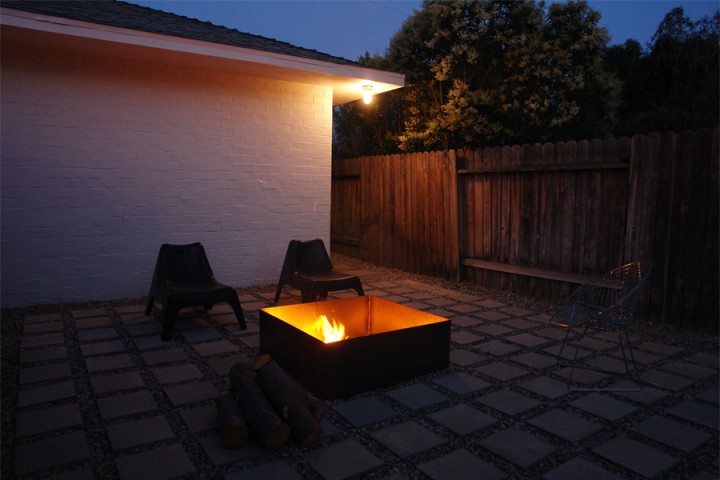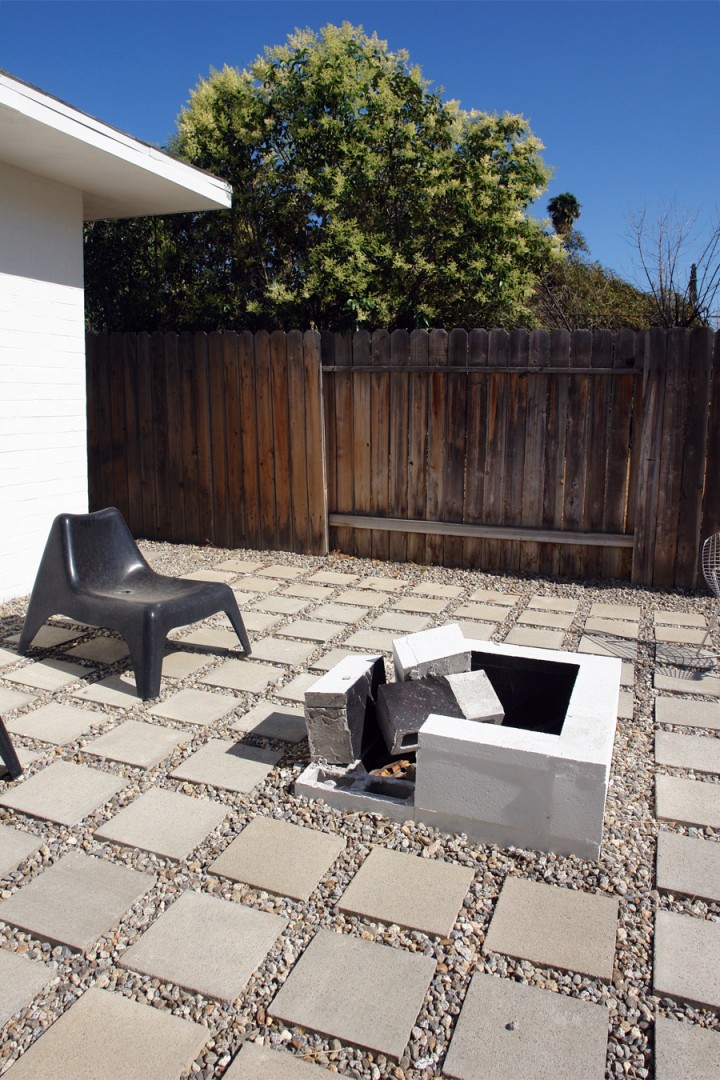
The old cinder block fire pit did not work. Whoops! (That’s why I never posted a true DIY). Good thing it was dirt cheap to build.
When we visited T.K. and Jill’s house in Joshua Tree, T.K. gave us a little introduction tutorial class in welding. Now we are putting that new skill to use to rebuild our crappy fire pit. We will build it better, stronger, more metal-y than before.
We bought four 40″ x 20″ sheets of 12 gauge hot rolled steel from Riverside Industrial Metal Supply.
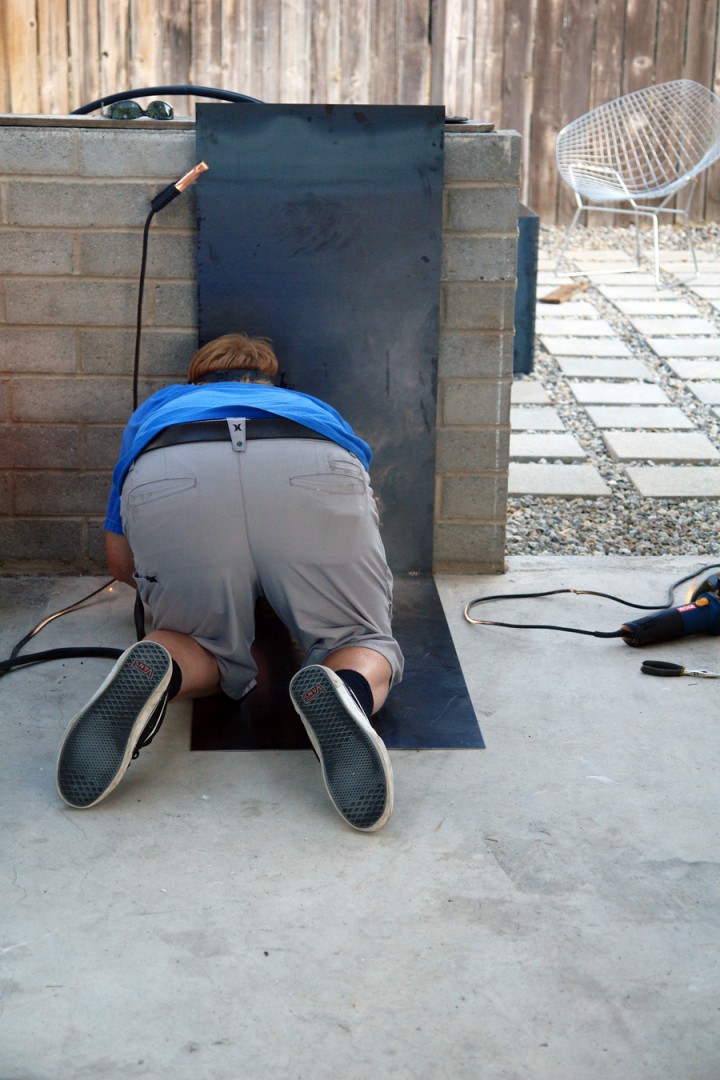
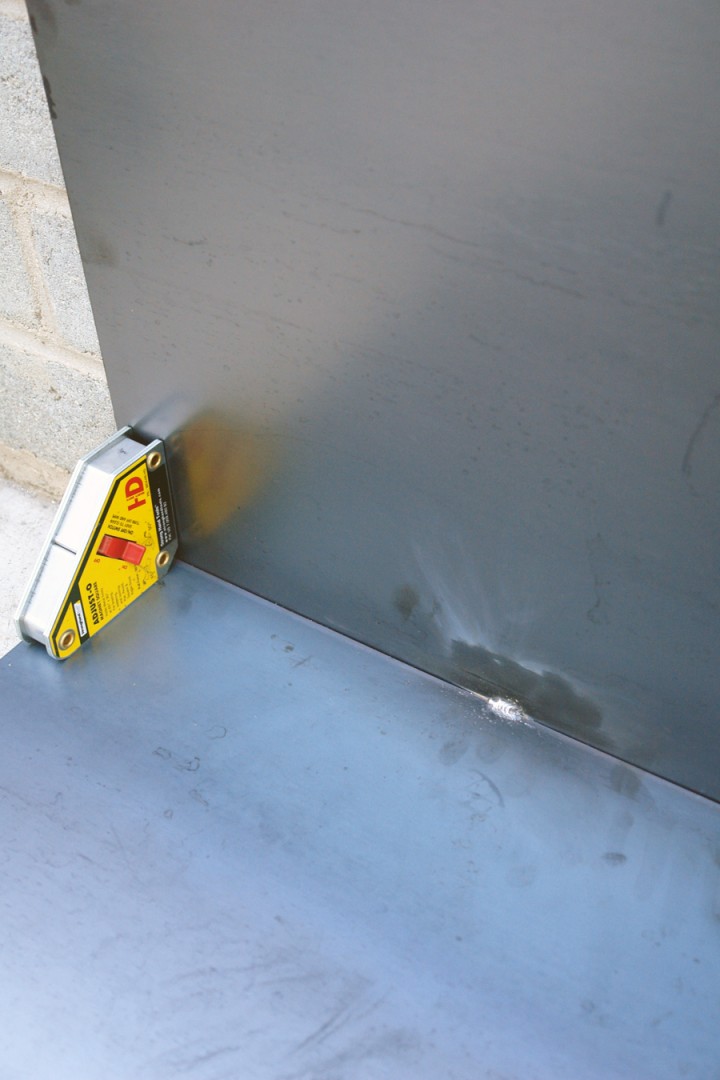
Our new fancy magnets were very useful for holding together the two pieces of steel in order to get them tack welded at a 90 degree angle. Best tool ever.
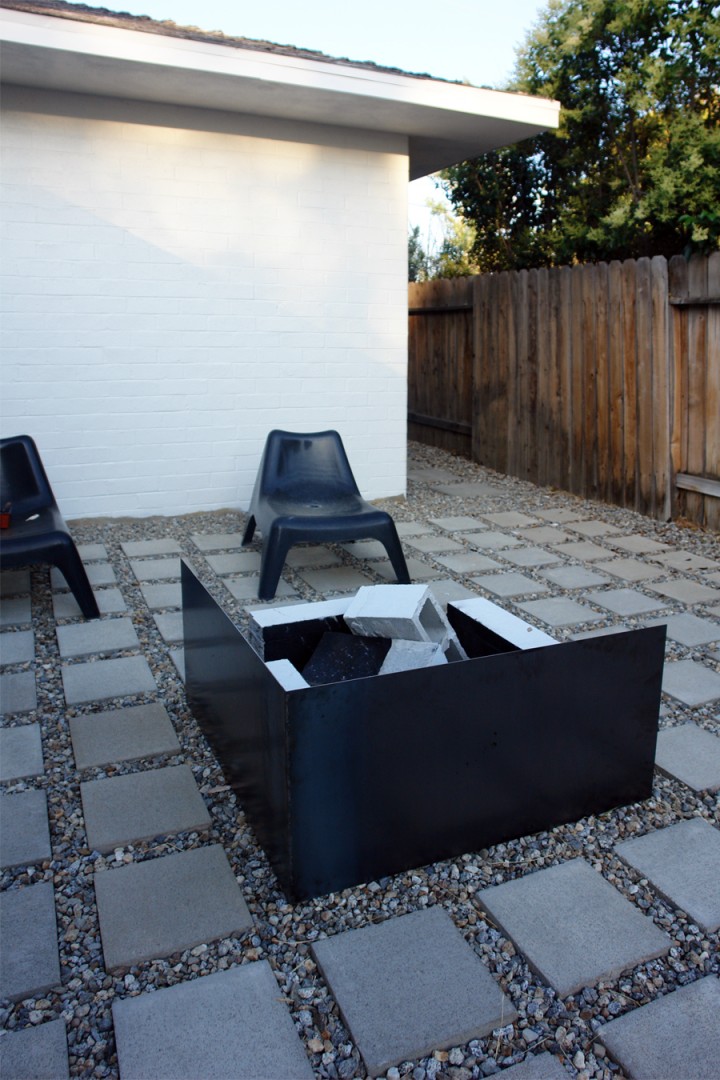
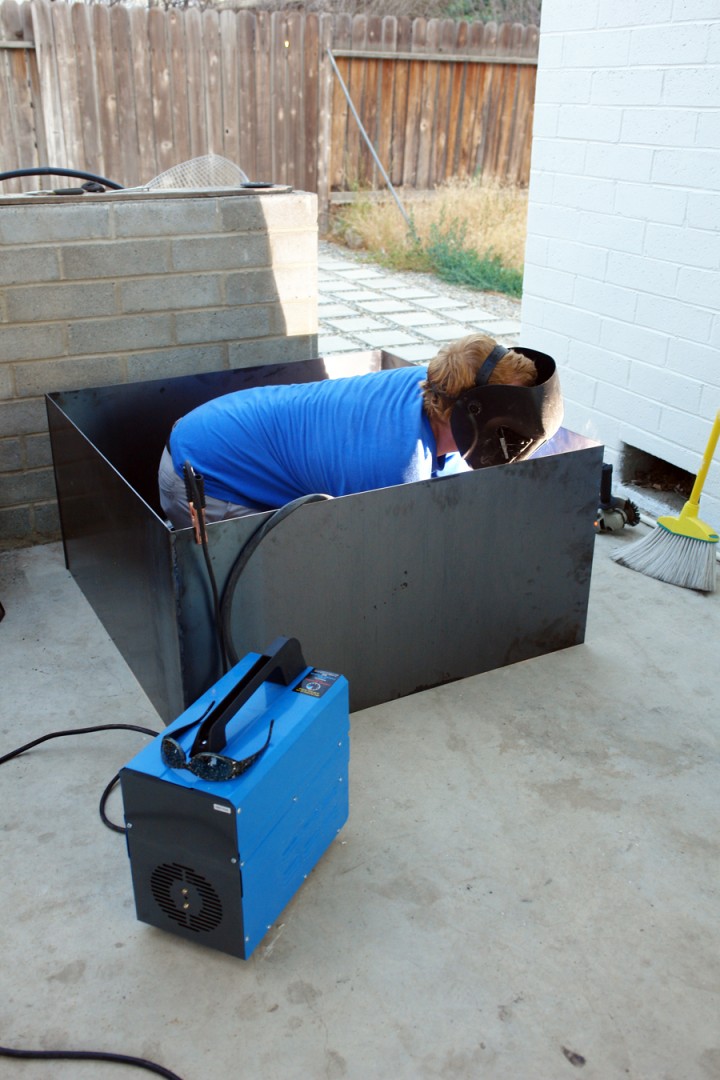
The first half got spotted in place and it started to look like something…
The metal fire pit will be sunk into the ground with eight cold rolled steel rod supports to hold it square and add strength.
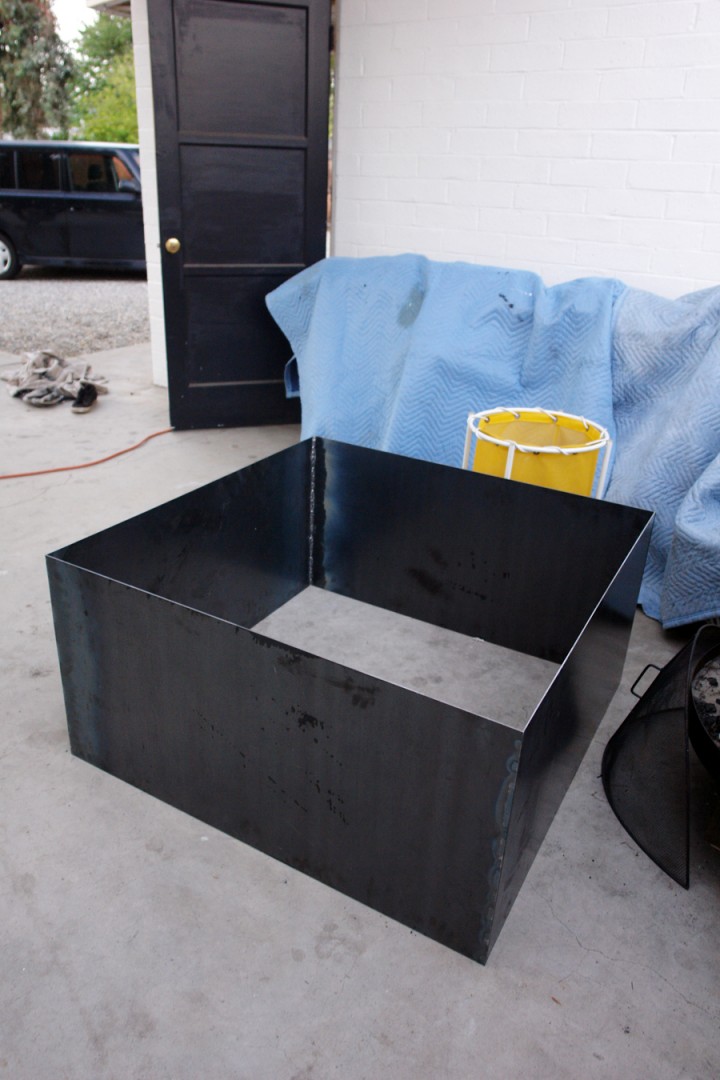
It’s a big metal square!
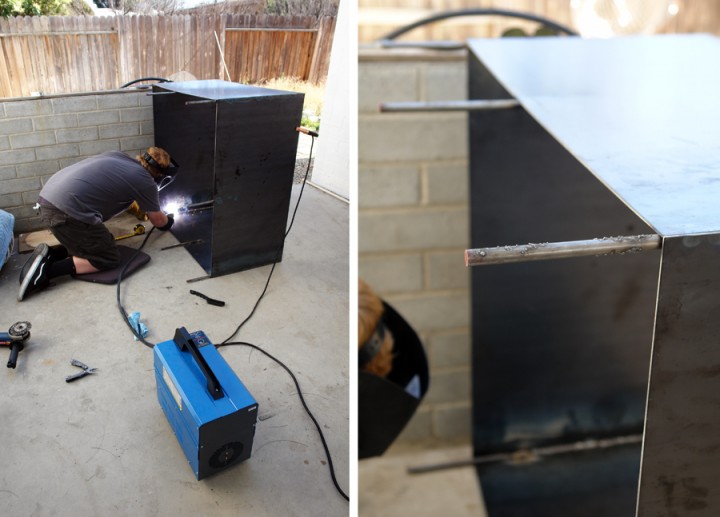
We added foot long cold rolled steel rods to the corners and in the middle of each panel. They aren’t pretty but they are getting installed underground – so they don’t really need to be.
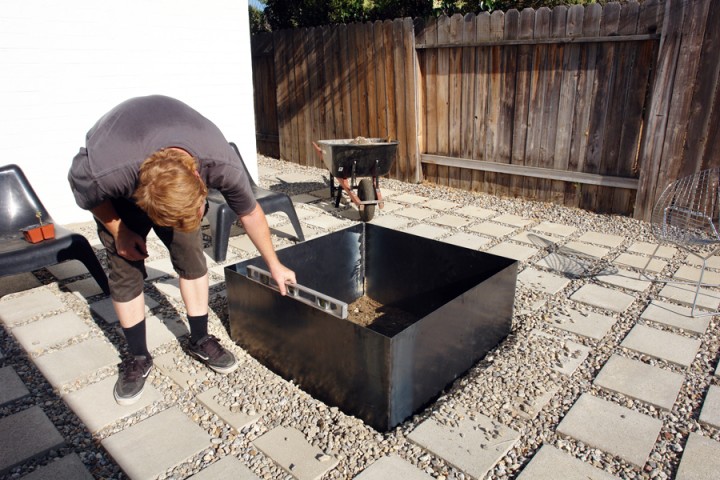
Installing the larger metal pit where the old cinder block fire pit died it’s horrible death was kind of a pain. Everything got ripped out and a larger, deeper hole had to be dug out. A sledge hammer and plank of wood helped sink it level into the soft soil. In the end we left about 14″ of steel above ground.
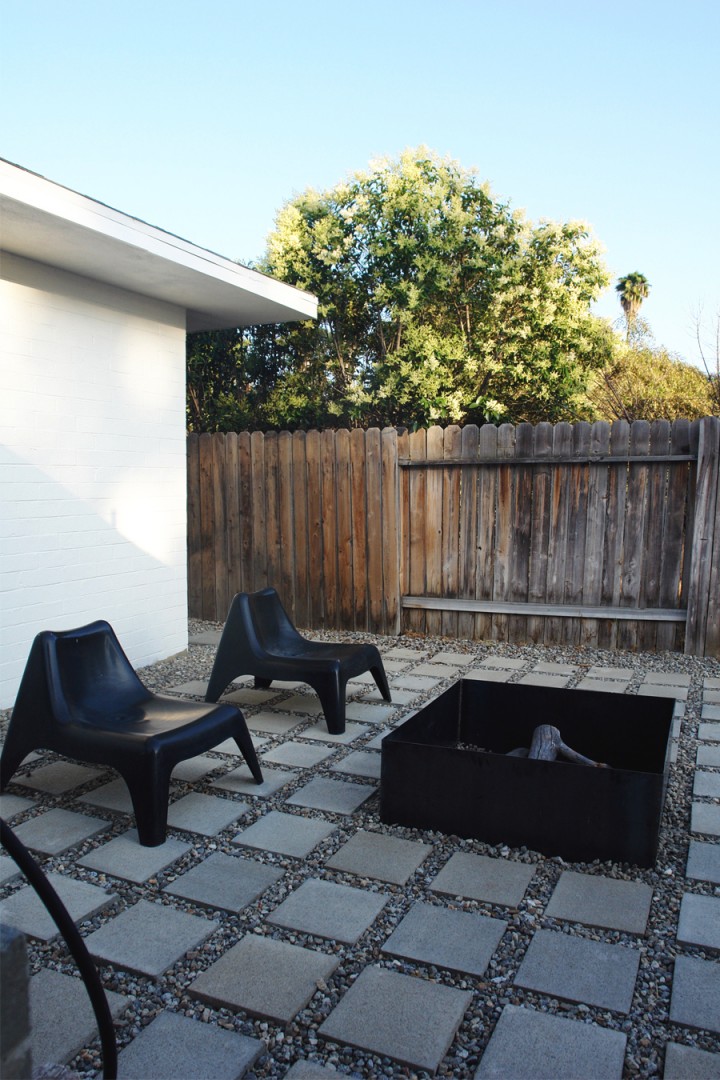
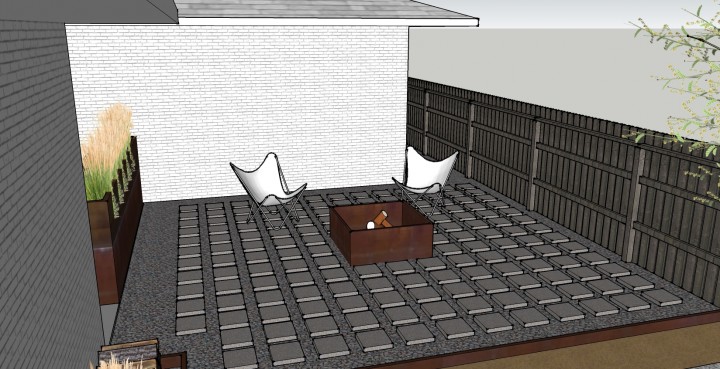
BAM! DONE. Indestructible fire pit. I want it to rust up a bit to match the sketch up version:
I think for our first welding project that it turned out really great! It was about $100 for all the material and took us three or so days to put it together with a bit of a learning curve. The Boy ended up doing most of it after falling deeply in love with welding and telling me my welds suck. Good thing, because we have a lot more metal to slap on this house and I’m going to put him to work.
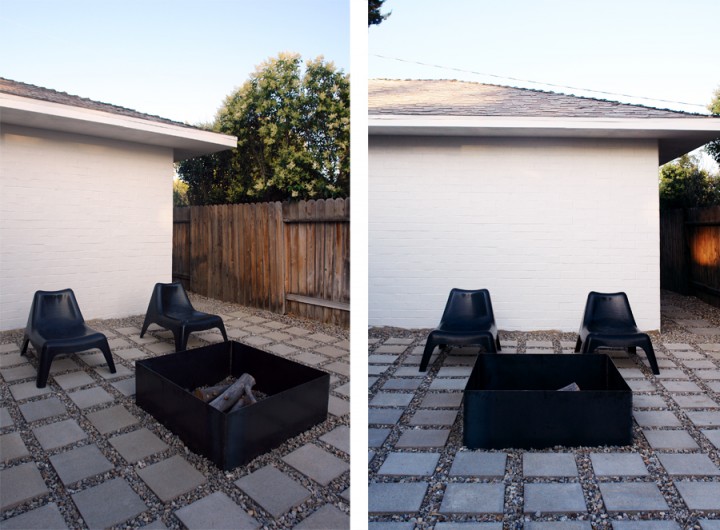
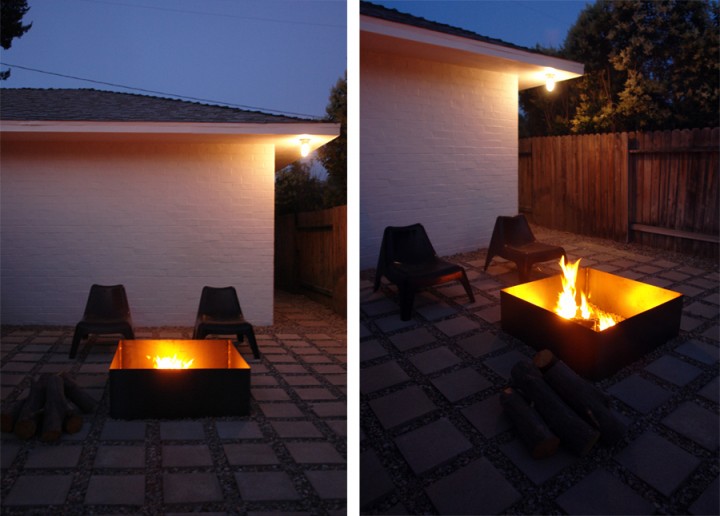
Ready to go for fire! Much, much better.
