Archive for the ‘ikea’ Category

FAUXDENZA

Friday, August 19th, 2011

BOOM.

It’s mother-effing fauxdenza* time.

We could flashback to the rough beginning of this particular fauxdenza via the power of HYPERLINKS or maybe just scroll down for a refresher.

OK. Let’s get our DIY on.

* Trademark via Anna at D16 & blatantly used here ad nauseum.


FAUXDENZA

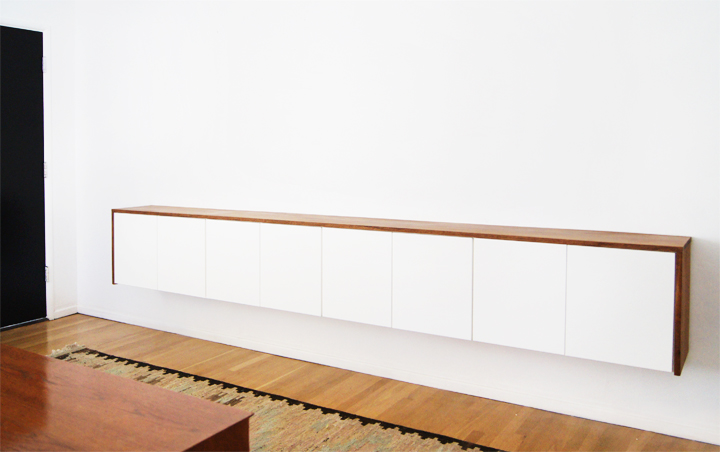
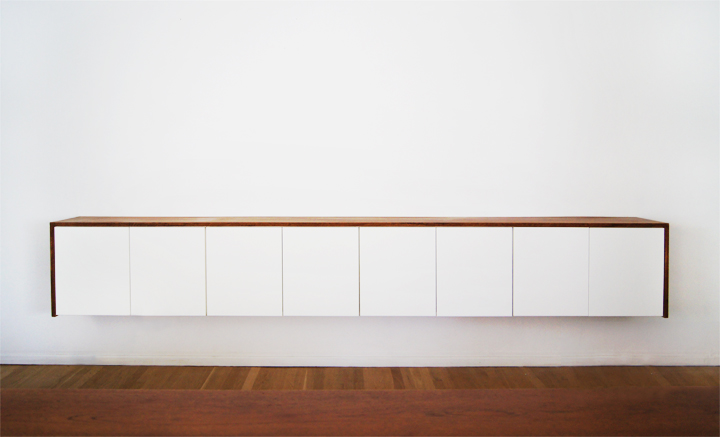
Dimensions: 10′ long x 13-1/2″ deep x 33″ tall

Materials:

Ikea

8  –  Applad Doors (15 x 18″)
4  –  Akurum Wall Cabinets (30 x 18″)
8  –  Integral Hinge (2 pack)
2  –  Akurum Suspension Rail

Lumber

1  –  Wood  (14′ L x 15″W x 1″T) *I used Afrormosia

Tools:

Drill
Circular saw
Level
Tape Measure
Ratchet
Screws + appropriate anchors
Shims
Steel Wool
Fine Sandpaper
Danish Oil
Feed n’ Wax
Clean Rags

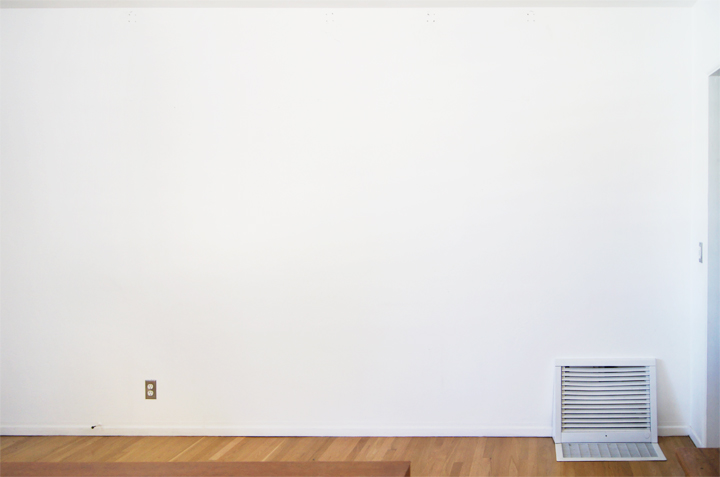
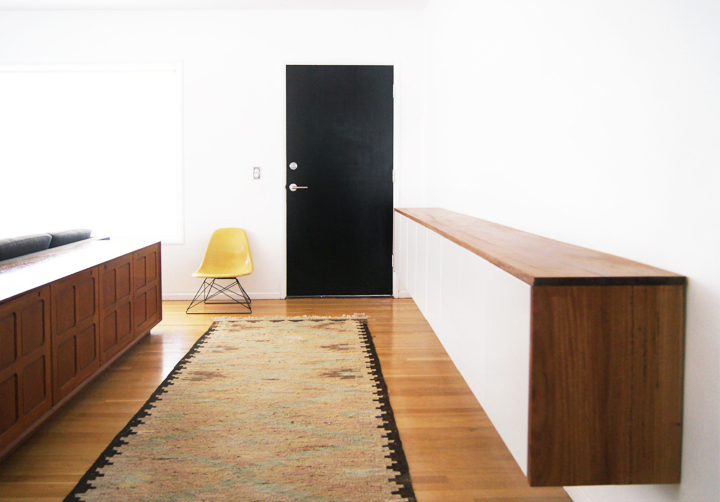
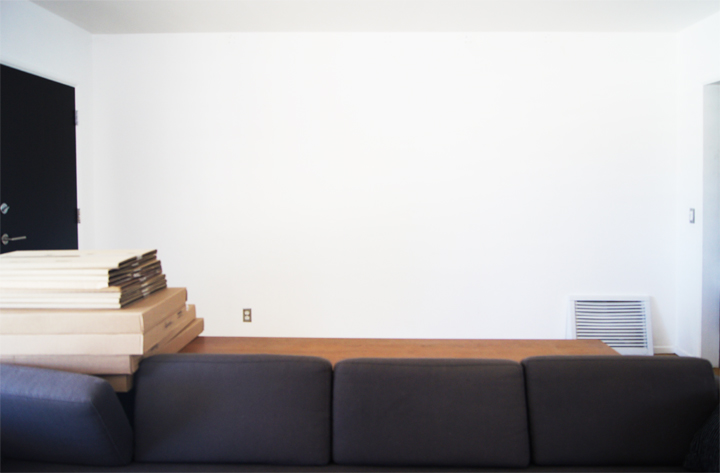
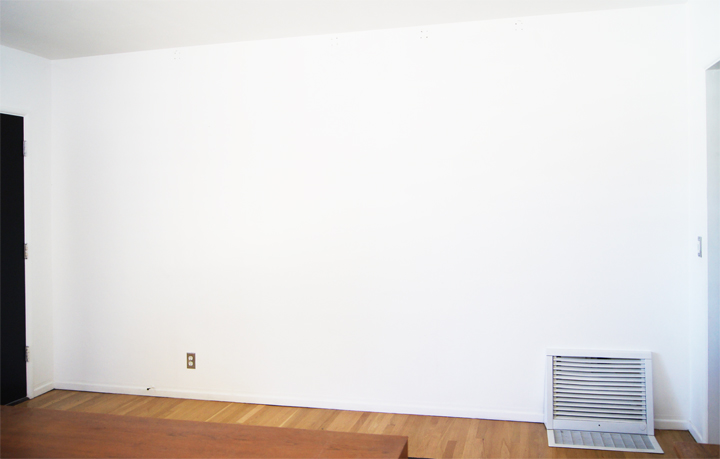
This poor, strange living room wall…

There was once a pipe shelf. Then I got bored with that. Then nothing for a bit. Then a floating storage credenza sounded good. Yup. Fauxdenza.

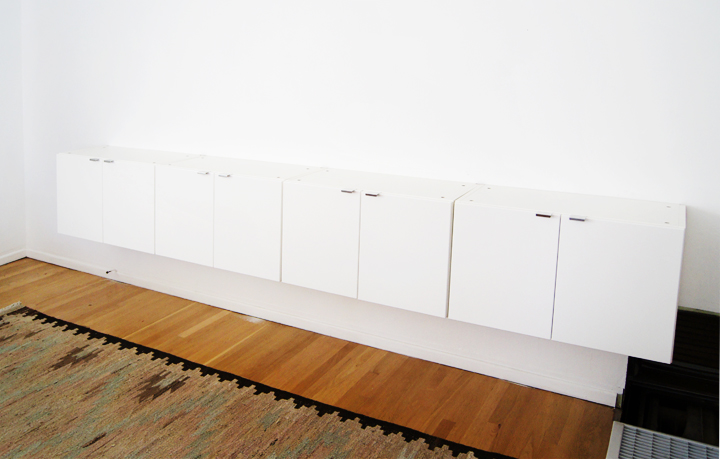
The whole fauxdenza thing boils down to just installing Ikea kitchen cabinets way, way too low. Since the tops of the wall cabinets aren’t meant to ever be seen and are all uglified, making some sort of aesthetically pleasing top becomes necessary. But first, installation.

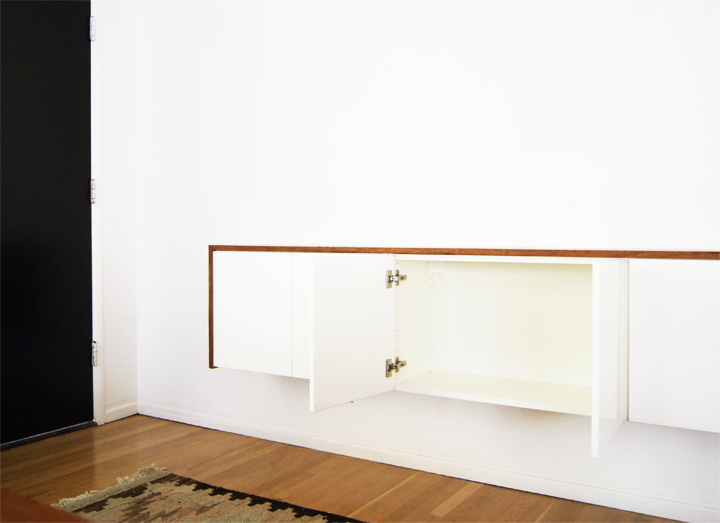
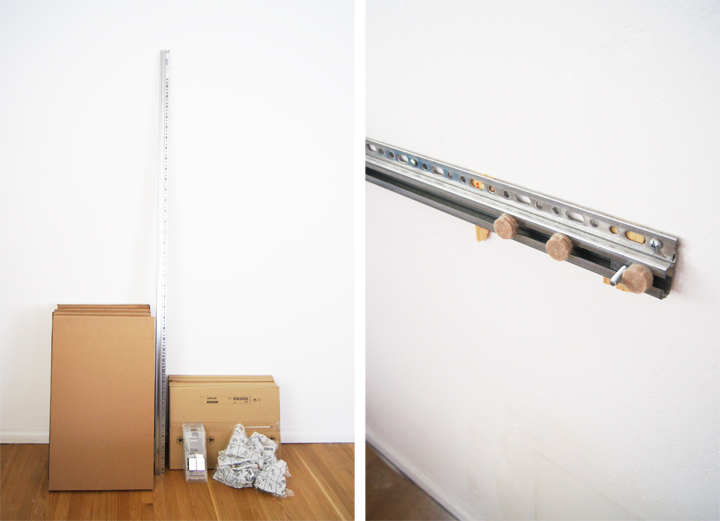
The Akurum suspension rail system is designed to levely hang Akurum wall cabinets very simply. Of course, to install the rail you have to choose appropriate wall fasteners for your walls. For our plaster walls, screws into studs plus heavy duty anchors worked perfectly.

I test mounted the cabinets to see what the plumb/level situation was going to be when confronted with our old plaster walls.

Obvious shocker. Old plaster walls are really uneven.

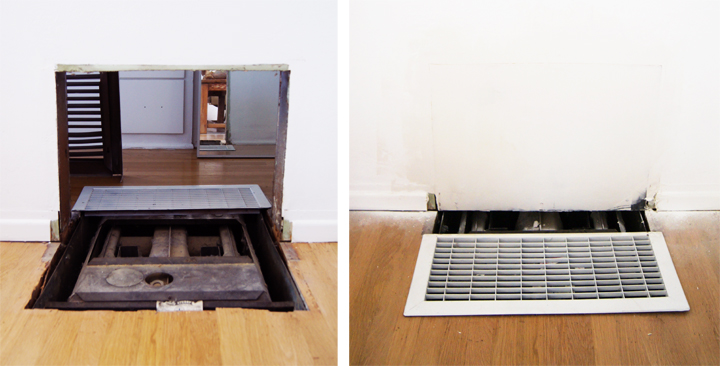
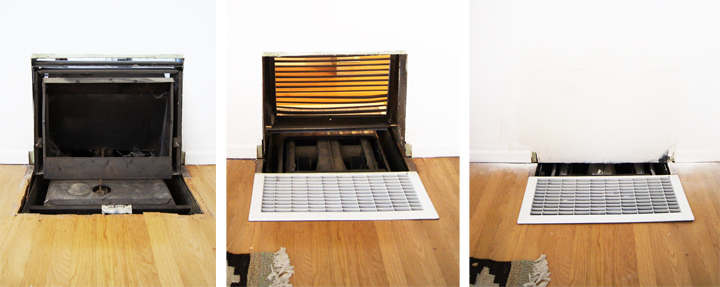
The walls are wonky, but the other installation hurdle was that creepy giant non-functioning heater thing. Not only did it ugly up  the place, it’s location blocked the centered installation of the loooonnng fauxdenza.

So we removed the internal bits, framed out the wall, patched and painted it up (although, finding matching molding and large floor grates are still an issue).

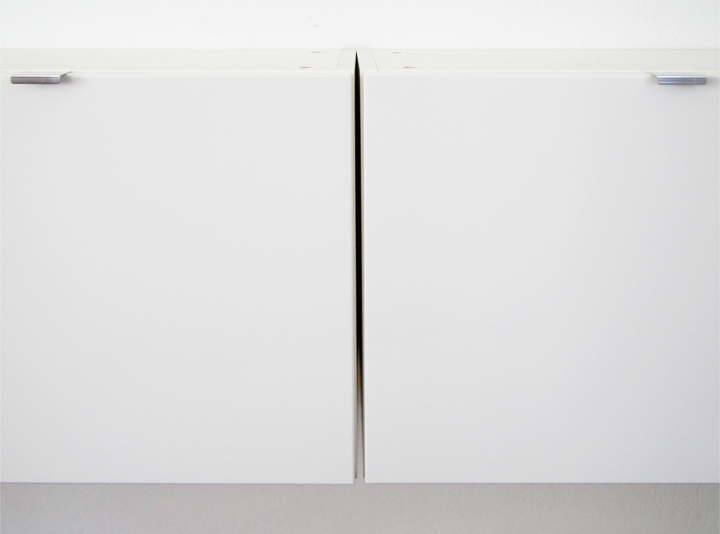
Old house + plaster walls = Gappity gap gap

The last cabinet had a pretty large gap since the plaster wall took a sudden curve.

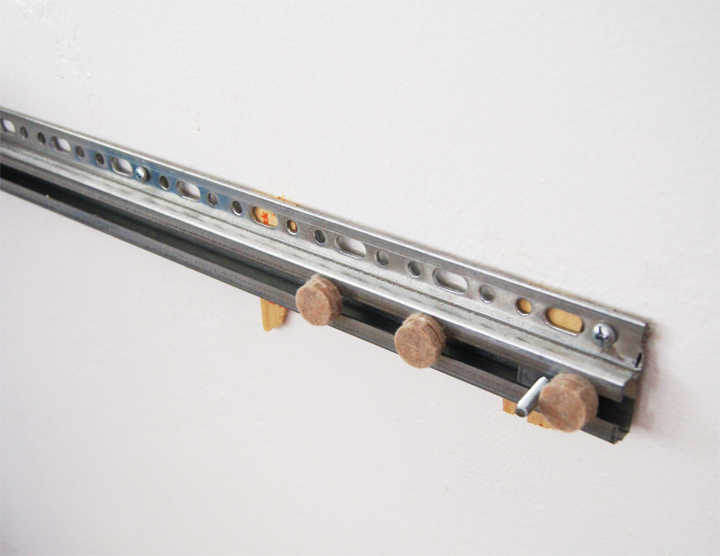
To correct the gap, first we shimmed the rail with some broken paint sticks from Home Depot, because that’s how we roll (unprofessionally). It was clear that the initial shim was nowhere near deep enough. We tested out how deep it had to be by sticking those little furniture foot pads onto the rail (unprofessionally).

Turns out, the last cabinet needed over an inch of the wackiest shimming you’ll never, ever see.

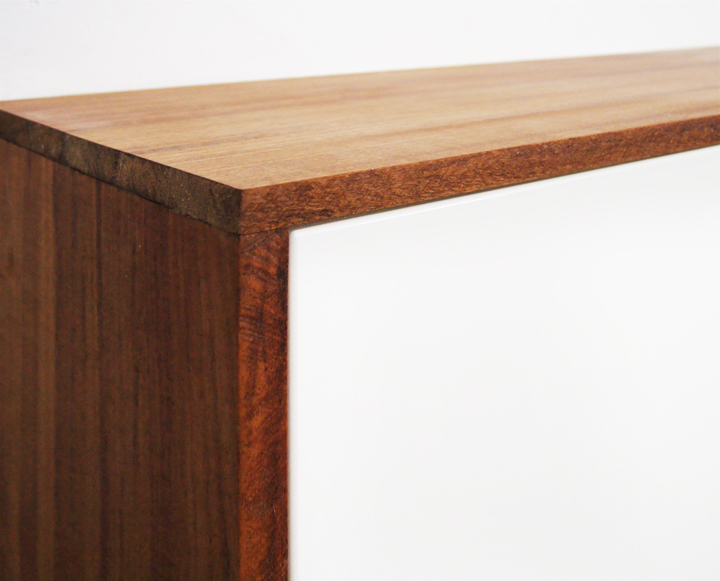
With the extreme shimming resolved and stuff hanging level, hiding the enormous new shim gap was the next quandary. The simple wood top I had planned on installing had to continue and wrap around the sides of the cabinets to disguise the monstrous shim gap.

For the newly expanded wood wrap, it felt best to find a better grade hardwood than I could grab at Home Depot.

With some brief googles I found Peterman Lumber, a local mill/lumber yard that specializes in domestic and exotic woods. They have wood wood, you know, wood you take seriously. Wood that won’t take crap from no one, no how.

Tight budget in mind, I settled on a 14 foot long piece of Afrormosia, which is an excellent and – cough* cough* – cheaper teak substitute. Fauxteak.

At about 15 inches wide by an inch thick, the piece I picked ran about $100 and looked purtty.

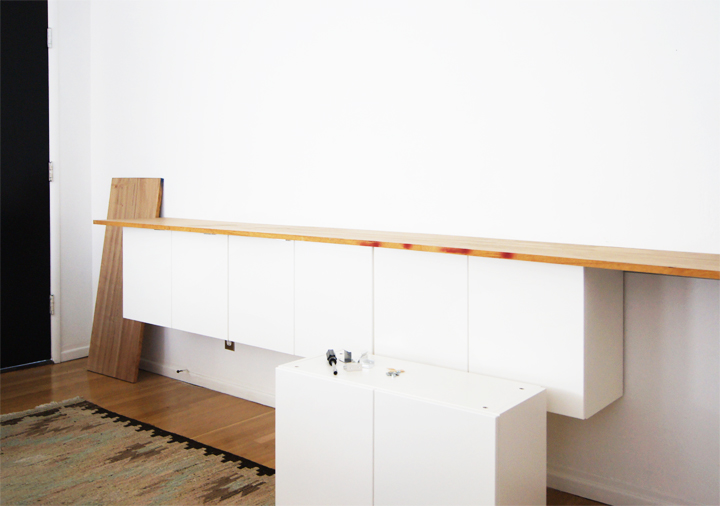
We used a handheld circular saw to cut the wood down to size. No fancy woodworking, no miters. Just simple straight lines.

I traced along the front edge of the cabinet door onto the wood sitting on top of the cabinets and pressed flush against the wall. No brainer, no craziness. Cut on the traced line for a superb custom fit.

Each joint, as well as the edges, got a quick sanding to knock down any unevenness and smooth things out.

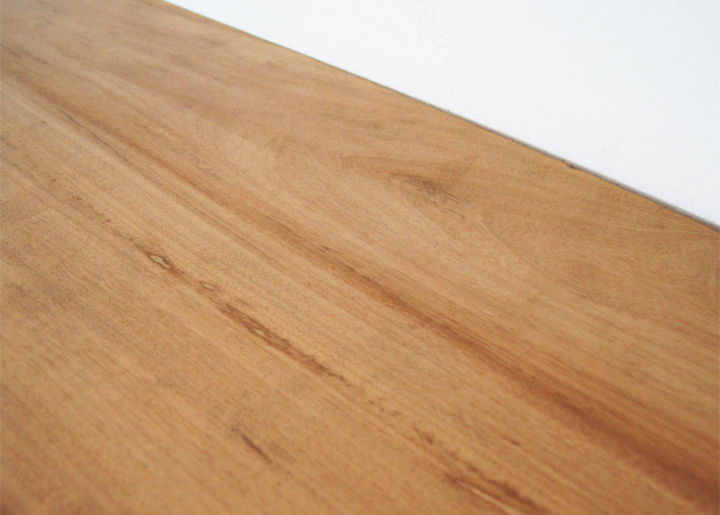
The rest of the wood got prepped with a once over sanding using super fine steel wool. Pretty much, I went with the same process that I use to restore vintage furniture to treat this new wood. Slap on a few coats of Danish oil and a few coats of Feed n’ Wax and…

Bam.

That untreated wood darkens up and looks incredible.

To attach the wood, I predrilled a few holes through the inside of the cabinet frames and screwed into the bottom of the wood to secure it; of course, do not go through it completely. It only takes a few strategic screws to set the wood solidly in place, all fancy looking.

Initially, I had planned on using the Ikea Strecket handles and tested them out a bunch during the cabinet installation. Once the wood went on though, the handles suddenly looked way too fussy and got nixed.

Having no handles on the doors has been fine. The cabinets are high enough that I can comfortably grab the bottom door edge to open things up without any awkwardness.

Done and done.

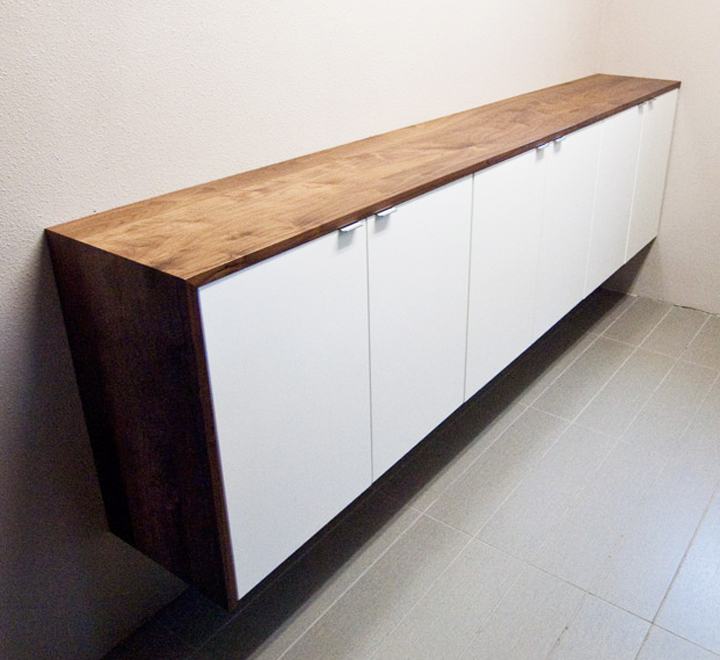
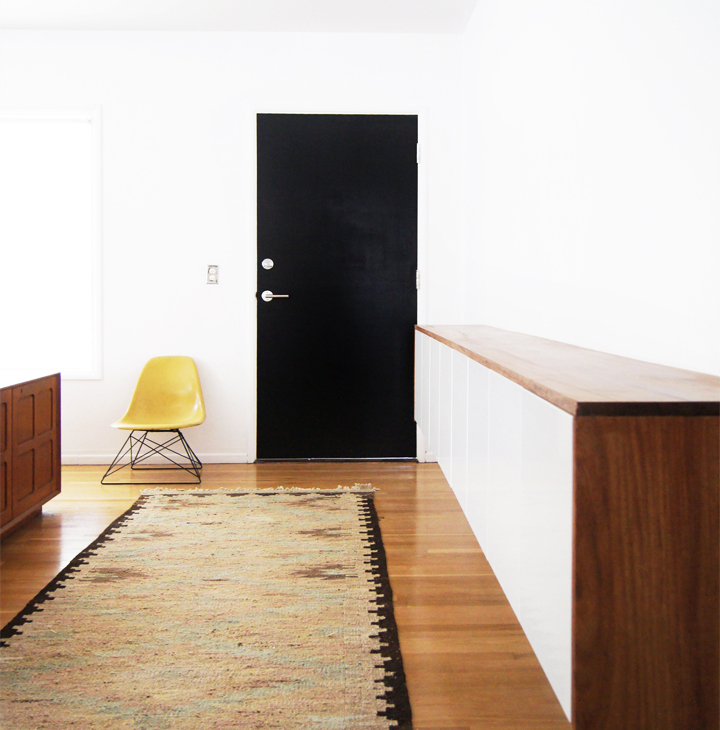
For about $300, some labor and some problem solving, we custom-built a ten foot long floating credenza that adds tons of storage while being perfectly scaled and custom fit on an awkwardly long and barren entryway wall.

Being both super customizable and easily constructed, the fauxdenza seems a clever DIY solution for a wide spectrum of storage conundrums. Plus it looks sexy doing it, which never hurts.
RESEARCH & ROUGH BEGINNINGS

Tuesday, July 19th, 2011

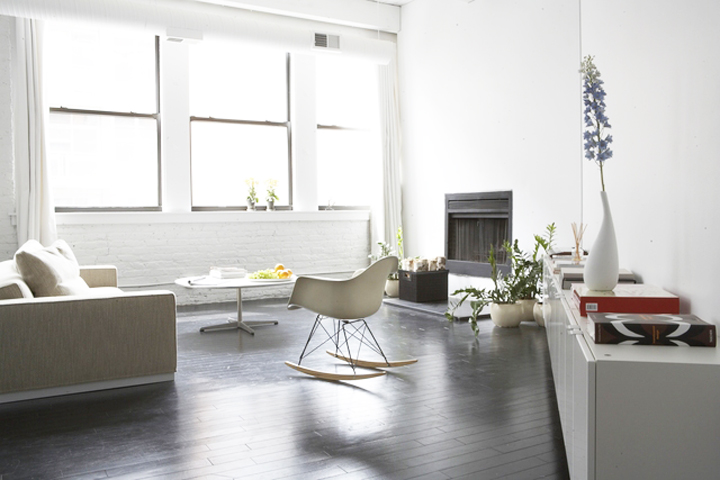
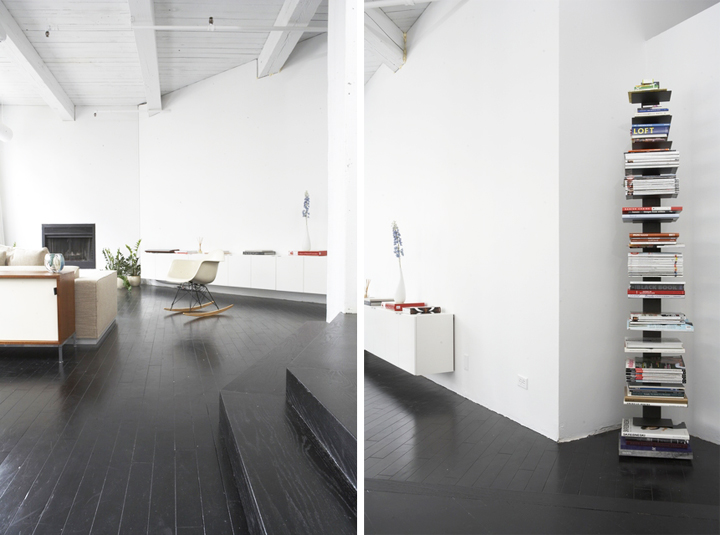
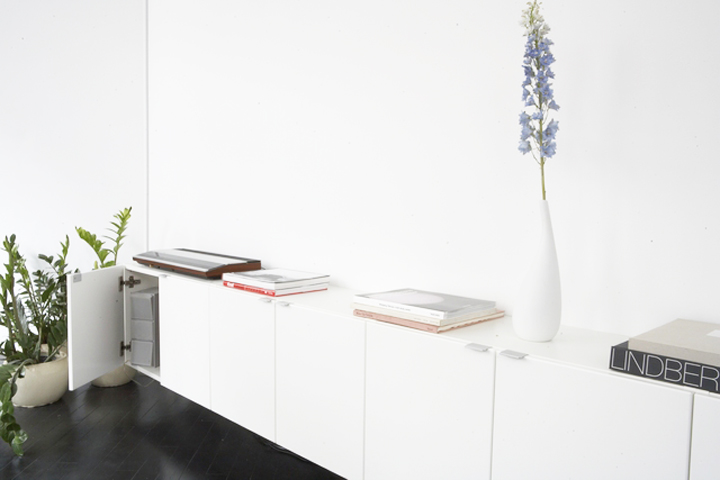
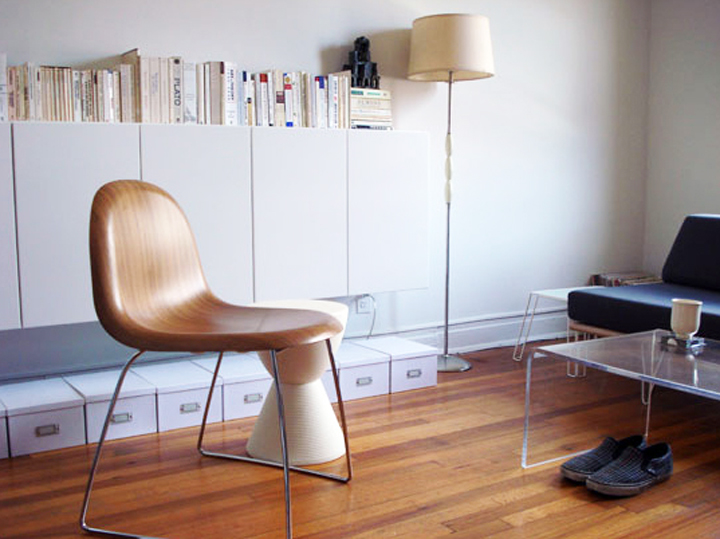
Like many home fans who browse the internets, I fell in love with Andrea’s Greektown loft many years ago and have off and on toyed with the idea of creating a long minimal storage unit using basic Ikea kitchen cabinets like the one installed in the main living space.

This is such a simple and clever idea that is totally DIY-able and has an exhaustive abundance of variations and customizations that can be applied in any space. Which, really, any great DIY sort of should have a kernel of that customizable component built into the initial design.

I’ve always imagined I would eventually use this idea to build a floating media credenza that would hide all the ugly TV components in a super minimal floating unit that’s both affordable to build and has oodles of hidden storage.

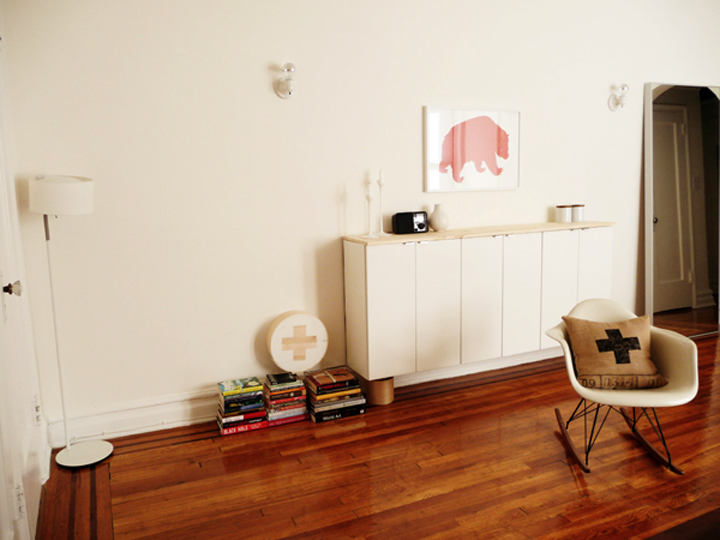
Anna of D16 deemed this type of installation the “fauxdenza”, a newly minted hybrid word describing the floating credenza/wall/storage piece that she built in her pied-à-terre.

Sarah from AT posted a step by step breakdown of how to install one of these bad boys.

Matt of Wood&Faulk applied it to his kitchen remodel with the addition of a beautiful custom wrapped walnut top.

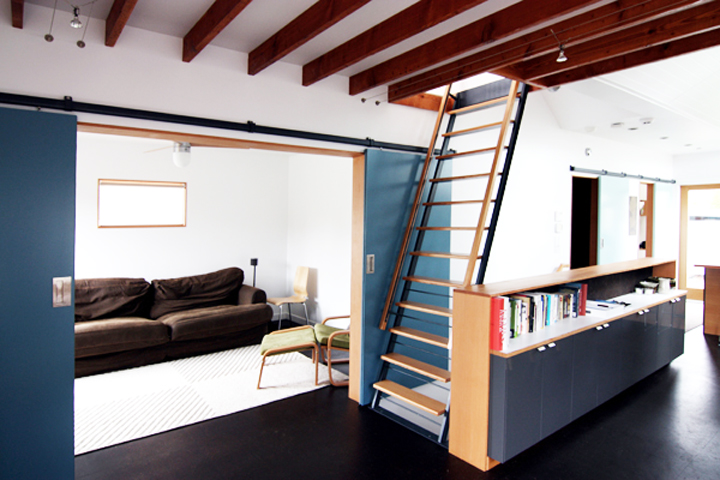
The Zerbey’s, architectural overachievers and DIY champions, took the idea to the extreme and built a floating stair wall and transformed simple Ikea cabinets into a full on built-in buffet with all the custom bells and whistles.

So, this concept is obviously a time-tested, tried and true solution for stylish folks needing minimal + modern + affordable storage.

After the pipe shelving unit was removed, I’ve hunted around for a solution for this long awkward entry wall in the living room. The main issue with the pipe shelving was the lack of hidden storage, and frankly, I just kind of got exhausted looking at the clutter that was always on display.

The ten foot long open space dwarfs most furniture and I knew I didn’t want to use another tall, open shelving unit to replace the previous tall, open shelving that had driven me crazy. After months of resistance and fruitlessly searching to find the right piece, I recently gave into Ikea and bought the requisite components to build my very own simple fauxdenza.

Well, I’ve been working on it and like every other project in this place, have run into some issues. I had lofty ideas of using a live edge slab or creating a brass top, but the costs have been outrageous when it comes to something that needs to span ten feet in length. Eight feet? Not as much of an issue, but somehow those two extra feet have ended up killing all my hopes and dreams.

We removed the non-functioning weird heater thing and patched up the wall since that vent thing is an eyesore and is physically in the way. Unfortunately, all these boring prep details have turned into a bigger hassle than expected. I’ve been looking around for the right kind of top that’s interesting but still affordable and I still need to find a larger than normal floor vent (since we aren’t talented enough to patch the floor) as well as find a chunk of baseboard that matches the vintage baseboard installed throughout the house.

The metal thing is gone, the wall is patched, but all in all it’s still a hot mess.

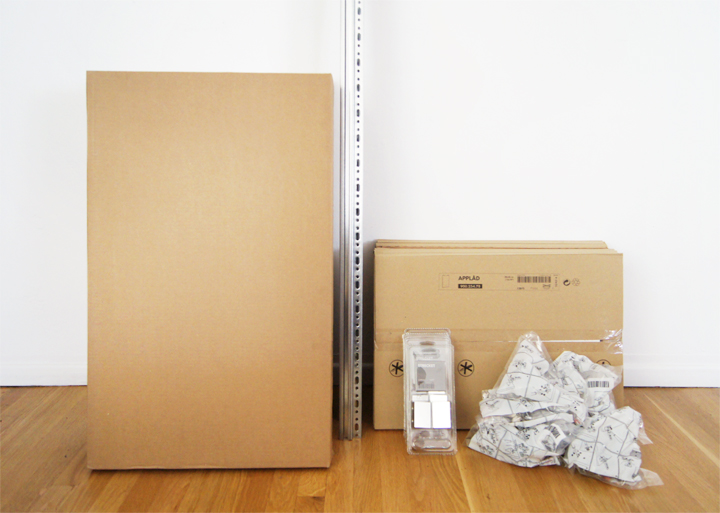
I bought four Ikea 30 x 18″ AKURUM fan cabinets with white APPLÅD doors and STRECKET handles. Pretty basic stuff that rounded out to cost a bit under $200.

Since the plaster walls are so wavy and uneven, the metal hanging rail had to be shimmed and fussed around with to create some semblance of flush evenness when the cabinets are hung.

Between annoying repairs and shimming, finding and customizing the top as well as trying to get the cabinets to hang without giant gaps, the project has been slow going. Hopefully soon, I’ll have it all up and finished and storing things.

Hopefully.

I have so many things that need to be stored.

Thrifty!

Thursday, September 23rd, 2010

This weekend I was trolling trusty old Craigslist looking for things for some designy projects…and well, for the master bedroom too…and spotted two well priced items needing a good home. Like I need another chair or coffee table, but sometimes when that bargain siren calls I just can’t resist shooting off a quick email.

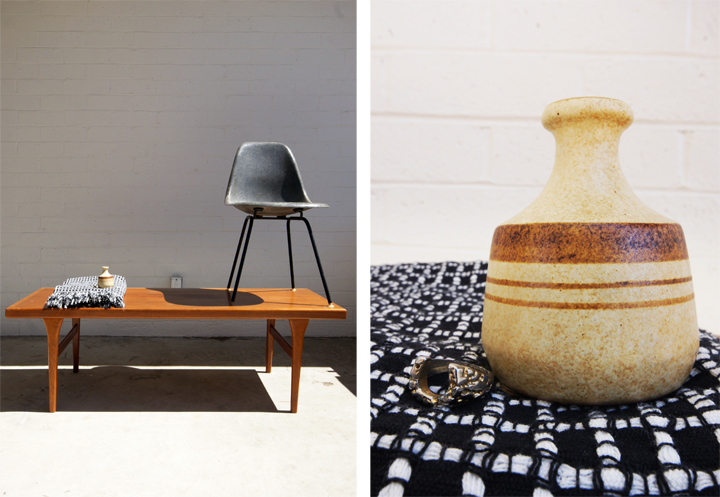
Monday evening I took a Craigslist themed road trip out to San Diego (which is only about an hour from the house) to pick up a vintage Danish coffee table and a gray Eames side shell chair. Both need a little bit of oily love, but are otherwise in really beautiful shape. On the way out, I hit up my thrifty route and found a little piece of pottery and a vintage gold lumpy horseshoe ring. Not the most exciting things but still pleasant additions.

After I visited the sweet Craigslist sellers and starting heading back home, I stopped by Ikea to check out some of the new sofas and other recent additions and ended up grabbing a blanket. It’s the Vilmie Rund and at $12.99 a total steal. I love it.

My life is oh so very glamorous. Maybe I can regal you of the tales of eating a hot dog and putting gas in the car. Not that those things happened at the same place or at the same time…

In other news, come visit me on Thursday over at Life of an Architect, where I continue to blather about things I buy. Well, more accurately, things I bought.