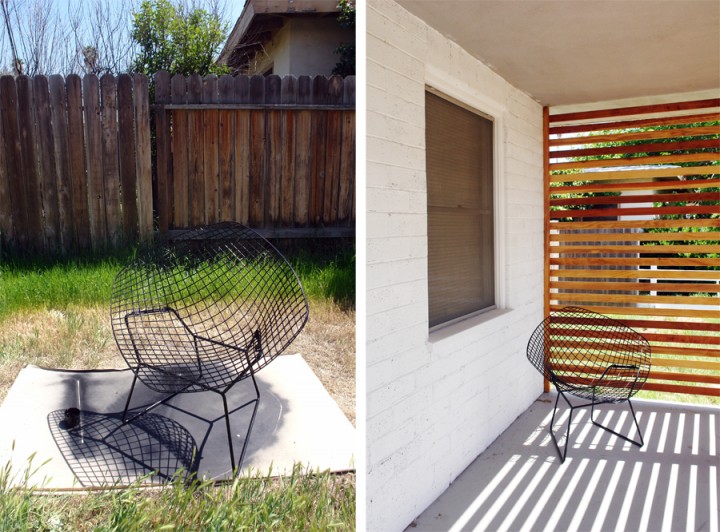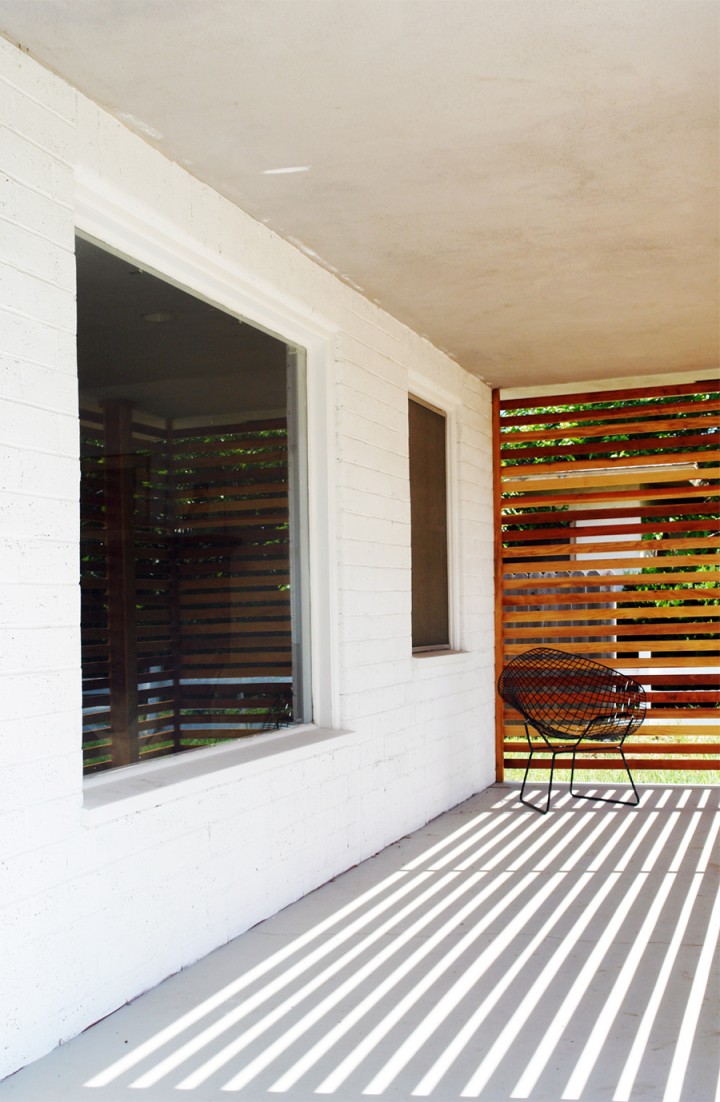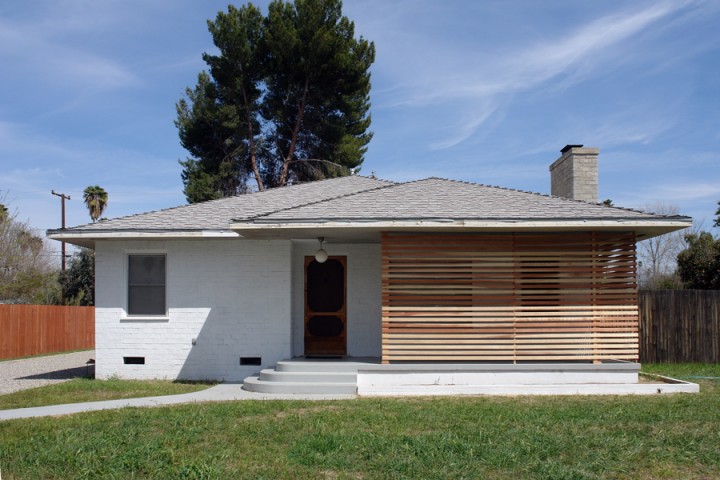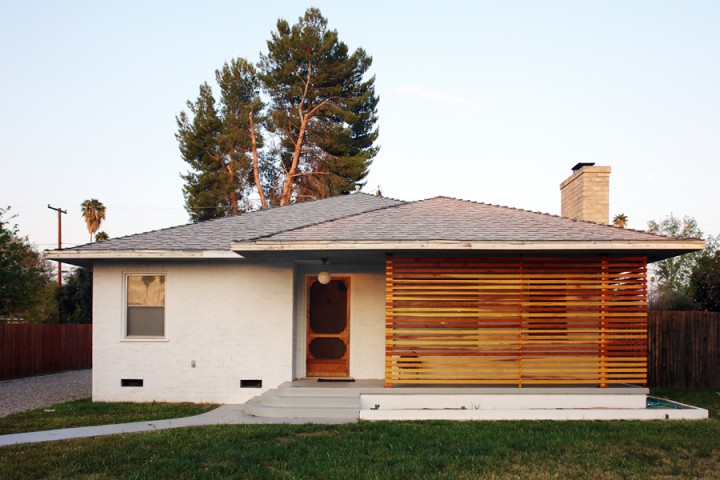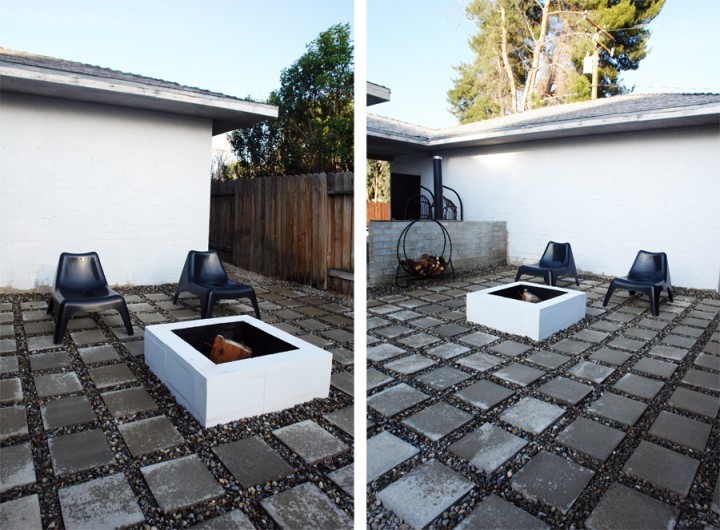
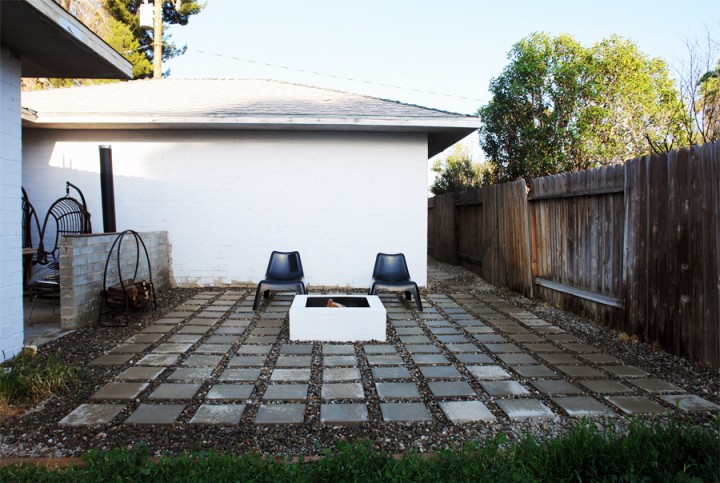
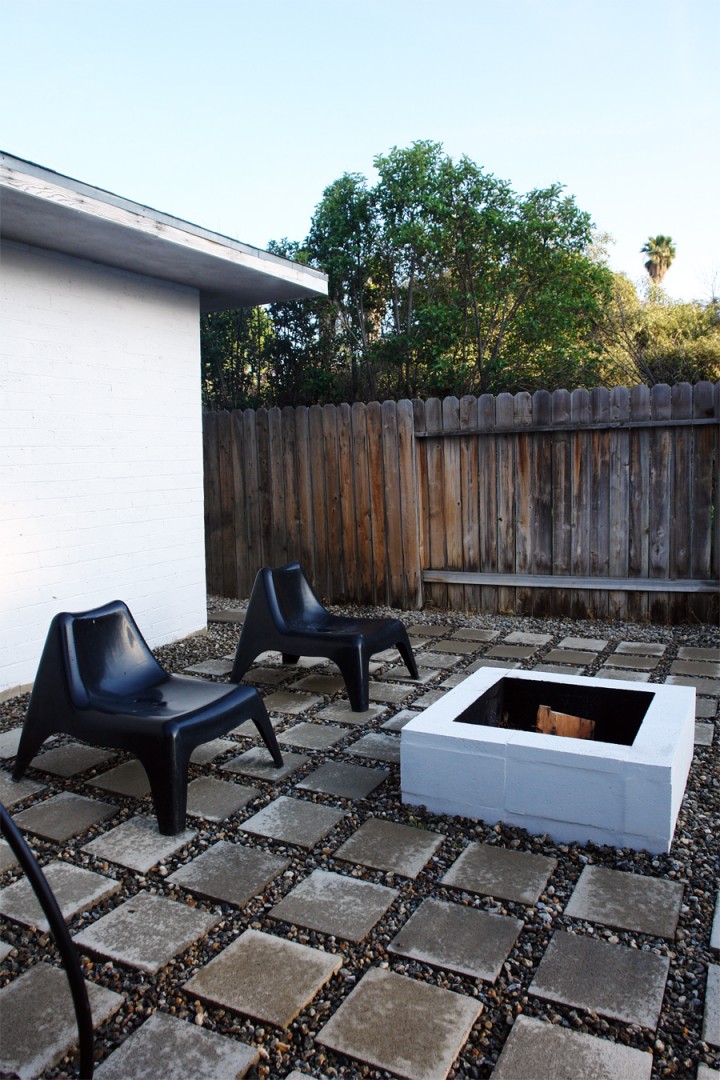
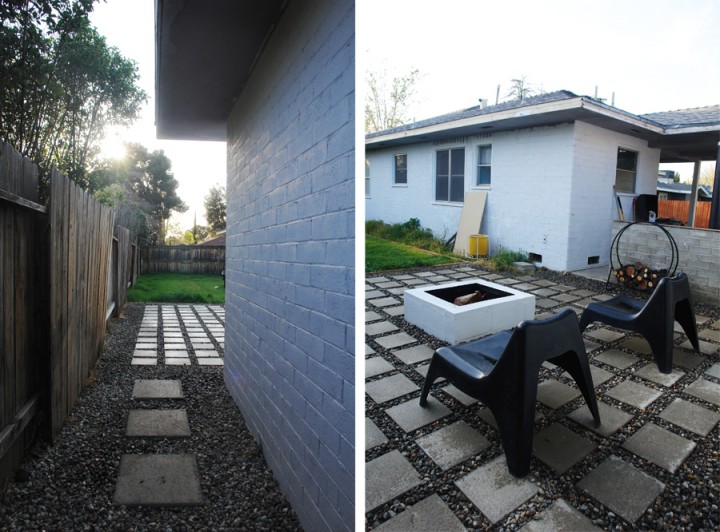
PATIO Phase One : COMPLETE.
150 cement pavers on the ground, be-yotches.
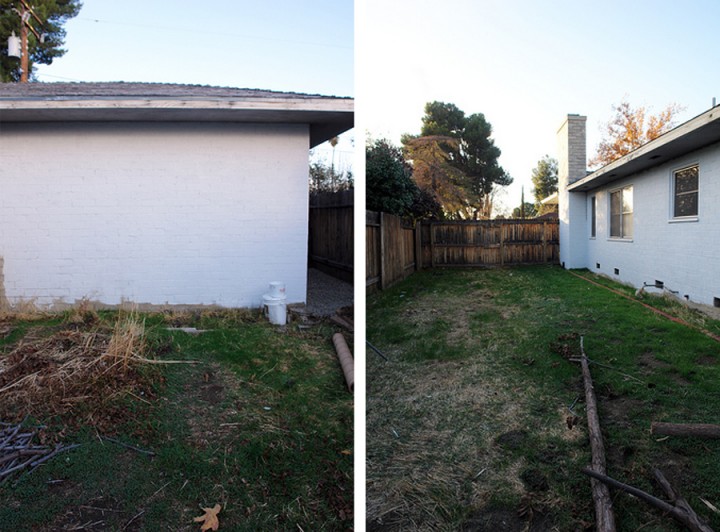
What did it look like before? Like this:
And After:
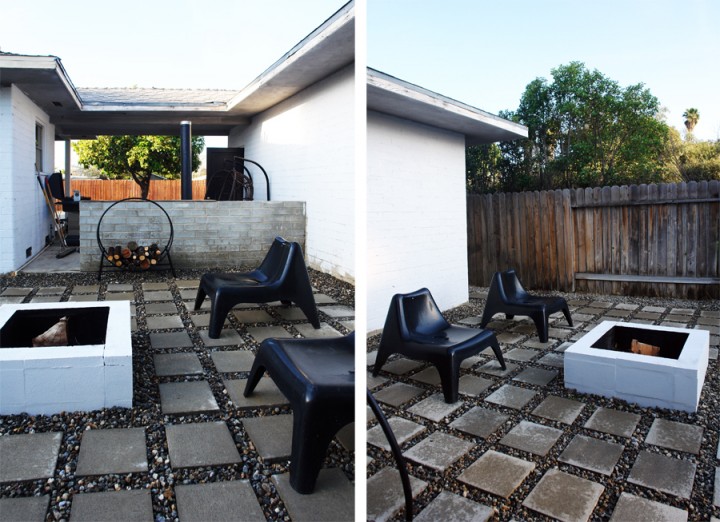
You can check out the whole process HERE. It ended up costing about $200 to do this whole fire pit/gravel/patio paver area.
For those of you considering this kind of paver installation: just don’t be like us. Level the area, put sand down first and tamp it flat, add crushed rock and then lay out your pavers after all that – then and only then fill everything in with gravel. Don’t do gravel first like we did, unless you’re a masochist. Or vying for the title of DIY amateur hour champion.
After all the headaches and backaches, I think it turned out alright. Time to move onto PATIO Phase Two : Other hardscape stuff. I’ve got some big ideas and I’m crossing my fingers that we don’t do that all backasswards as well.
Still got a long way to go though…
